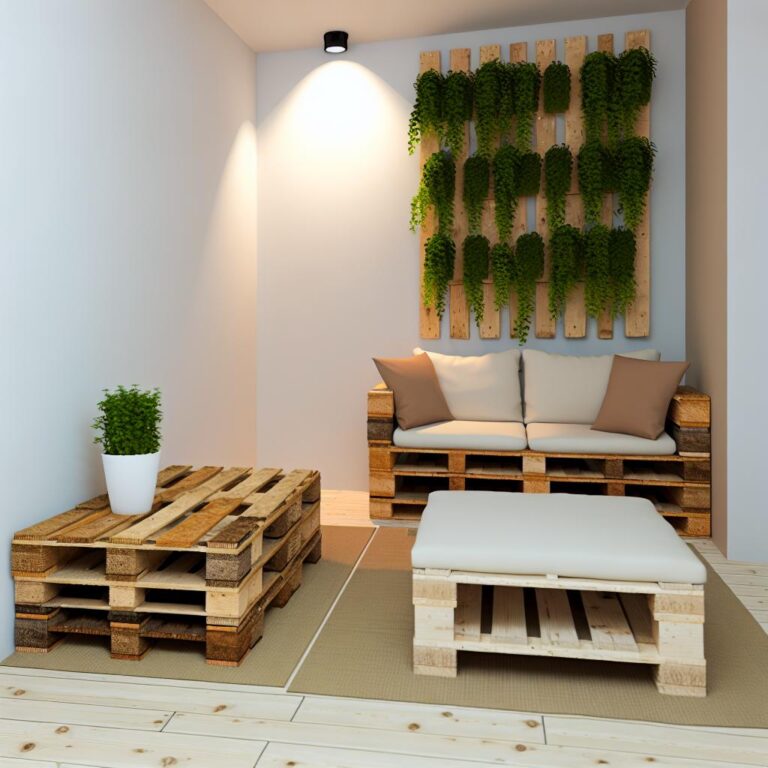
Rustic furniture DIY: How to Get Started at Home?
DIY Wooden Furniture Essentials
- Basic Tools for Beginners: Hammer, screwdriver, hand saw, tape measure, power drill, sandpaper/block, level, carpenter's square, clamps.
- Selecting Wood Types: Pine (easy), oak/walnut (strong), cedar/redwood (outdoor use), hardwoods (durable indoor).
- Simple Chair Construction: Use wood boards, screws, glue for frame, sand for smoothness, and apply finish for protection.
- Reclaimed Wood Tips: Choose oak/maple/pine for durability; clean, remove hardware, sand, and seal appropriately.
- Starter Reclaimed Wood Projects: Picture frames, shelves, coat racks, and rustic coffee tables.
- Rustic Chic Decor: Use chalk/milk paint, sand edges, add natural/historical accents, warm lights, and neutral tones.
- Furniture Distressing: Chalk/milk paints, sandpaper, crackle glaze, wax finishes; avoid over-distressing by focusing on edges and corners.
- Custom Rustic Tables: Choose appropriate wood stains, measure accurately, simple design elements, mix materials like metal.
Inspiration and guides can be found via linked resources for rustic styles and reclaimed wood projects.
Are you ready to craft your own rustic furniture at home? I'm here to guide you through creating beautiful DIY wooden pieces that bring warmth and charm to your space. From selecting tools and wood to sketching plans for a simple chair, we're diving into unique techniques that will set your work apart. Let's transform your home with the rustic beauty only handcrafted furniture can offer. Curious about where to start? Let's get crafting!
What Are Essential Techniques for DIY Wooden Furniture?
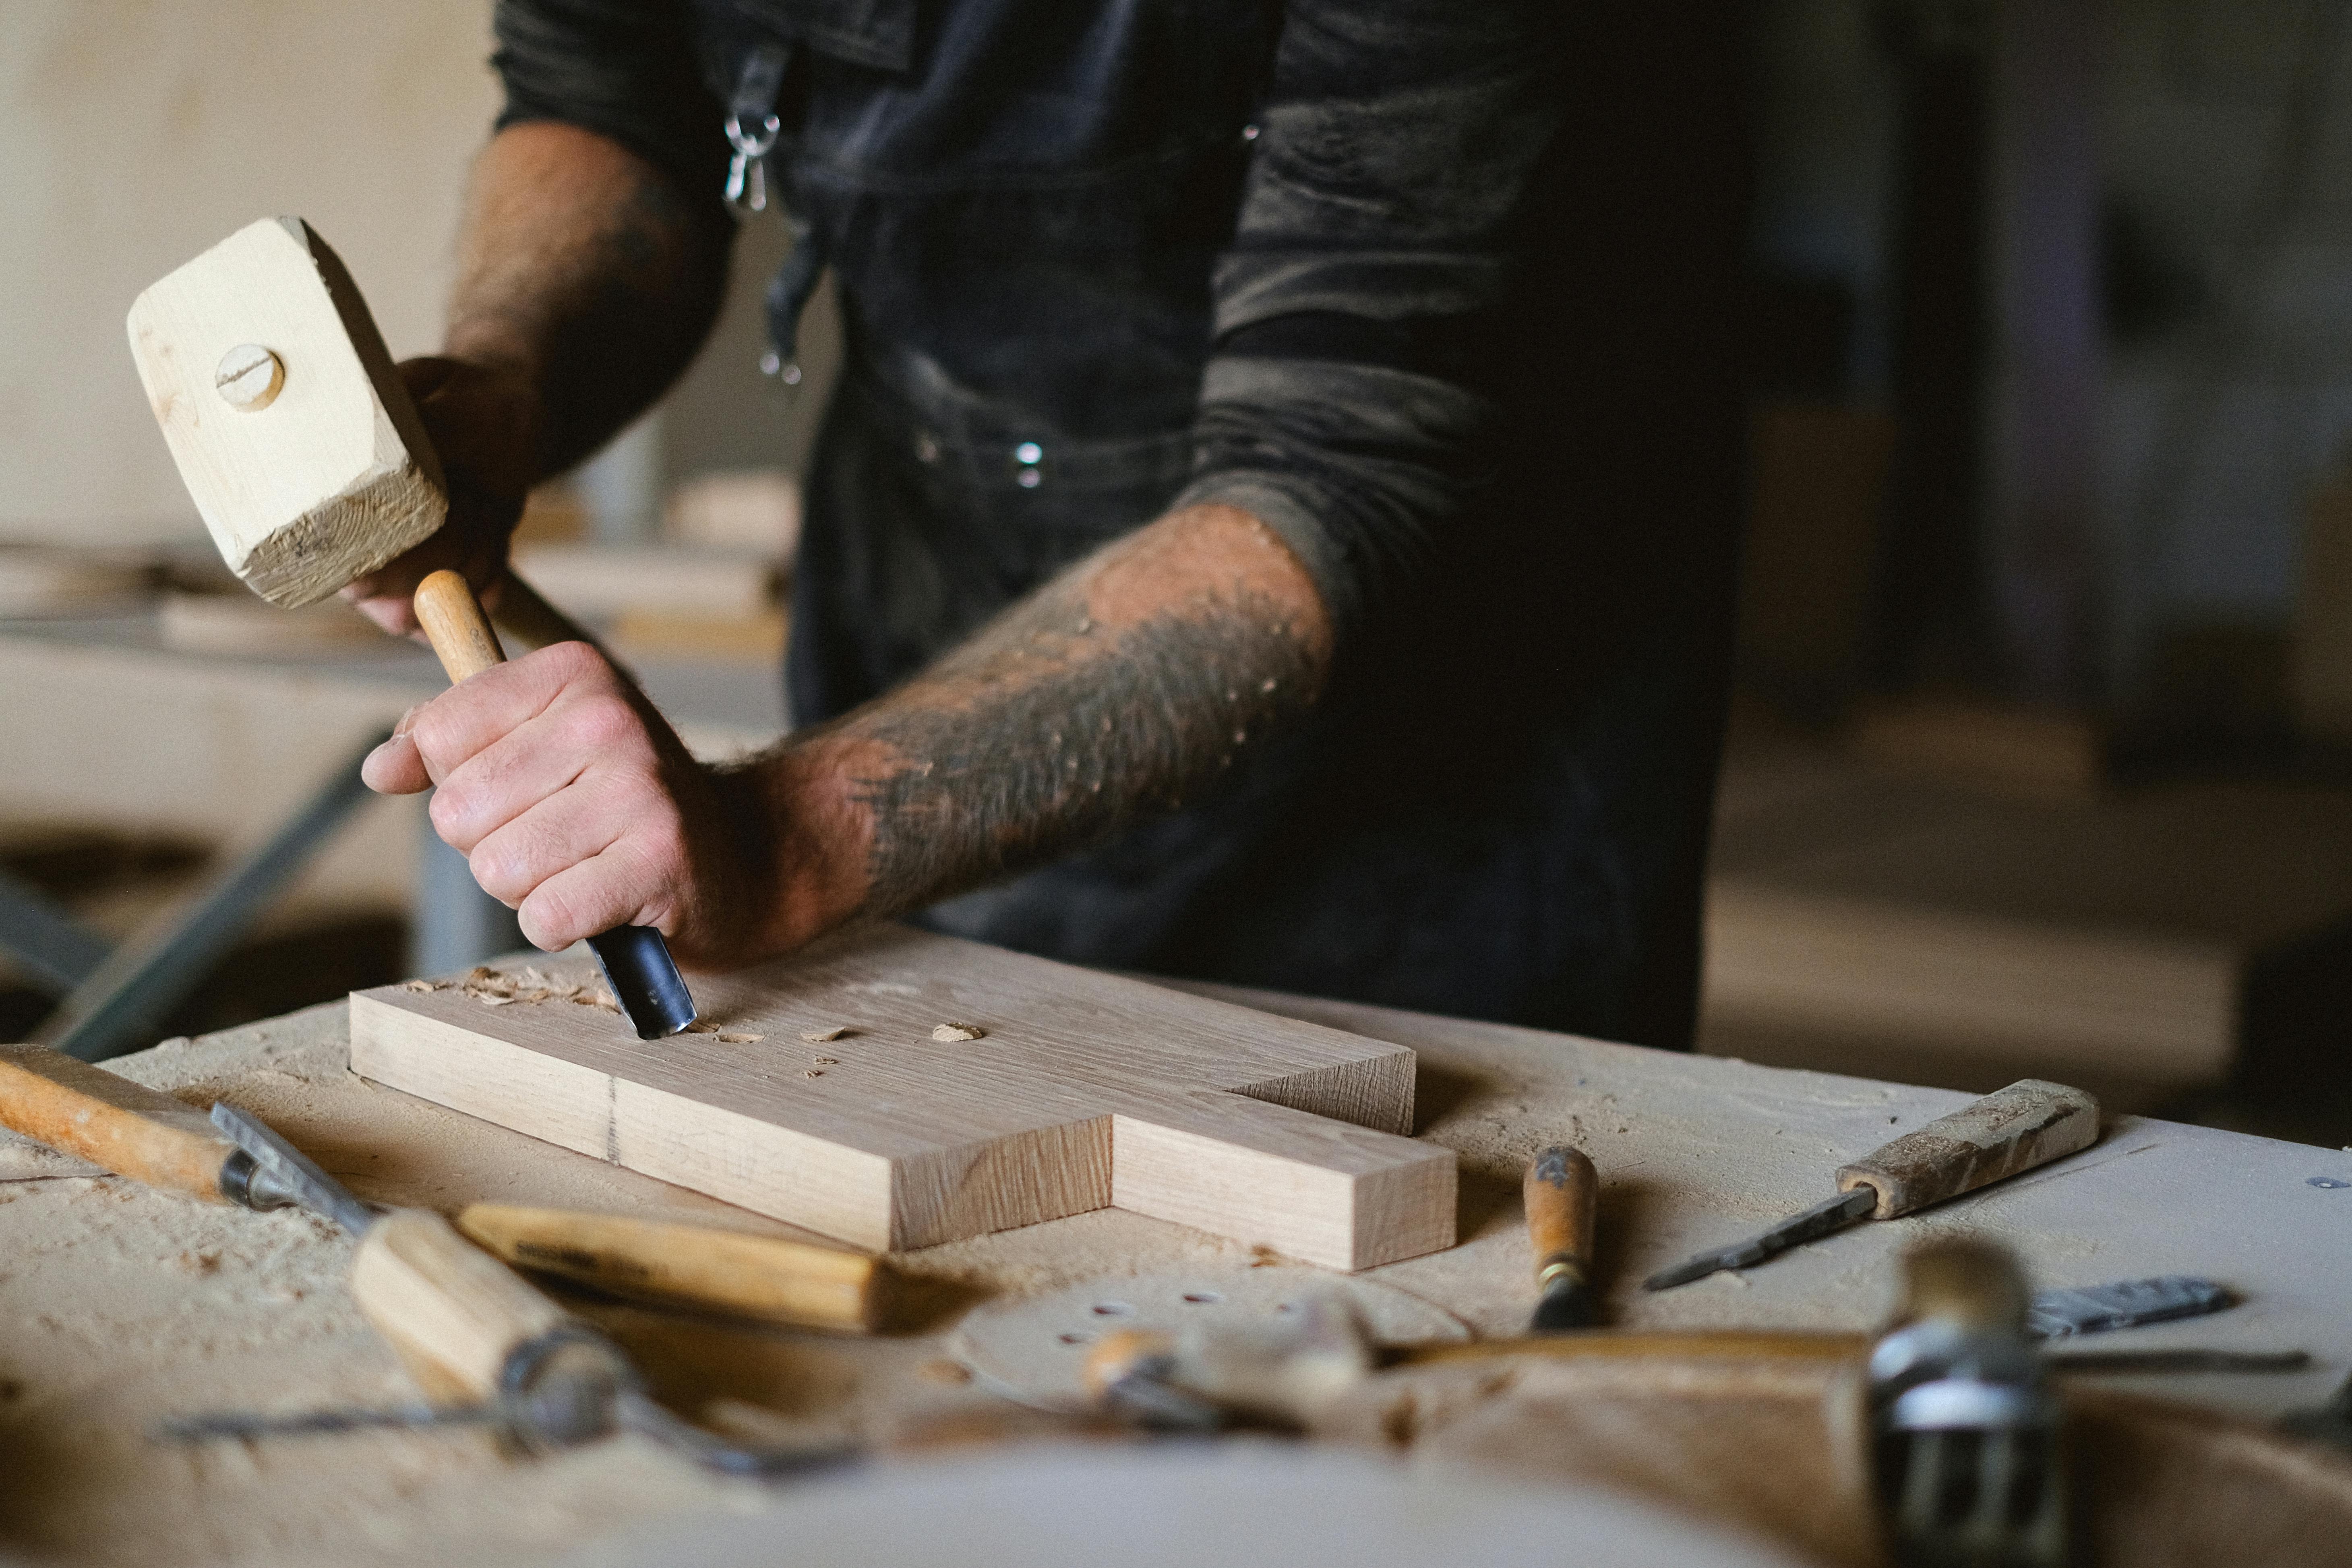
Diving into the world of DIY wooden furniture, especially rustic styles, offers both rewards and challenges. Knowing some essential techniques helps you create beautiful, sturdy pieces. Let's explore the basics to get you started on your DIY journey.
Which Basic Tools Are Needed for Beginners?
For your first wooden furniture project, the right tools make a big difference. You don't need many fancy gadgets to start. The basics include a hammer, screwdriver, hand saw, and tape measure. A power drill is also handy for drilling and fastening screws into place. To get nice, smooth finishes, you will need sandpaper or a sanding block. These basics cover most tasks.
Adding a level to your kit helps ensure shelves and tables sit straight. A carpenter's square helps make precise right angles. Clamps are useful to hold pieces tight while the glue dries. Investing in these tools prepares you for almost any furniture project at home.
How to Select the Right Wood Types?
Choosing the right wood is key to a successful DIY project. Each type has different qualities like color, grain, and ease of use. Pine is a popular choice for beginners because it's soft and easy to work with. Oak and walnut offer more strength but require more effort to shape.
Think about where your furniture will go and how it will be used. For outdoor projects, cedar and redwood resist moisture well. For more durable, long-lasting indoor pieces, hardwoods like maple or cherry are great. Picking the right wood lets you balance cost, look, and function. For inspiration and wood choices, see these examples of wooden furniture projects.
What Are the Step-by-Step Plans for a Simple Chair?
Building a simple wooden chair is a good first project. Follow these steps for a basic, reliable chair. First, gather these materials: wood boards, screws, glue, and sandpaper. Measure and cut four legs, two longer pieces for the seat, and four shorter pieces for the back and sides.
Start by attaching the two long seat pieces to two legs, forming a rectangle. Secure with screws and glue for strength. Next, attach the back and side pieces to finish the frame. This step is key for stability.
Cut and attach the seat board across the top, screwing it down tightly. Add glue where the seat meets the frame for extra hold. Sand every surface to smooth any rough spots. Finish by applying stain or paint to protect the wood and enhance its look.
Following a plan reduces mistakes. Adjust the measurements to create a chair that's comfortable for you. Once you complete one chair, making more becomes easier. You can even try a matching table next. Creating with your own hands is satisfying and builds confidence for bigger projects.
How to Incorporate Reclaimed Wood in Rustic Projects?

Reclaimed wood has a unique charm and character, making it perfect for rustic projects. Using this type of wood can give a warm and inviting feel to your home. Let’s explore how you can start using reclaimed wood to create stunning DIY furniture.
What Are the Best Types of Reclaimed Wood for Furniture?
To pick the best reclaimed wood, look for durability and appeal in the grain. Old barns, factories, or warehouses often provide oak, maple, or pine. Oak is hard and strong, with a striking grain that adds elegance to any piece. Maple, too, boasts great strength and can fit both rustic and modern looks. Pine's softer, warmer tones are great for a cozy feel. Each type has its own story, with nail marks or weathering adding character to your project.
How to Prepare Reclaimed Wood for Use?
Safe preparation of the wood is key. Start by removing any nails, screws, or other hardware. Using a metal detector can help you find hidden bits. Wear gloves for this step to protect your hands. Next, scrub the wood clean using a brush and mild soap to remove dirt and grime. Rinse and let it dry completely. Sand the wood to smooth out rough spots while keeping an eye on maintaining its rustic charm. Finish by applying a sealer to protect and enhance its look. Make sure it's not toxic if you'll use it indoors. By following these steps, you keep the wood’s character while prepping it for your DIY project.
What Projects Are Ideal for Beginners?
You’re ready to dive into DIY with reclaimed wood, but where to start? Simple projects, like making a picture frame or a shelf, can get your feet wet without overwhelming you. A picture frame is a perfect beginner project. It’s small, needs few tools, and lets you grasp the basics of cutting and joining wood. A coat rack could be your next step up. Use a plank of reclaimed wood and add hooks for function and style. It's easy, yet very satisfying. Another great project is a rustic coffee table. Start by selecting a wider plank for the tabletop and four sturdy table legs. This project allows you to mix and match wood types for a unique piece. By beginning with easy items, you can build your confidence and skill with reclaimed wood projects.
For more inspiration and project ideas, explore pinterest.com, where you can find creative ways to use reclaimed wood.
How Can You Achieve a Rustic Chic Look at Home?

Creating a rustic chic home can bring a warm, cozy feeling to your space. The key is to balance raw, natural elements with chic touches or accessories. Let's explore how to make it happen.
What Paint Techniques Create a Rustic Feel?
What should you do to get that rustic feel with paint? Start with chalk paint. It gives furniture a worn look. You can also try milk paint. It creates a matte finish and cracks easily. The natural furniture distressing technique can add character. Lightly sand edges and corners. This makes them look aged. Using a dry brush with white paint is another way. Swipe across the wood grain lightly. It adds texture and highlights any imperfections.
Want to deepen the rustic effect? Apply a glaze or wax. This makes surfaces look antique. It also brings out the details of the wood grain. Paint layering is a simple trick to use. This means applying different shades of paint. Once dry, sand through layers to reveal colors beneath. This creates depth and a timeworn appearance. Speaking of colors, stick to earth tones. Think whites, grays, and muted blues or greens. These colors align best with the rustic style.
Which Decorations Enhance a Rustic Interior?
How do you choose the right decorations? Start with nature-inspired items. These could be twigs, branches, or flowers. Use them in vases or add them to wreaths. Textiles like burlap, linen, and wool are great, too. Their textures add warmth and comfort. Curtains, pillows, and throws can feature these materials.
Consider metal accents as well. Iron or copper items can add an industrial touch. But avoid shiny finishes. Matte or weathered metals blend better. Wooden crates also work well. They serve as storage and add rustic charm. Old books and vintage items offer character and tell a story. You might use old clocks or wooden signs.
Lighting plays a key role. Warm lights create a cozy ambiance. Consider Edison bulbs or lanterns. They throw soft light, perfect for rustic settings. Wall colors matter, too. Neutrals are ideal. They keep the space grounded and serene. If possible, expose natural materials like brick or wood beams. They make the space feel cohesive and authentic.
How to Feature Rustic Furniture in a Modern Space?
Can rustic furniture fit in modern spaces? Absolutely. First, keep your modern room clean and simple. Rustic pieces should stand out, not clash. Balance is crucial. Use one or two rustic pieces in the room. It draws attention without overwhelming.
Mix rustic with sleek lines. Place a reclaimed wood table next to a modern sofa. It adds depth and intrigue. Your color palette should remain neutral. For instance, gray, white, and beige are excellent choices. These colors let the rustic pieces shine.
Start small if you're unsure. Try a rustic mirror or lamp. See how it changes the vibe of the room. Choose items with both form and function. A wooden ladder can serve as a towel rack. Rustic bookshelves can display items or hold storage boxes.
Art is another way to incorporate the rustic feel. You could use framed prints of nature scenes. Inspirational quotes on reclaimed wood look great on walls. This balances modern sleek lines with natural warmth.
In conclusion, getting a rustic chic look blends the charm of age with modern calm. Choose your paint, decorations, and furniture wisely. Each choice builds towards a serene yet vibrant home. Combining rustic and modern can indeed create a beautiful contrast.
What Are Effective Methods for Distressing Furniture?
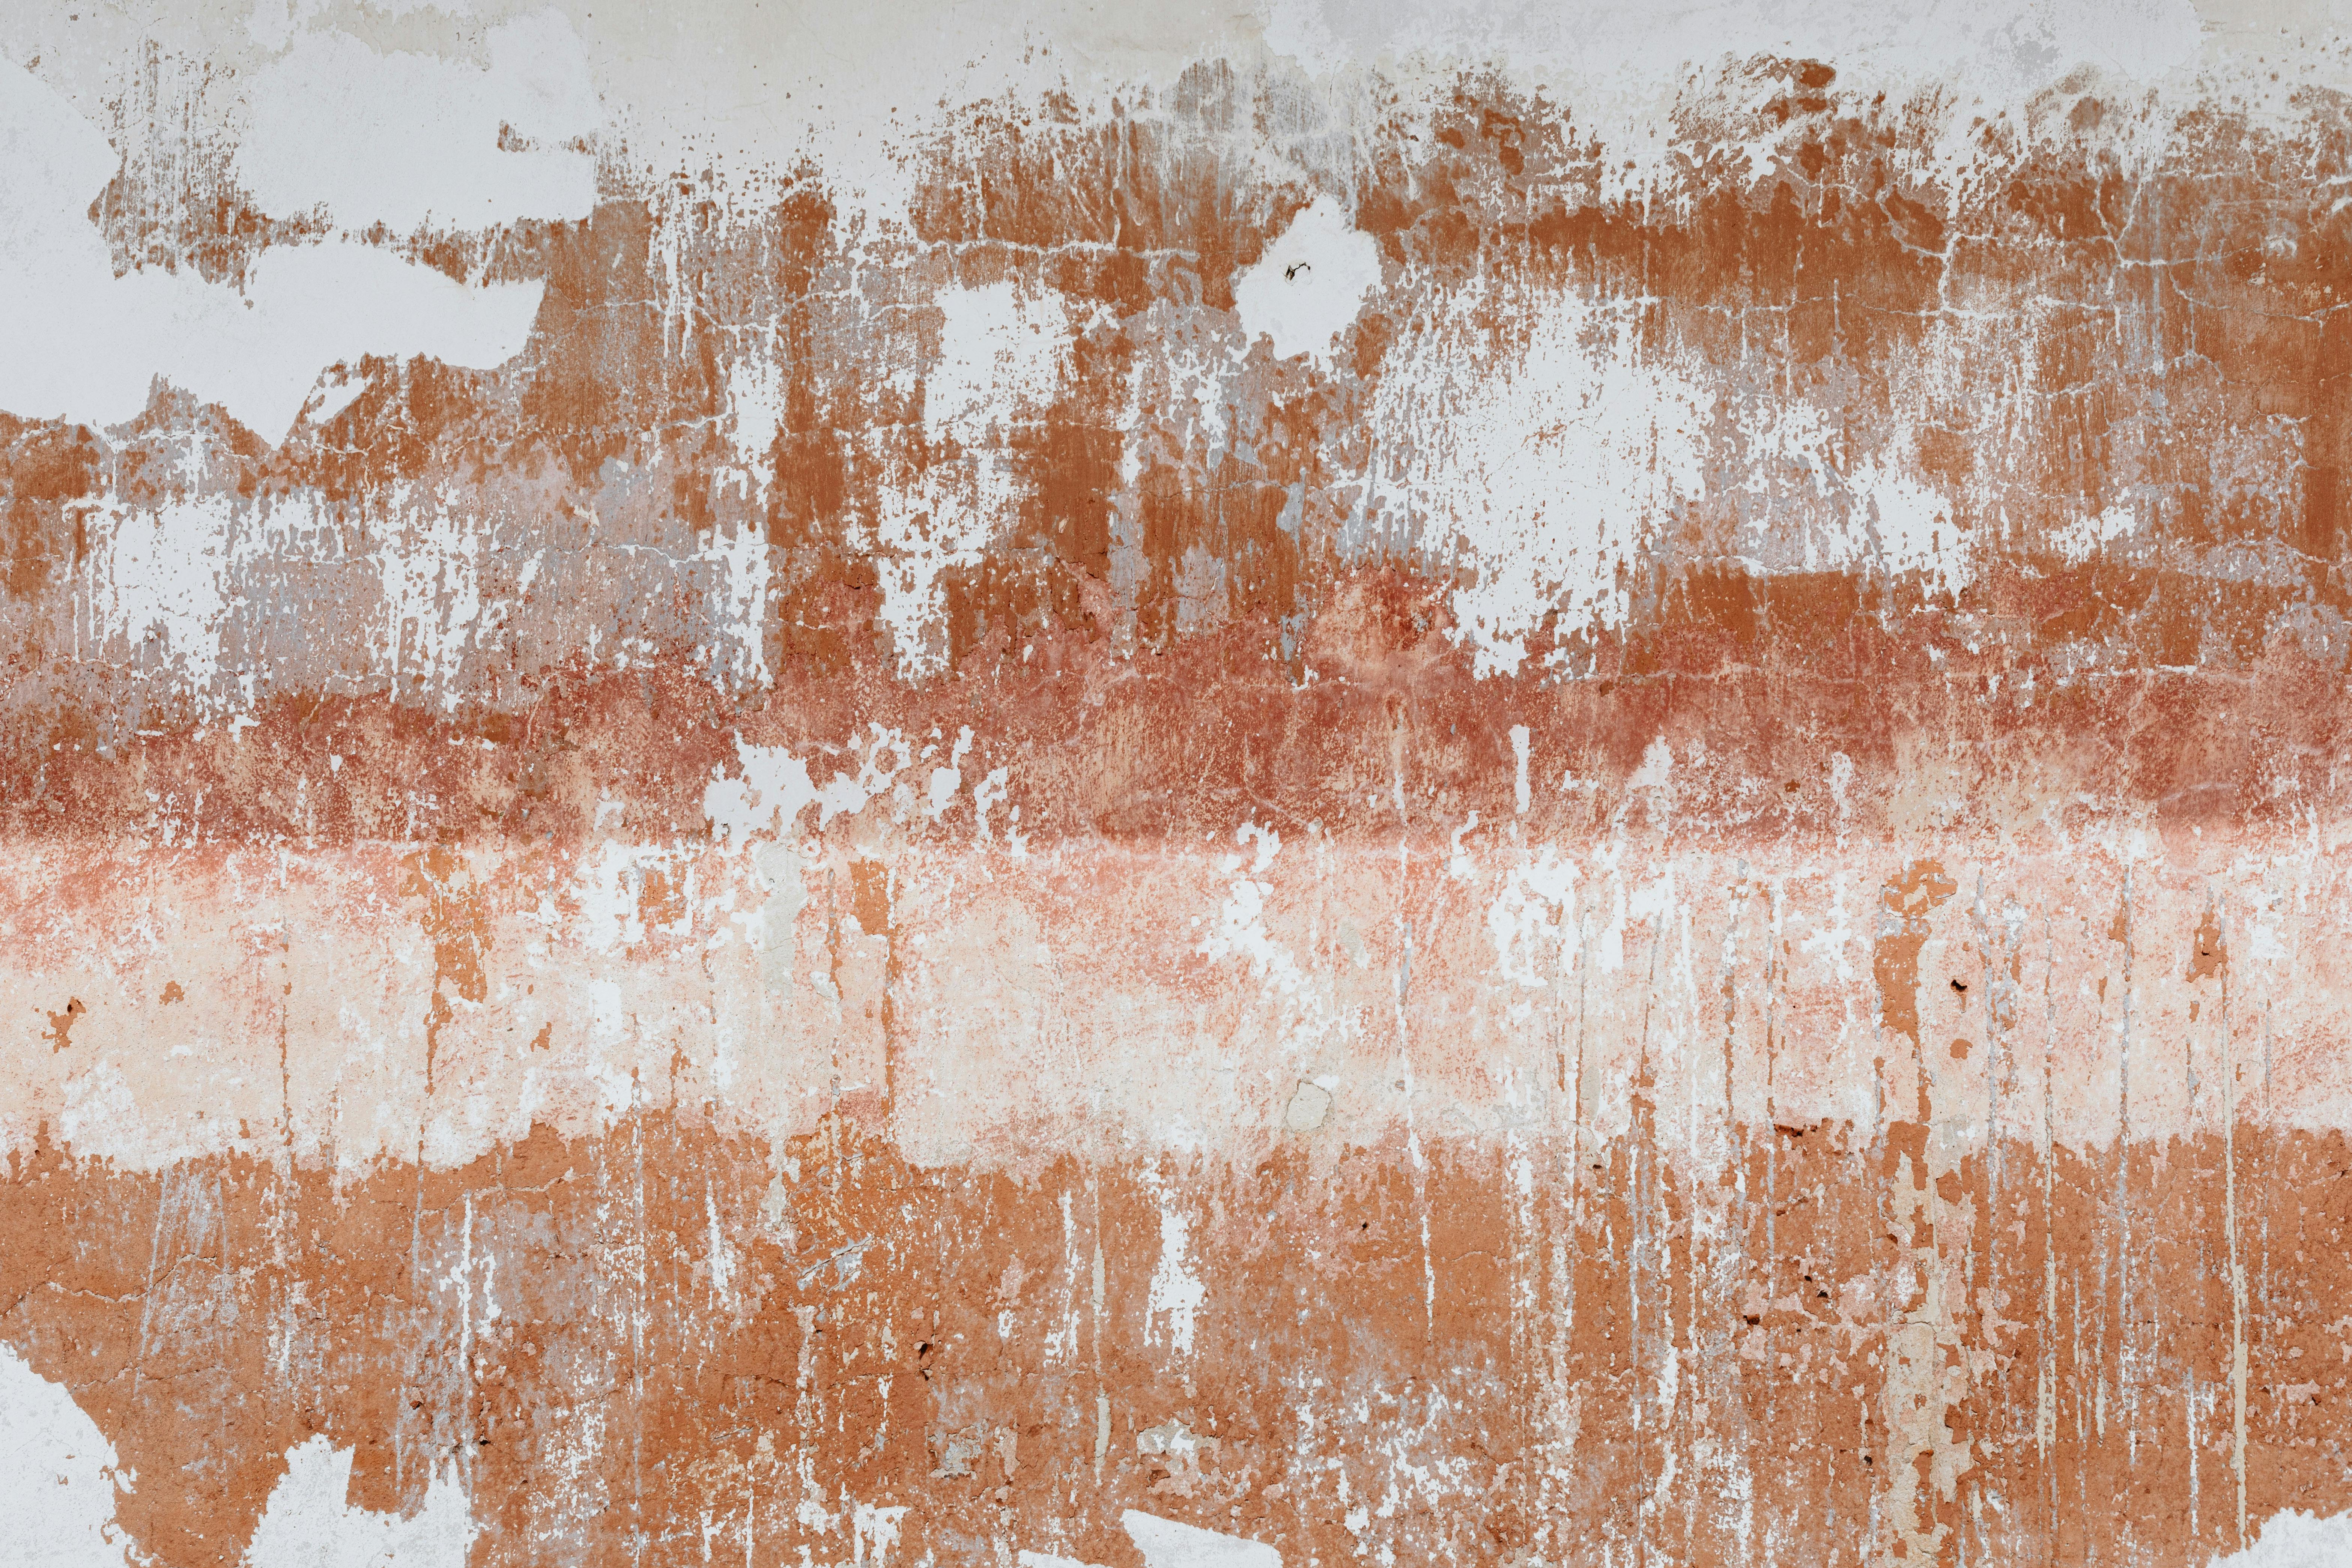
When trying to add charm to any piece, distressed furniture becomes a prime target. The use of paint and some tools will help you get a well-aged look. To guide this project, let's break things down step-by-step, from paints to techniques that help dodge mishaps on your project. Here’s a simple plan.
Which Paints and Tools Are Required?
Your quest starts with the choice of paints. Use chalk paint or milk paint for a great finish. Both types have a matte sheen that gives a worn look to items. You can find them in many hues, so pick a shade that fits the room.
Next, gather the right tools. Sandpaper is a must-have. Get both coarse and fine grits. A paintbrush will help with neat strokes, while a painter’s cloth wipes excess paint off. You can purchase these items at a nearby craft store or even online.
Use a putty knife too. This helps scrape and add lines for a more rustic look. Keep a sponge or rag close for dabbing paint in tough spots. To finish, some clear wax or sealant locks the coloring in place.
How to Layer Paints for a Weathered Effect?
Layering colors builds depth, much like in art. Start with a base coat, a dark tone works best. After it dries, add a lighter shade on top. It is key to use a dry brush here—dip the brush lightly, then remove extra paint on a towel.
The trick lies in using thin layers so that hints of the base coat peek through. Brush along the wood grain for a more natural look. If you need more wear, rub sandpaper on edges and spots likely to have bumped over time.
For a crackled texture, try a crackle glaze between layers. It mimics aged paint flakes. Let the piece dry well between steps. Once done, a wax coat seals the rustic charm.
What Techniques Avoid Over-distressing?
Striking the right balance is key in distressing. Overdoing can lead to a shabby piece, which impacts the style you aim for. There's a sweet spot where furniture looks aged yet retains elegance.
To avoid pitfalls, only work on the spots that experience wear in reality, like corners and edges. Use sandpaper sparingly at first, then review the effect before distressing more.
Do not rush the paint removal process. Slow and delicate motions help, especially when starting out. If unsure, pause to review progress. If you’re concerned about over-sanding, begin with a fine grit and test spots before making bolder moves.
You can also shield some areas, like moldings or carvings, to retain their original look. Painters’ tape works well for this, so you have no accidents.
Once complete, recipes can enhance beauty further. Applying clear wax or sealant finishes the styling onward and protects from future dust. These choices tailor every new piece to match seamlessly within your home’s interior.
Distressing furniture is fun and personal. With these insights, your old items will shine with new life. Dive in with excitement, let each piece narrate a story, and learn more with each project you create.
How to Design Custom Rustic Tables?
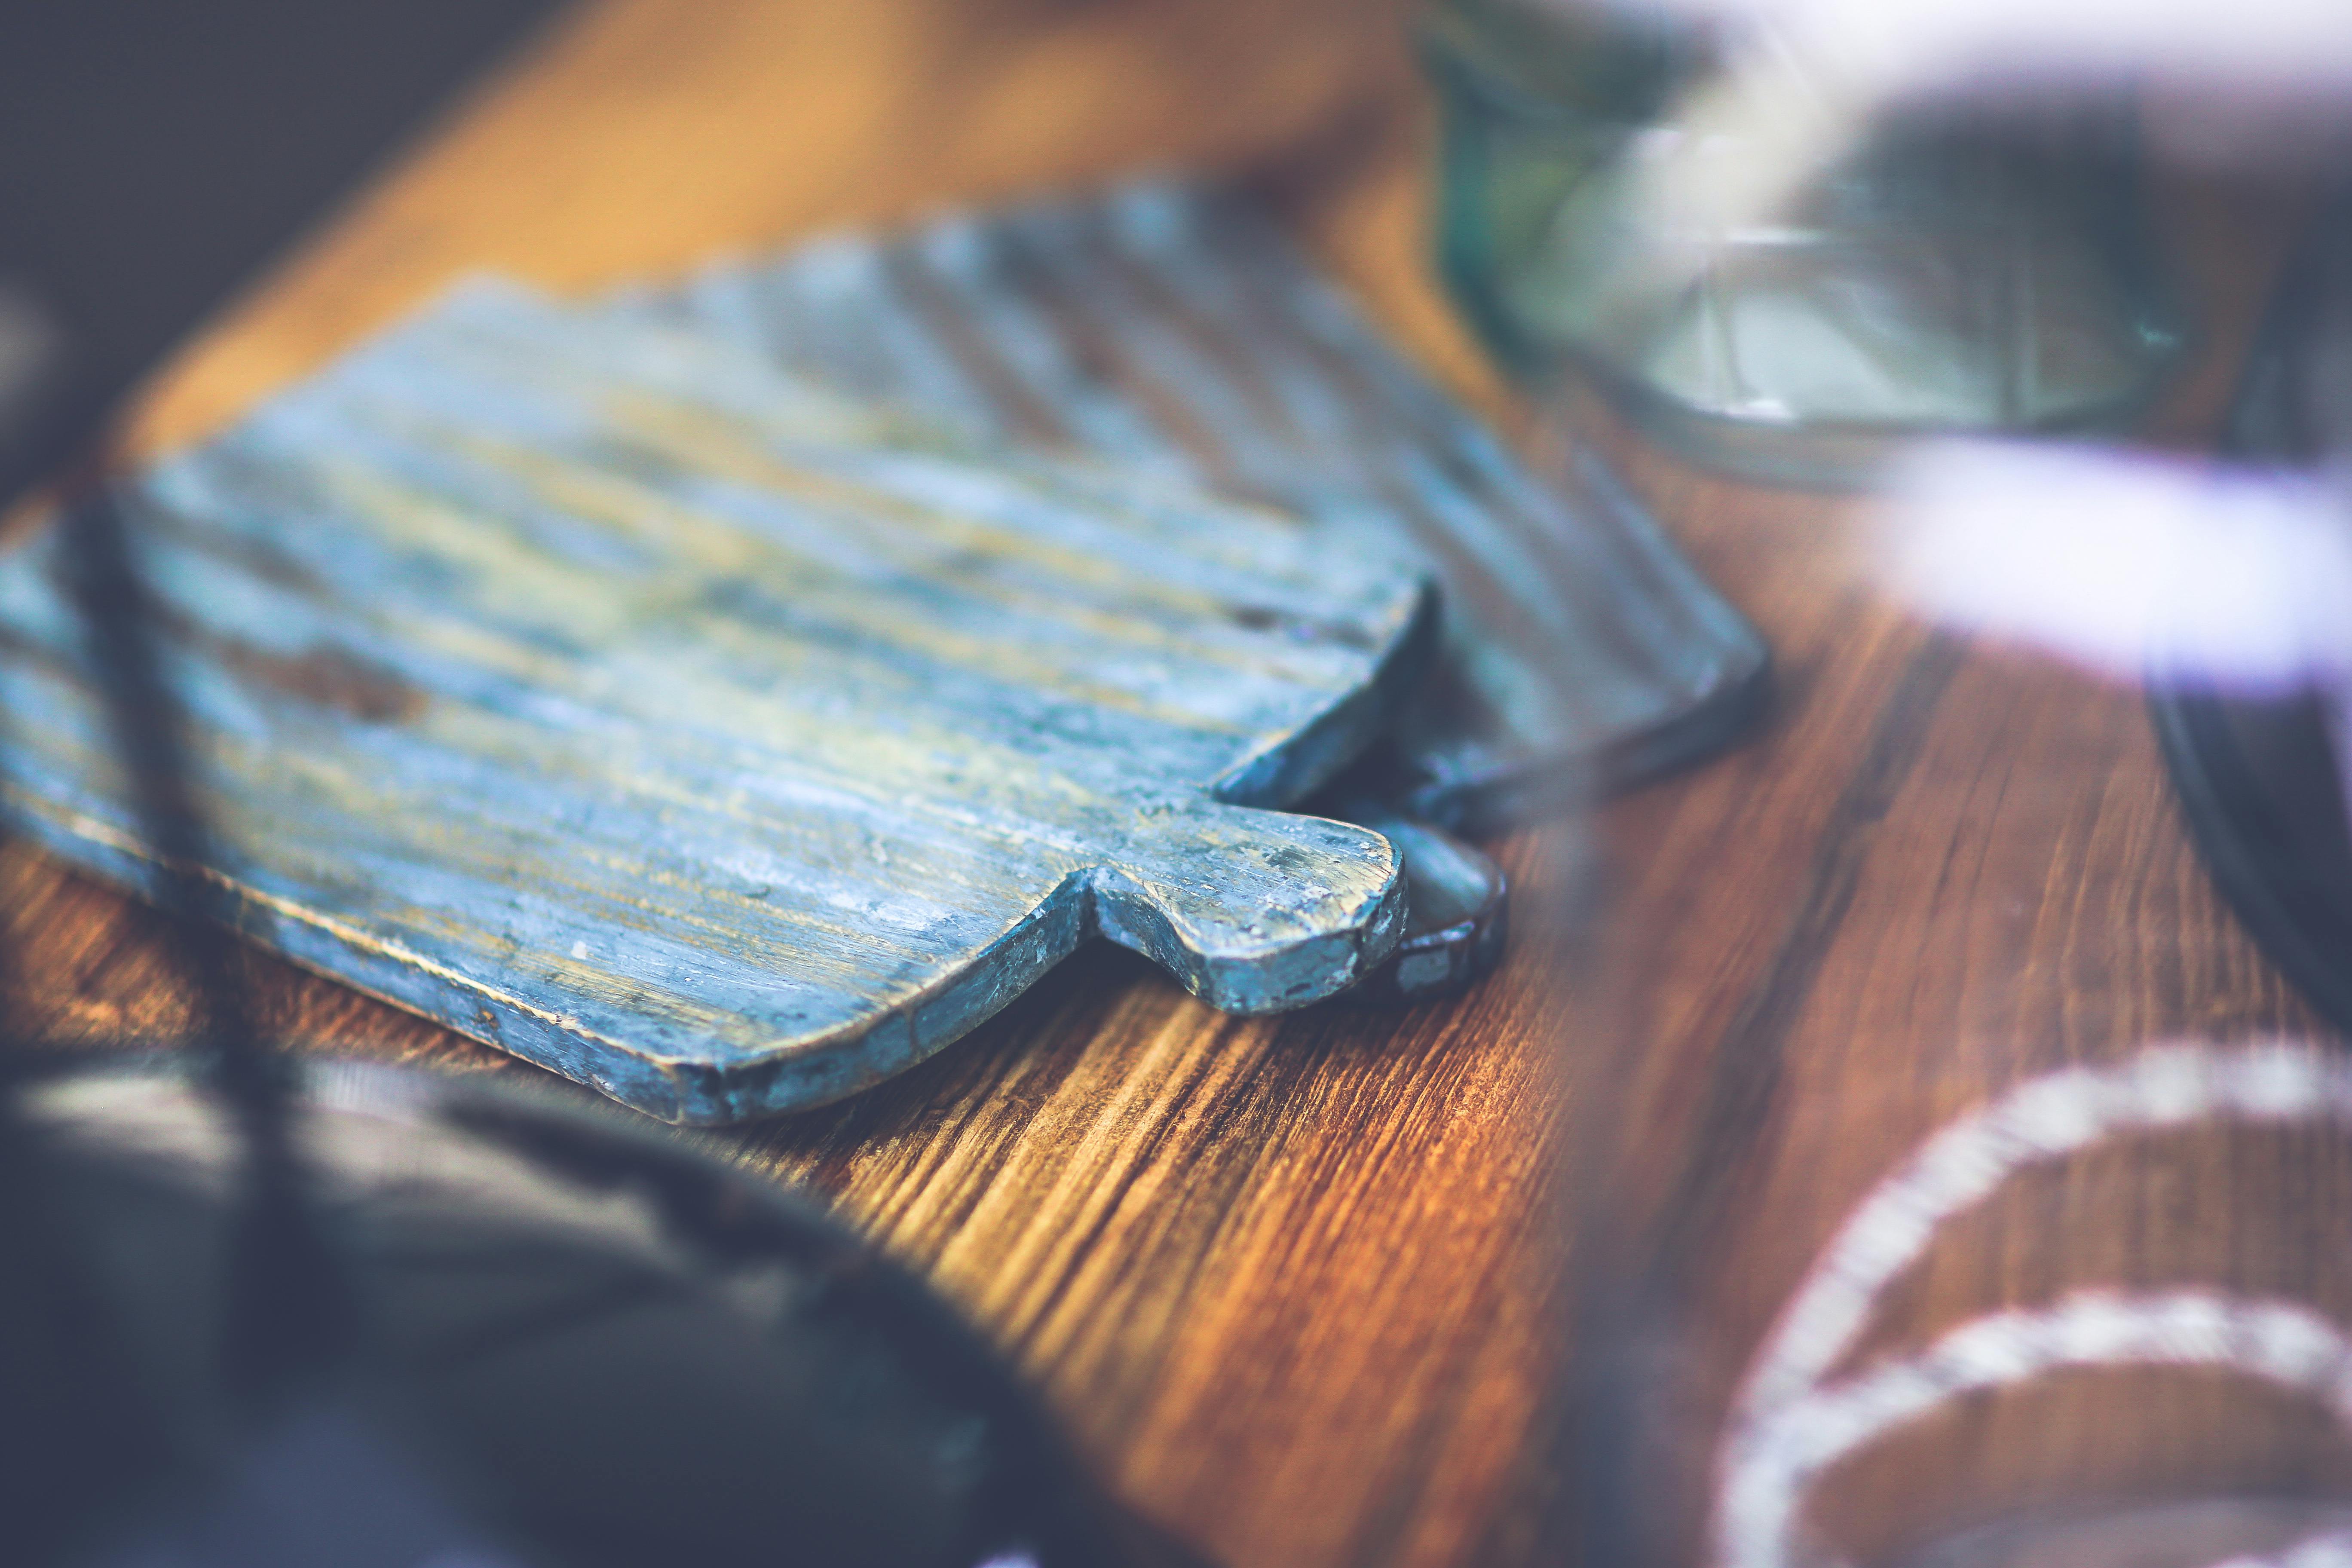
Designing custom rustic tables can be satisfying and creative. You don’t need to be a master craftsman. You just need some basic tools, the right materials, and a clear plan. I’ll guide you through choosing the best wood stains, constructing a table to fit any space, and the key design elements to achieve that perfect rustic look.
What Are the Best Wood Stains for Finishing?
Choosing the best wood stain is crucial for giving your table that warm, aged look. Water-based stains are a favorite; they dry fast and offer easy cleanup. Oil-based stains penetrate deeply, providing rich color and protection. My top pick is a water-based stain when I want an easy cleanup with vibrant color. But if I need a deeper hue and more durability, I go with oil-based. Some brands, like Minwax, offer a wide range of colors and finishes to fit various styles. Test stains on a scrap piece of wood before applying to your final product. This helps ensure you achieve the exact color you have in mind.
How to Construct a Table That Fits Your Space?
To build a table perfectly tailored to your space, start with accurate measurements. Measure your desired space—width, depth, and height—and mark it down. Next, consider the table’s purpose. Will it be a dining table, a coffee table, or perhaps a side table? Proper planning is crucial. You might want a dining table that's wider or a coffee table that's lower to the ground. Sketch your design on paper or use simple software to visualize the structure. Compile a list of the needed wood cuts based on your design. Head to your local lumberyard and choose your materials, keeping in mind your stain choices. Cut the wood pieces to size, and then assemble them using nails, screws, or bolts, depending on the design. Use a leveler to ensure everything is even. Sand down any rough edges for a smooth finish, and now it’s ready to stain.
What Are Key Design Elements for Rustic Tables?
What makes a table rustic? Rough, natural textures and simple designs evoke rural charm. Look for wood with knots and visible grain patterns, as these add character. The shape of the table should be simple and functional. Remember that details like heavy legs or a thick tabletop can contribute to a rustic aesthetic. Beyond wood, consider mixed materials like metal accents or black iron legs. Wrought iron or pipe fittings can offer a handcrafted feel. Natural finishes are best to achieve this style, so avoid shiny paints or coatings. Instead, opt for matte finishes or simple beeswax to keep it looking authentic. Add unique touches like visible wood dowels or hand-crafted joinery. These little details can make your piece stand out.
Rustic furniture has a welcoming and natural feel, bringing a touch of the outdoors inside. For more ideas and plans, check out rustic furniture plans to help you get started. You'll find inspiration and detailed guides to create your dream rustic furniture at home.
Conclusion
Creating stunning DIY furniture is within your reach with the right skills. We've covered the essential tools and wood types, starting with simple projects like chairs. Reclaimed wood adds charm, and we've explored preparing and choosing the best types. Rustic chic decor can transform your space when you use the right paint and decoration techniques. Distressing furniture adds character without overdoing it. You can design custom tables that fit any space with thoughtful detail. Now, grab your tools and start crafting your unique pieces at home!


