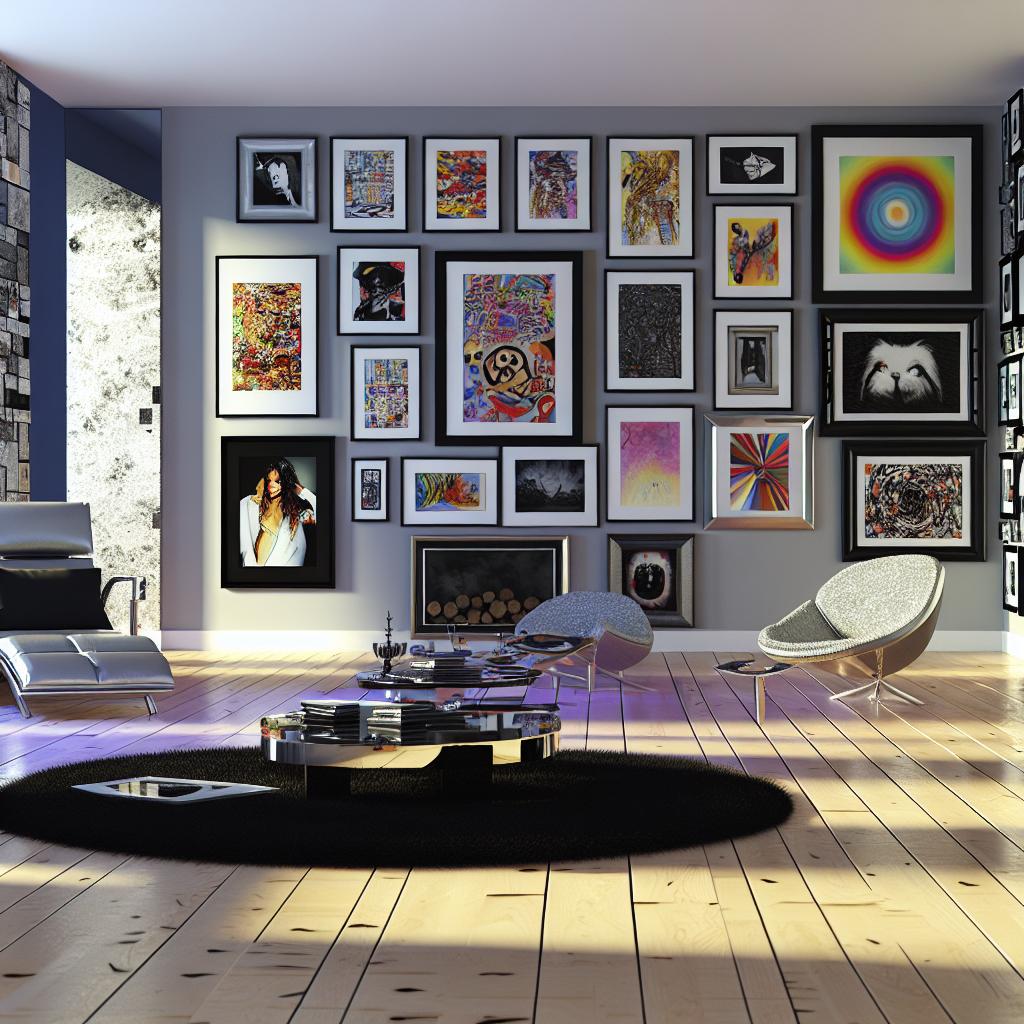
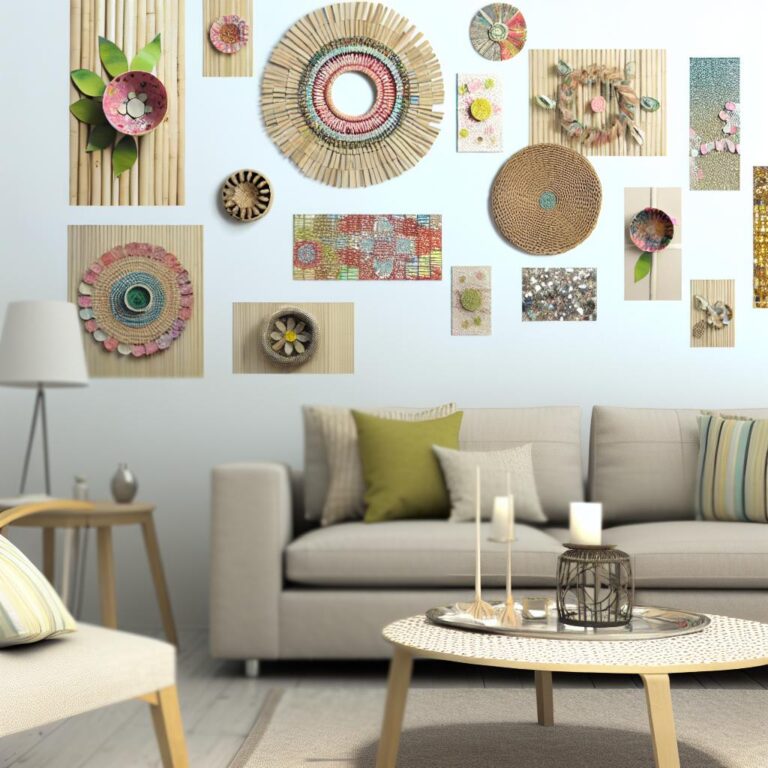
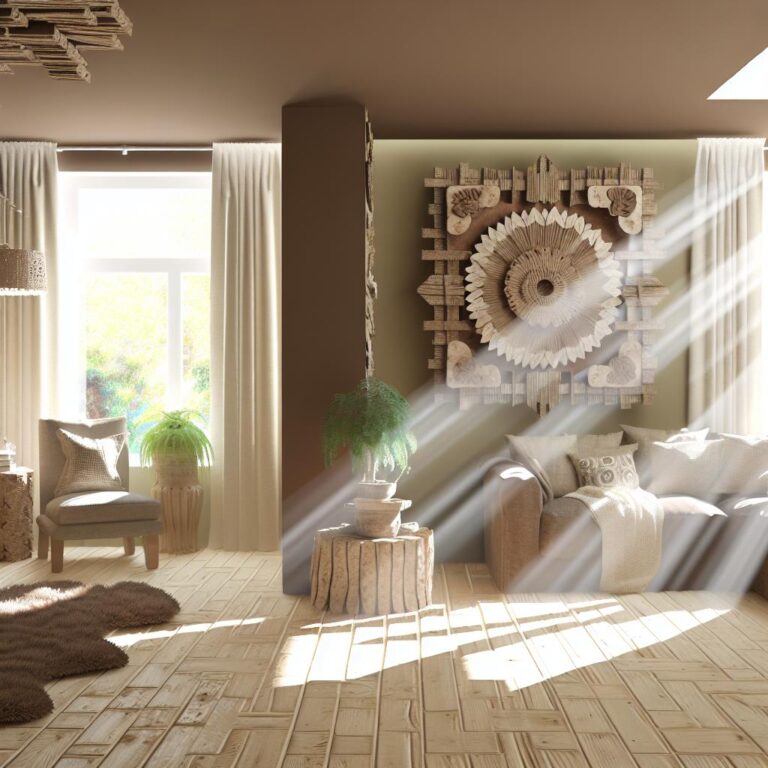
Gallery wall setups: Where should you start planning?
- Choosing a Wall: Consider wall color, space, and light to set your gallery's tone.
- Design Ideas: Pick a theme or color scheme for a unified look.
- Layout Planning: Use paper templates on the wall to arrange frames before hanging.
- Frame Styles: Choose diverse styles but maintain theme consistency for balance.
- Arrangement Techniques: Use grid or salon-style layouts; eye-level positioning (57 inches) and spacing (3-6 inches) are key.
- Personalization: Use DIY projects (e.g., photo mats) with materials like scrapbook paper for unique touches.
- Budget Solutions: Use thrift finds, old book pages; DIY mat projects cost around $5.
- Dynamic Display: Mix art sizes for interest; start arranging from the center outward.
Setting up a gallery wall can turn any room into a masterpiece. But where do you start? For the creative DIY enthusiast, the journey begins with planning and inspiration. You'll need gallery wall design ideas and strategies for arranging wall art displays to craft a visual narrative that speaks to you. Ready to dive into the world of frame styles, layout techniques, and personal themes? Together, we'll explore the ins and outs of creating a showcase you can be proud of.
How Do You Begin Creating a Gallery Wall?
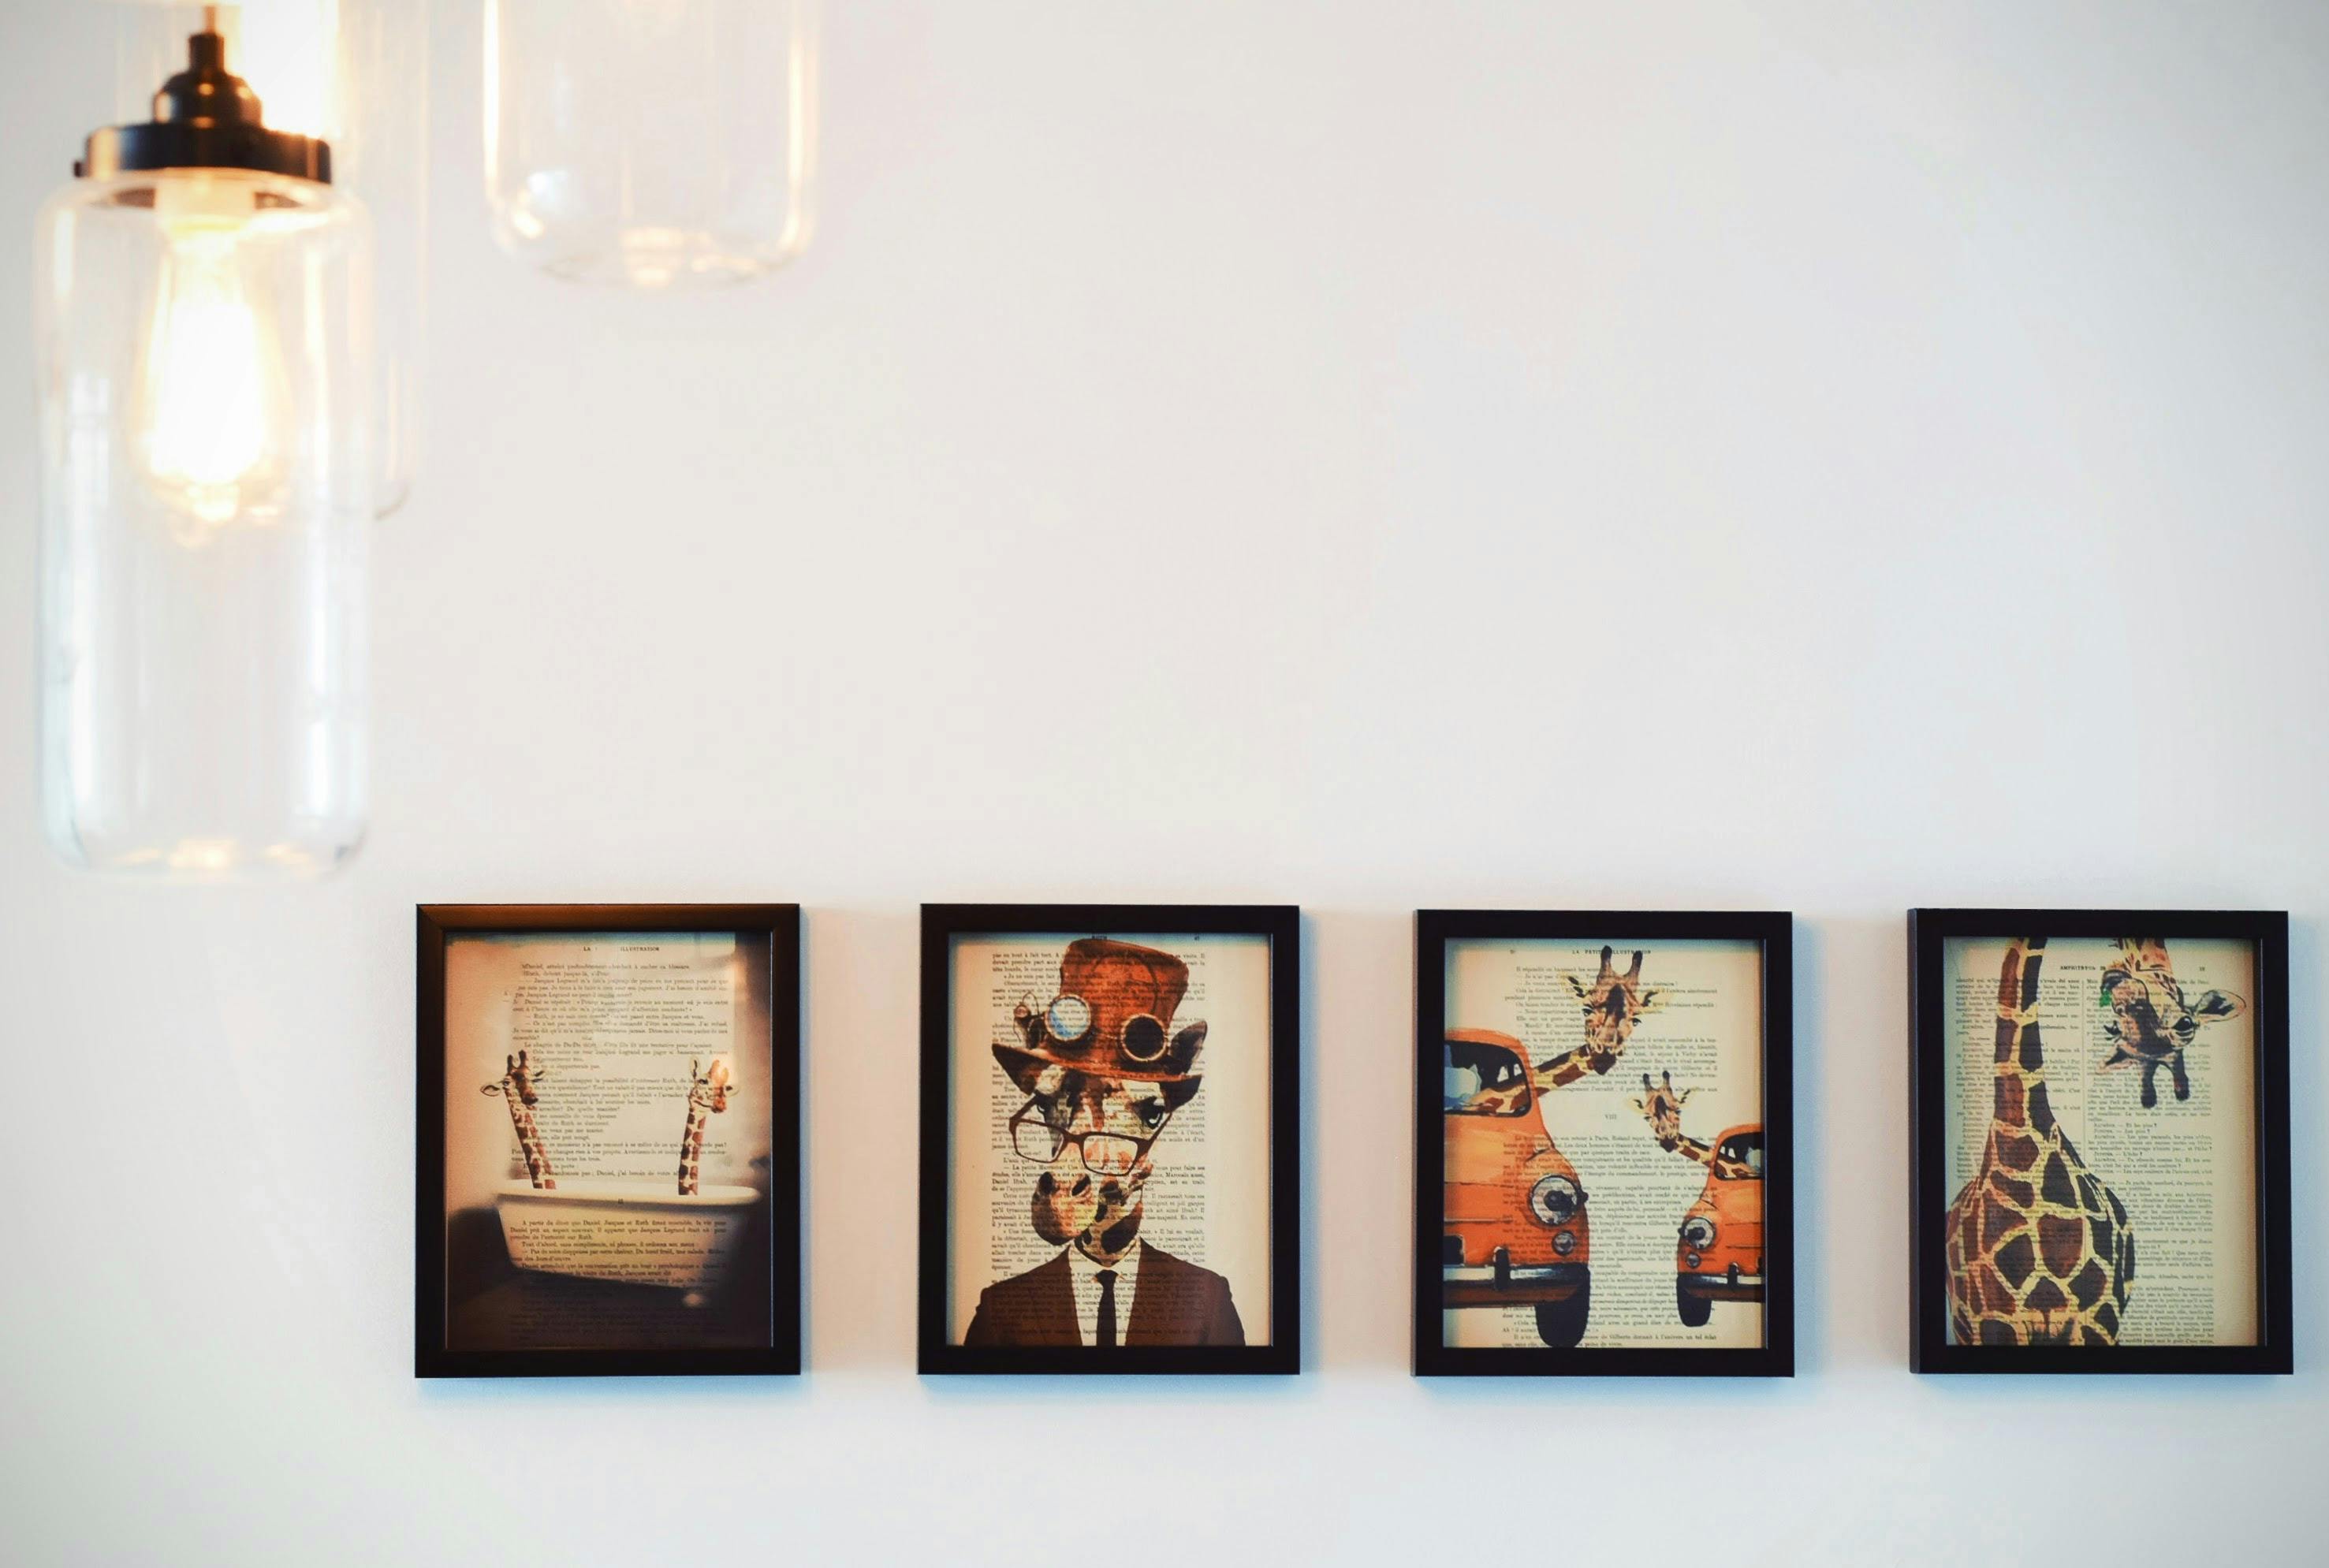
The first step is choosing your wall. It sounds simple, but it's key. This space becomes your canvas. Consider the wall color, available space, and light. These factors help shape your gallery's story.
Next, explore different gallery wall design ideas. Have a theme or color scheme in mind. The theme sets the tone and mood of your wall. It helps create a unified look. You might choose a family theme or favorite art pieces. Having a clear theme brings focus and style.
Layout planning is hugely important. It makes arranging wall art displays much easier. Cut paper that matches the size of each frame. Use the paper on the wall before hanging any art. This way, you can move and adjust art pieces without mistakes. A planned layout saves you from making holes in the wall.
Can picture collage planning aid in overall design? Yes, it does. By planning a picture collage, you can see what fits best. It also helps with choosing frame styles and sizes. It allows you to play with different arrangements until it feels right.
Now, gather your art and frames. Mix and match frame styles, but stick to your theme. This balance keeps your wall looking consistent yet lively. You can use old book pages or scrapbook paper to create unique photo mats. This craft is both fun and low-cost, celebrating personal touch in each piece.
By starting with these steps, your gallery wall becomes personal and crafted just for you. It's more than just art on the wall—it's a reflection of your style and story.
What Are Effective Layout Techniques for Art Arrangements?
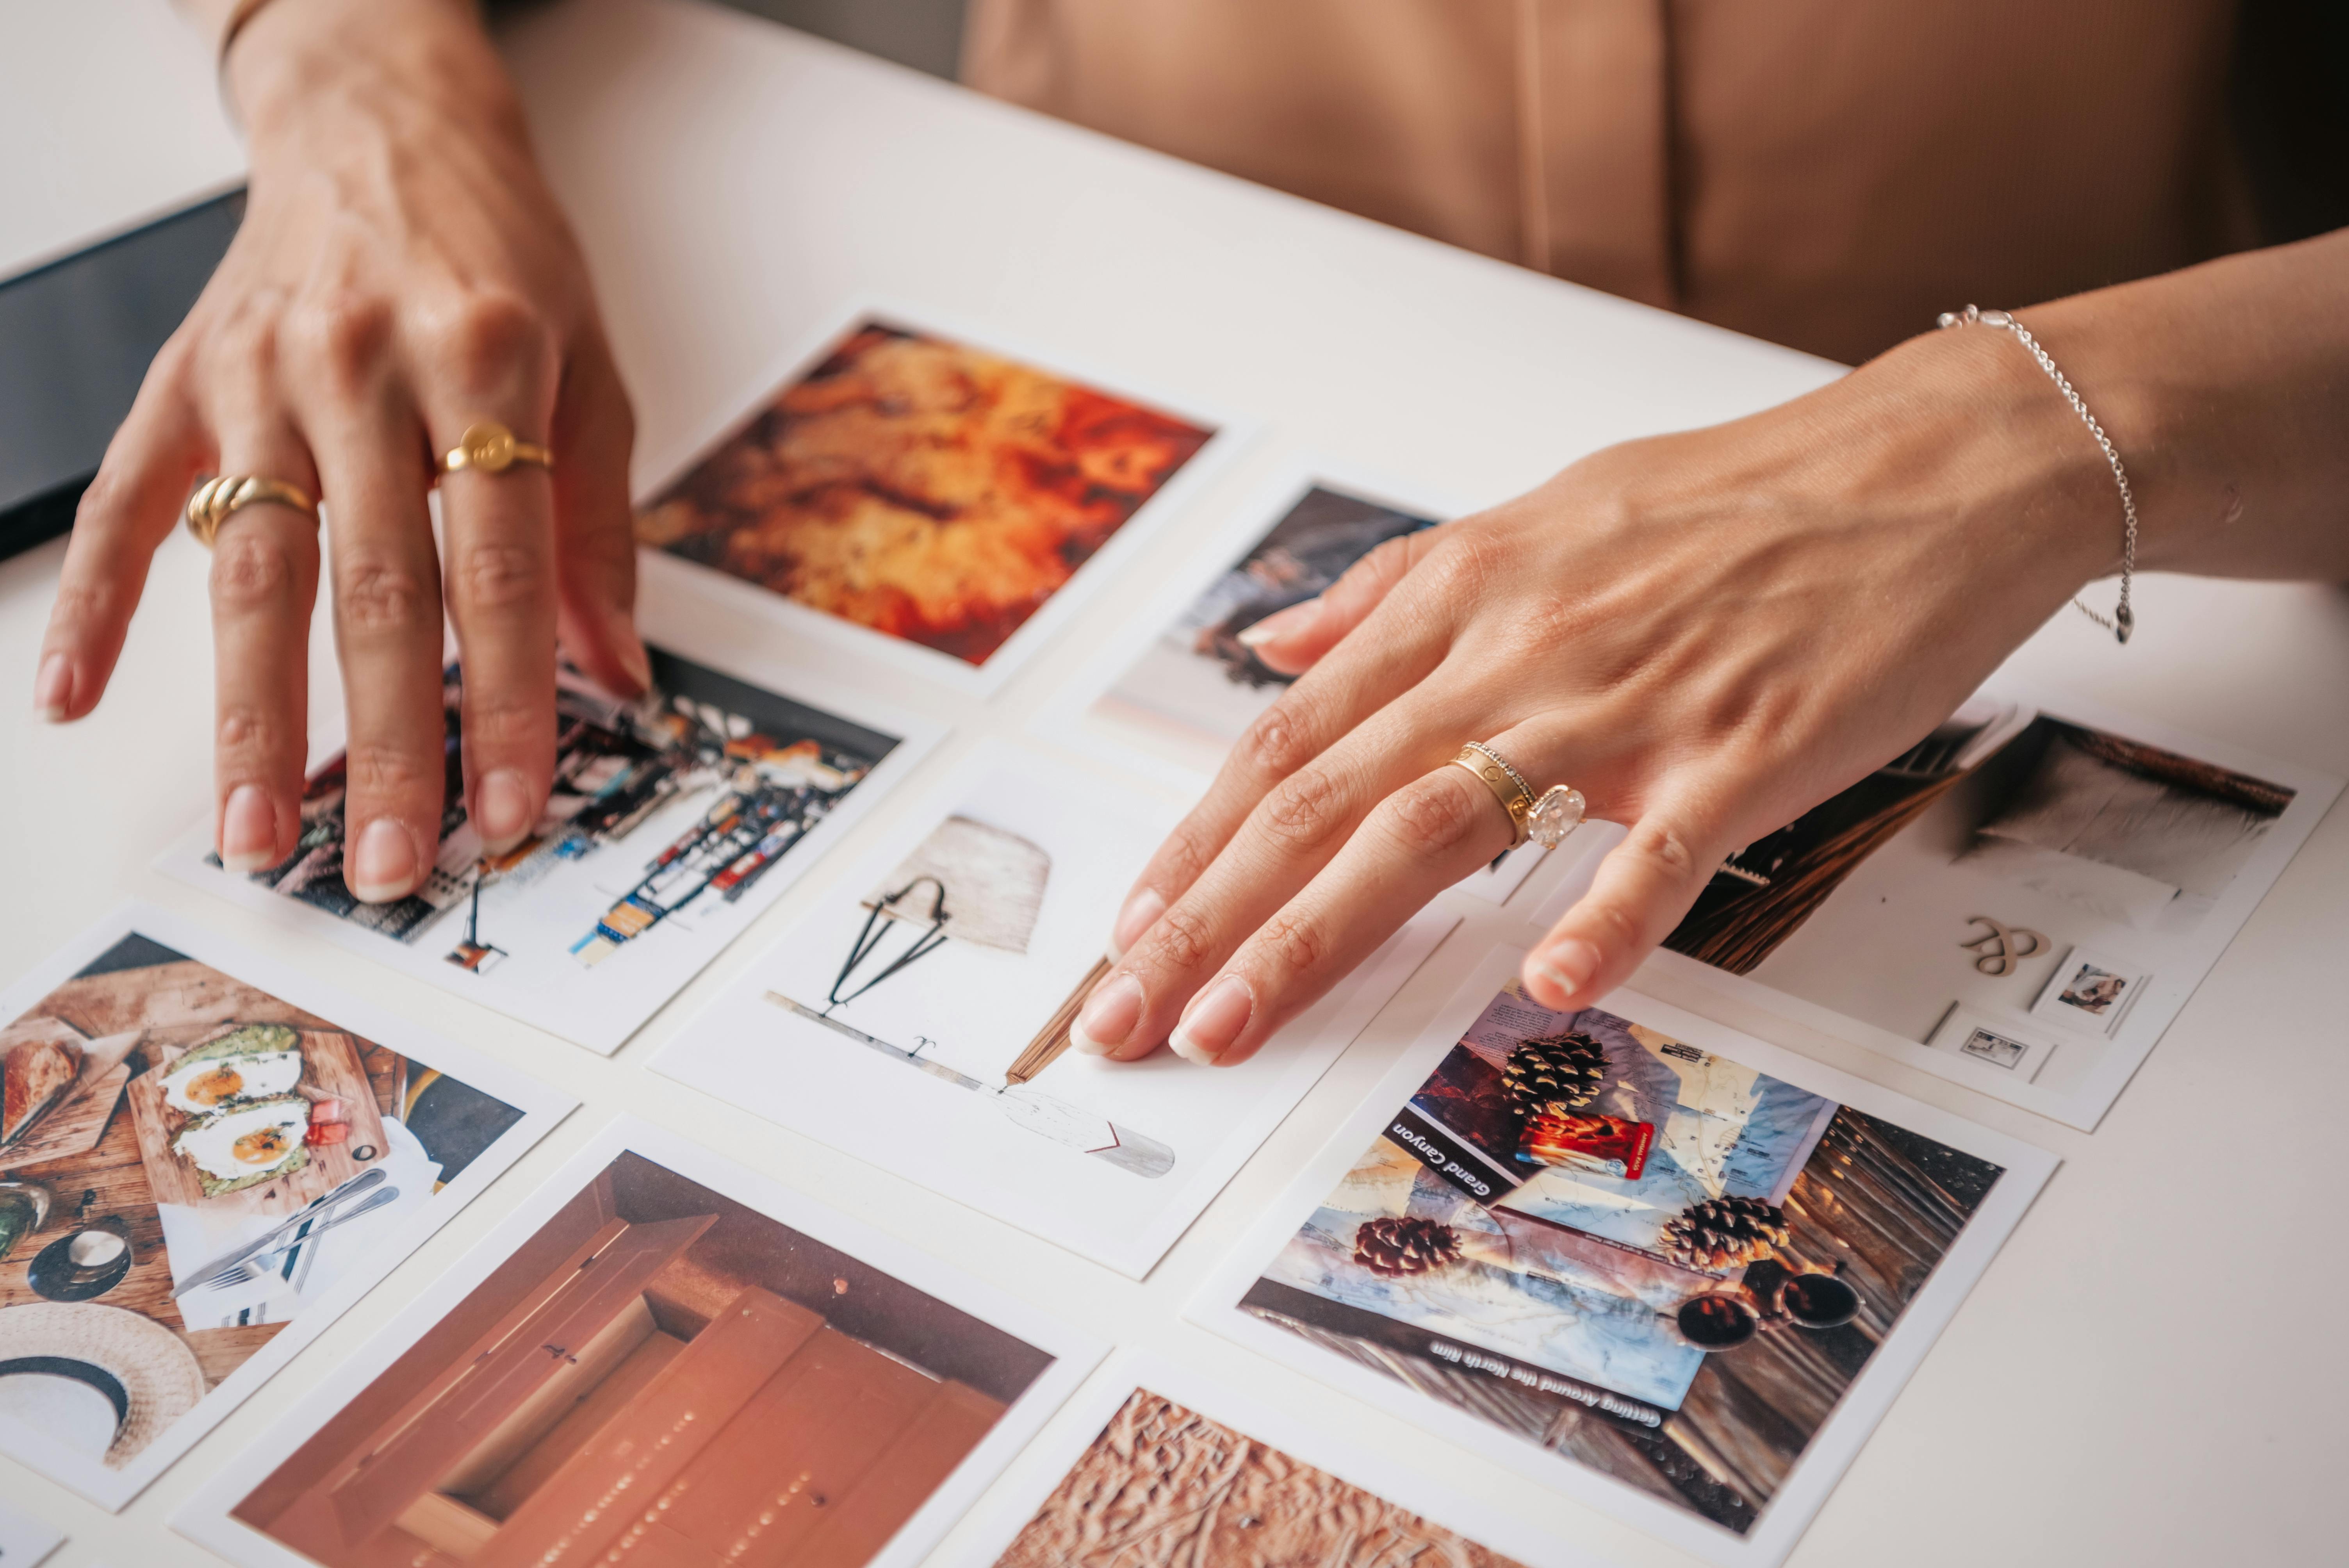
The best layout method for a gallery wall starts with planning. Grid and salon-style layouts are popular. Grids give a clean, even look. Salon-style lets you be creative and try new styles. Both have unique advantages, so choose based on your space and your taste.
Art displays can do wonderful things for your home. They add style, make spaces feel full, and act as conversation starters. A well-set display gives life to dull walls. For assistance with techniques, this guide can be very helpful.
Need inspiration? Many sources offer ideas for gallery walls. Art blogs and social media platforms, like Pinterest, are excellent. They show real-life examples and boost creativity. By exploring these, you can find layouts that fit your taste and your room's atmosphere.
Which Factors Influence Frame Styles and Art Selection?
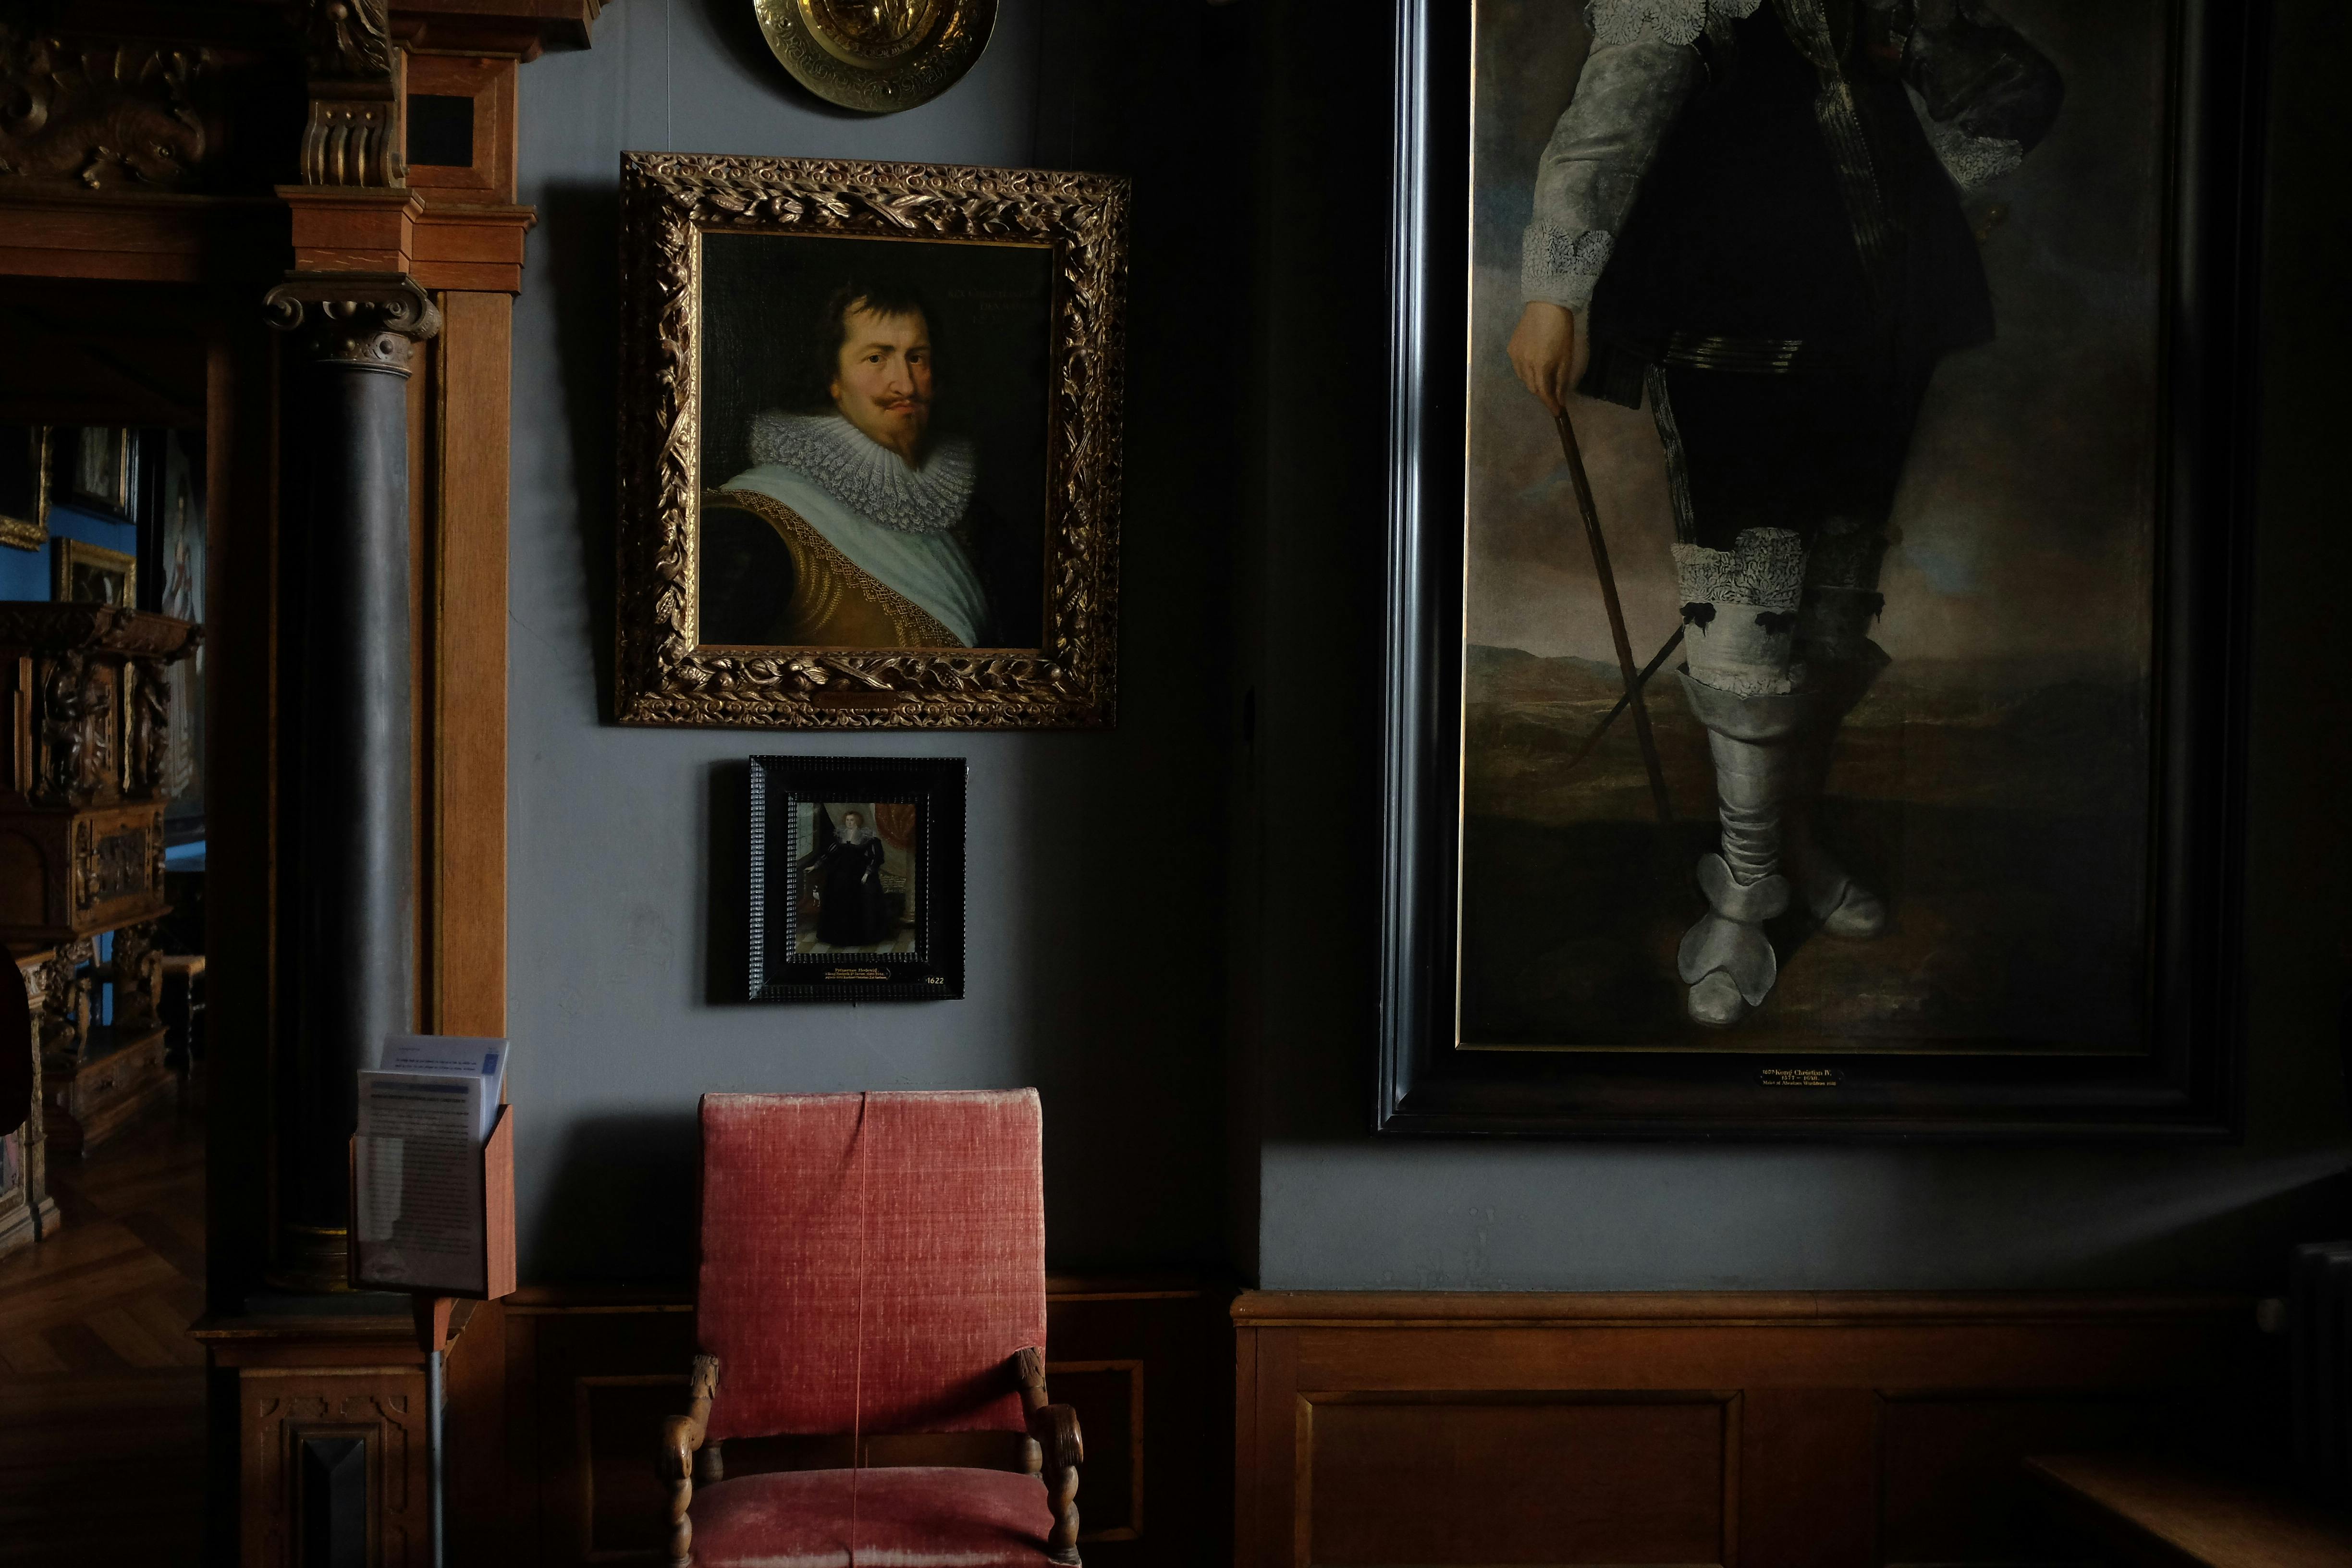
Choosing the right frame style sets the tone for your gallery wall. The color, material, and texture of frames can emphasize the art or harmonize a diverse collection. A bold, black frame makes art stand out, while a natural wood frame can give warmth. Think about how each frame will interact with both the art and the room's feel.
How does choosing frame styles affect the gallery wall? The frame style affects the gallery wall by defining its overall aesthetic. A uniform frame style can unify pieces of different art, while diverse frames add character and variety. For example, simple frames might work best for busy art, whereas ornate frames could enhance minimalistic artworks.
What are tips for mixing and matching art collections? Keep balance and cohesion. Start with a theme or color scheme to guide you. This can be as simple as using similar tones or subject matters. Mixing modern and vintage pieces can add depth and life to the wall, but try to balance them to avoid visual overload.
A great tool in this creative process is the DIY photo mat project. With scrapbook paper and Mod Podge, you create custom mats. This not only saves money but also adds a layer of personal touch. Plus, by using thrifted materials, it’s a green choice that lets you add unique pieces without breaking the bank.
To start, gather a set of different art pieces. As you lay them out, play with the arrangement to see what feels right. Maybe group by similar colors or pair a big piece with smaller ones. This hands-on method helps in visualizing your final gallery wall. The goal is to have a cohesive display that tells a story, whether it's through shared themes or contrasting styles.
By the end of the setup, you should feel like your wall is an extension of your own creativity. It's important that each piece has its space without overcrowding the others. Through careful curation and arrangement, your gallery wall can transform into a beautiful focal point that captures attention and inspires.
How Do You Balance Height and Spacing for Artwork?
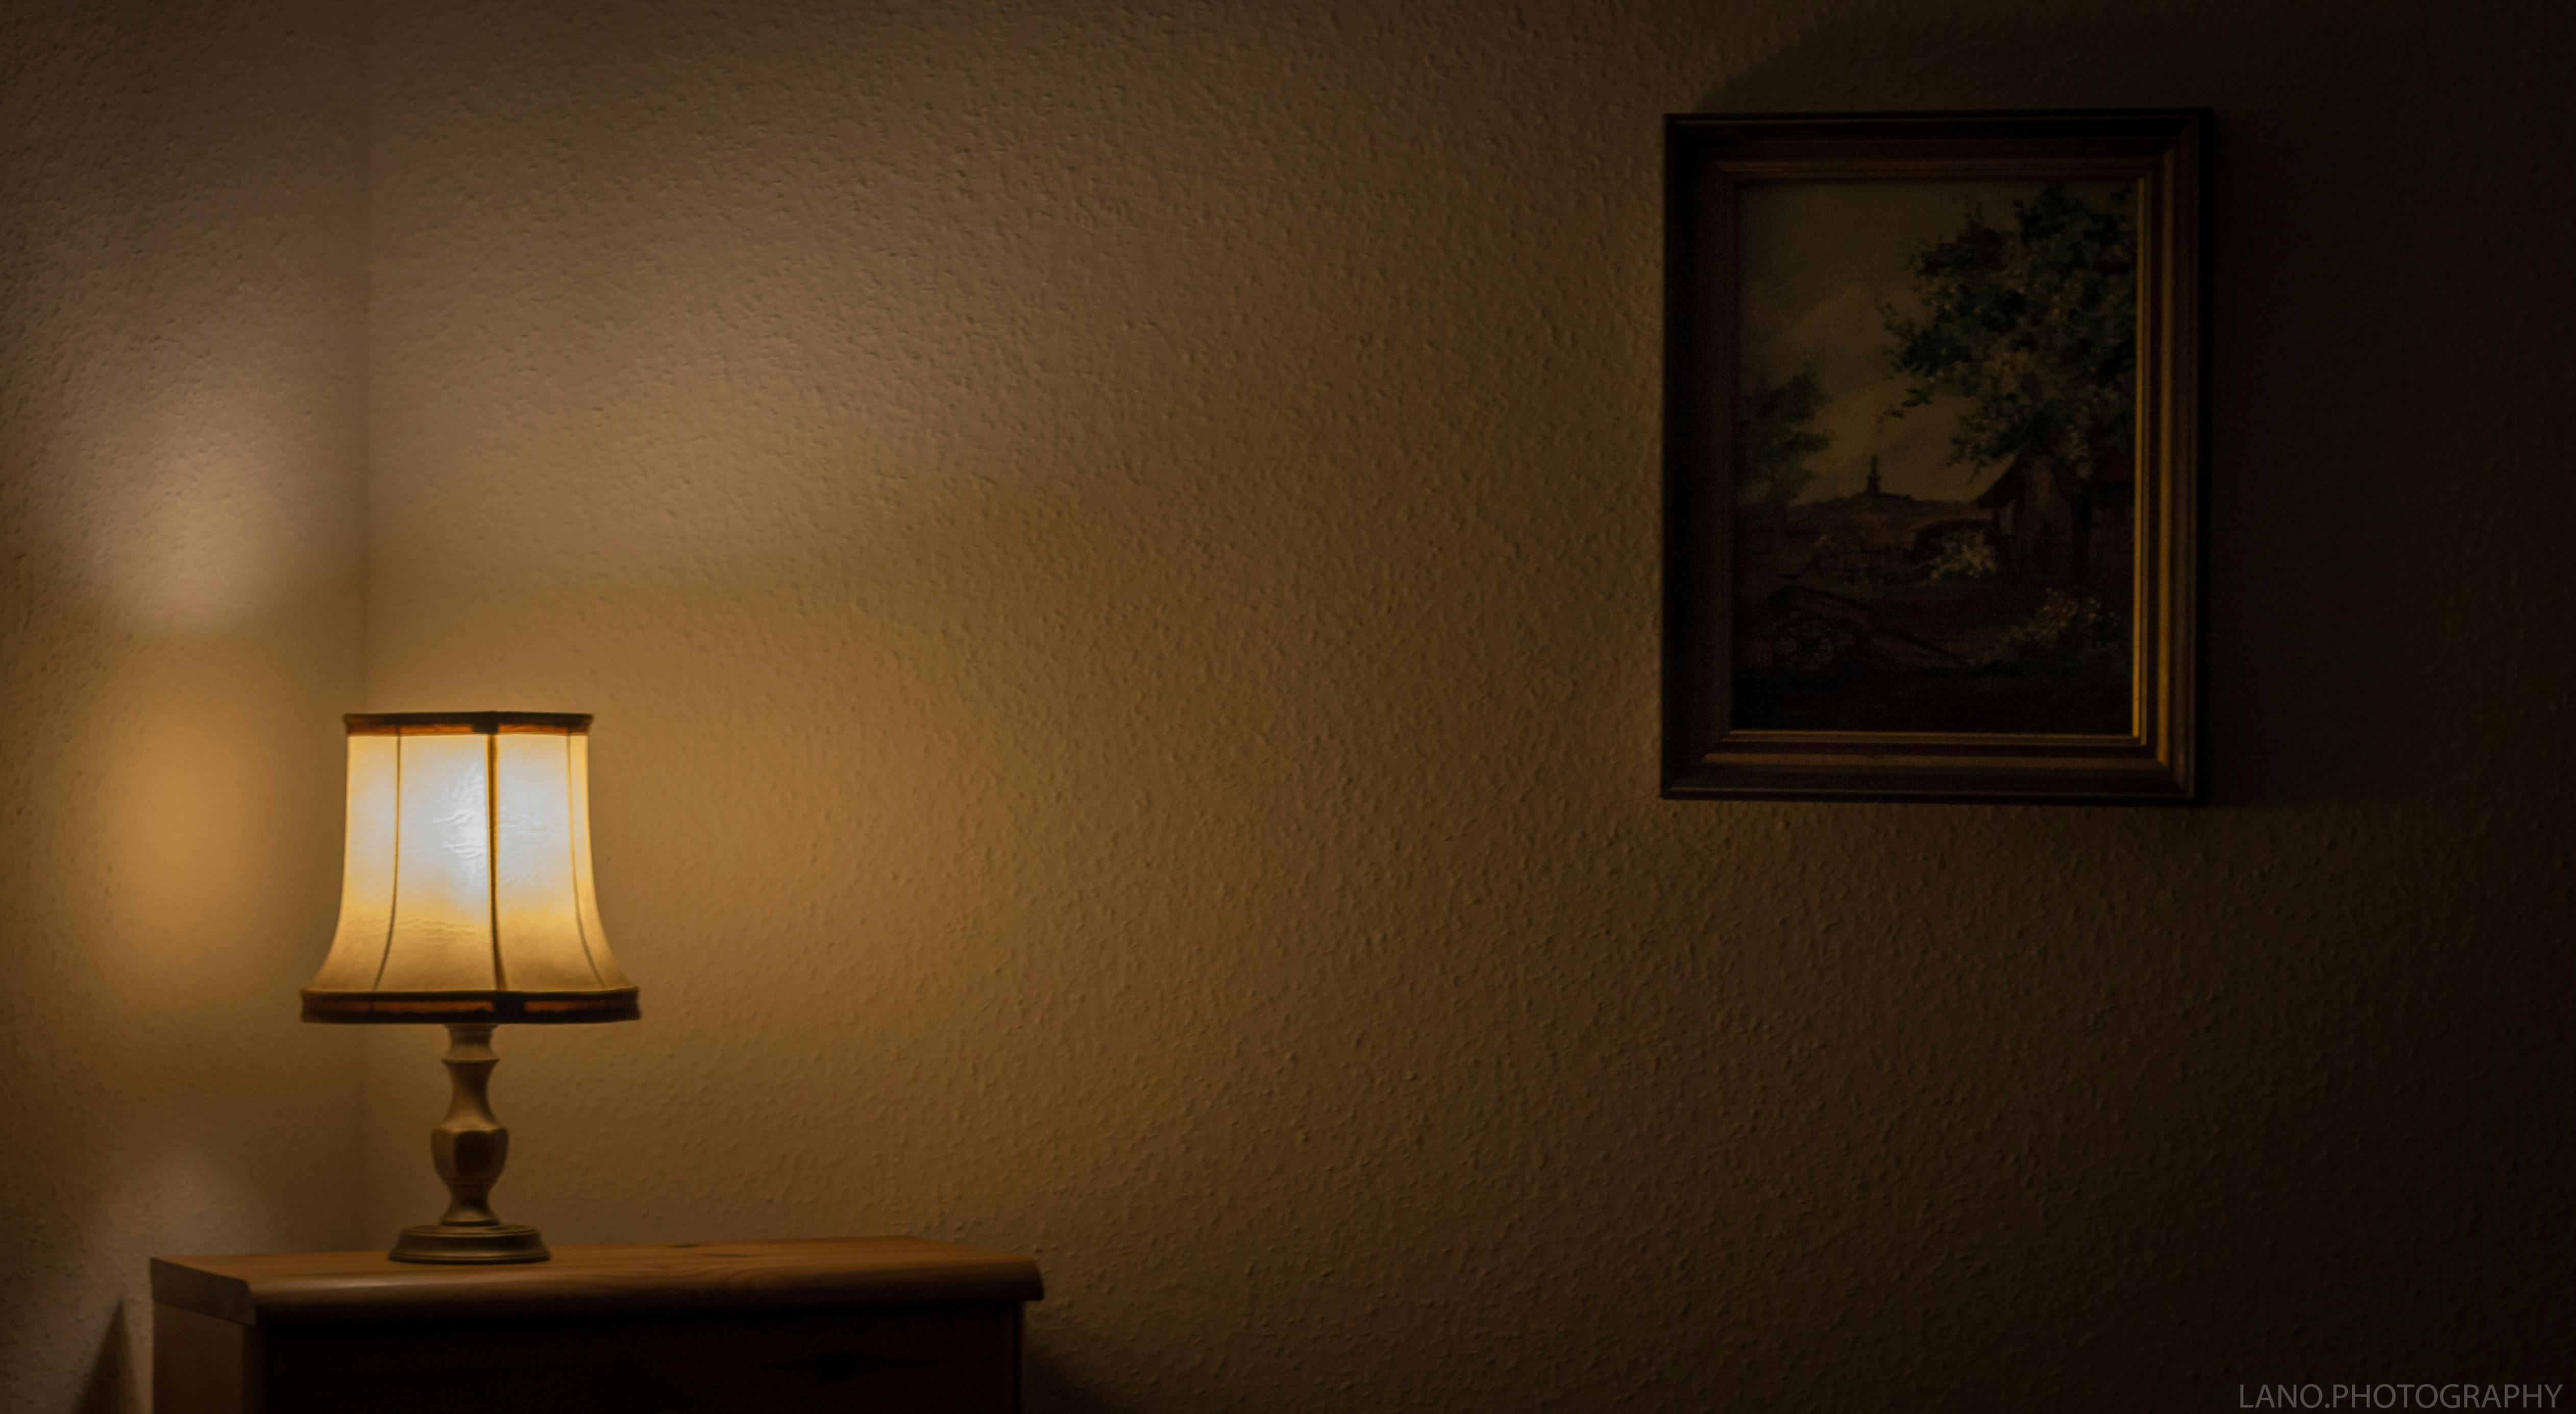
To balance artworks on your wall, use the rule of eye level. Place the center of each piece at eye level, about 57 inches from the floor. This keeps art at a comfortable view and feels just right.
Spacing matters, too. Leave about three to six inches between each piece. This spacing helps each piece stand out. If pieces are too close, they can feel squished. Too far apart, and they may look lonely or lost.
Larger art may need more space. Let bigger works breathe by giving them more room. It helps them shine and command attention.
Balance the height by mixing art sizes and shapes. Use small and big pieces together. This variety creates interest and dynamics on the wall. Think of it like a puzzle, where each piece has a perfect spot.
When arranging, start at the center and move outward. This centers your artwork layout. It keeps your arrangement balanced and focused.
Remember, balancing a gallery wall isn't fixed. Try different setups. Shift things around until it feels right. Your wall should reflect personal taste, so trust your eye and have fun with it!
How Can You Personalize and Thematize a Wall Gallery?
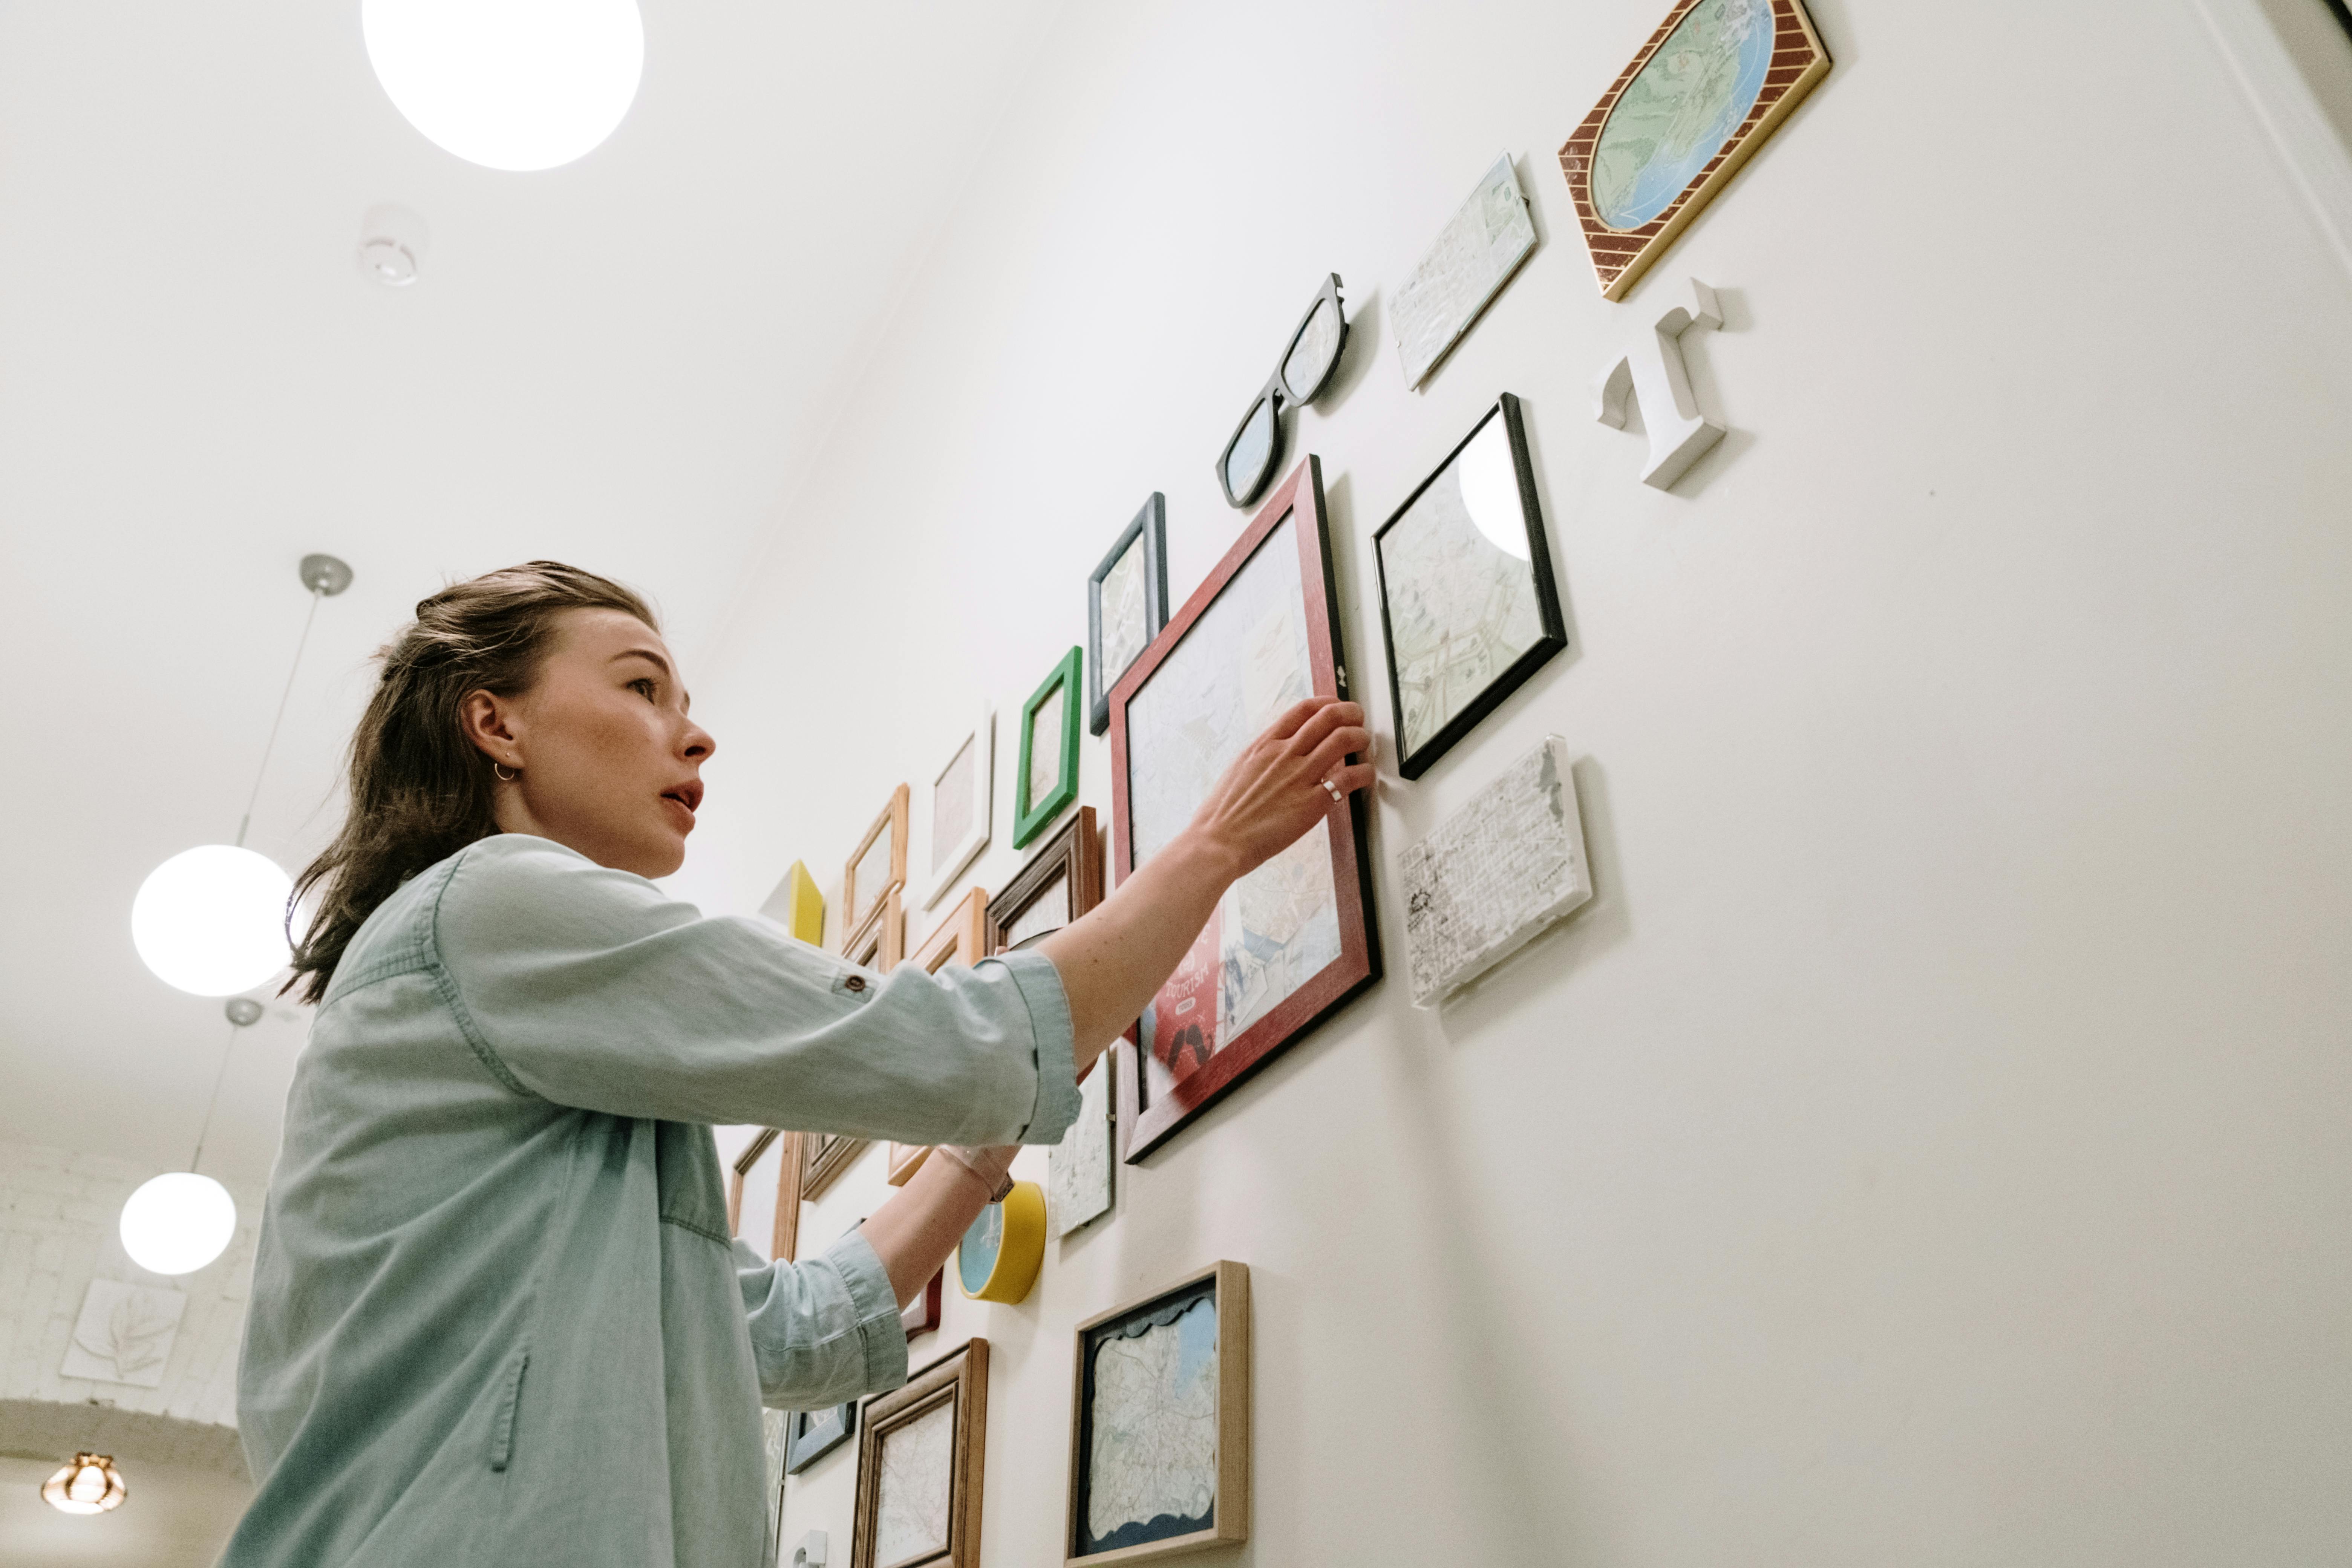
Thematic art arrangements add a sense of harmony and beauty to any wall. Themes guide the selection of art that works together. Imagine placing pieces with a beach theme—shells, sand, and waves forming one peaceful story.
Practical methods for personalizing gallery walls can turn a space into your own story. One easy project is a DIY photo mat, perfect for unique touches. You can use old book pages, scrapbook paper, and Mod Podge. It's both creative and budget-friendly, costing about $5.
Start by gathering your supplies. You'll need a mat board, paper, Mod Podge, a ruler, a pencil, and scissors. If cutting mats often, a matboard cutter might help. Now, measure and cut the mat board and paper strips. Each strip should be about 1.25" by 3.5".
Apply the strips to the mat with Mod Podge in a patchwork design. Overlapping creates a fun effect and hides small mistakes. Repurpose materials from thrift stores or home to save money and help the planet.
This craft takes around two hours—30 minutes prepping, and 1.5 hours crafting. It's great fun and perfectly fills crafts rooms or playrooms. For inspiration, check out more projects on the Mod Podge Instagram. Remember: the key is to enjoy the process, not strive for perfection.
What Are Some Budget-Friendly Gallery Wall Techniques?
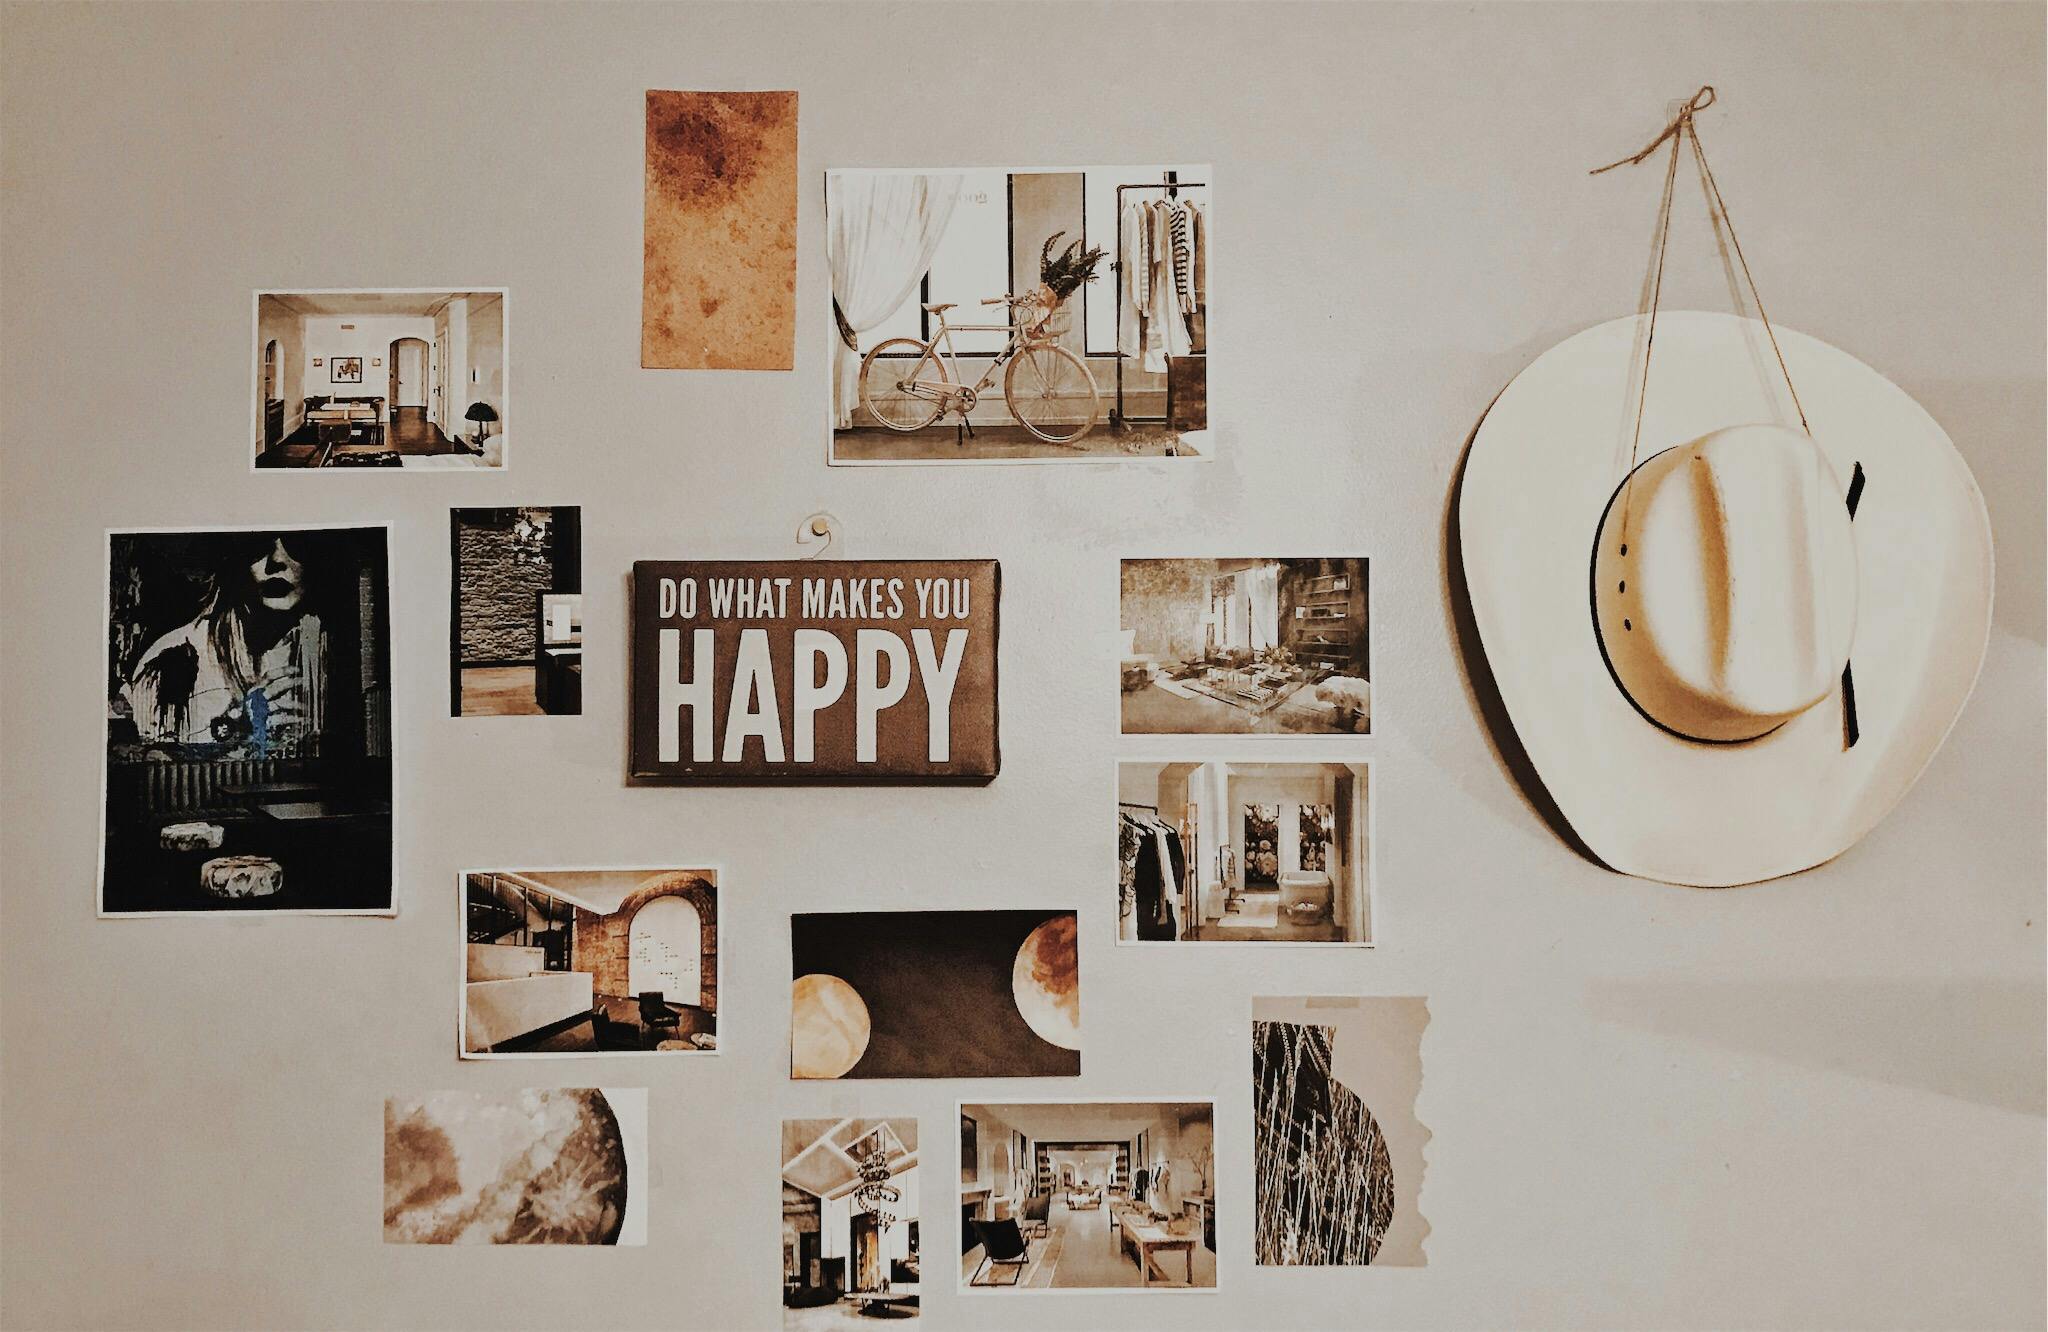
Looking to spruce up your space without spending a ton? You can definitely create a charming gallery wall on a budget. First, I suggest using things you already have. Search around your home for old frames, artwork, and even postcards. Mix these with DIY photo mat projects where you use materials like book pages or scrapbook paper. With supplies costing around $5, it's a bargain.
How do you start a DIY gallery wall setup? First, gather your essential supplies: mat board, paper, Mod Podge, a ruler, and cutting tools. You might want to check out thrift stores for these. They have great options and support a green approach by reusing materials.
Let's talk about the steps. Begin by measuring your frames and cutting the mat board to fit. Then, trim your paper strips to about 1.25" x 3.5" sizes. Use Mod Podge to apply and overlap each strip on the mat board. This gives a nice patchwork effect. Don't worry about perfection, as this craft celebrates creativity and imperfection.
When arranging your gallery wall, experiment with layout before hanging anything up. Lay pieces on the floor and shift them around until you like the setup. It typically takes about two hours to complete everything, with some time for prep and crafting.
The beauty of this approach? It's easy to customize. Tailor your creations to match any room style, whether it's for a nursery, craft room, or playroom. This project is not just about the final result; it's a chance to express your own style and have fun. Remember, creativity is key!
Conclusion
Building a gallery wall starts with planning. Choose a layout before arranging your art. Picture collages make great design guides. Effective layouts bring harmony and enhance your space. Mixing different frames styles adds character. Remember to balance height and spacing for that perfect look. Personalize with themes that reflect your style. Budget-friendly techniques make creativity accessible to everyone. Let your wall tell a story about you! With these steps, your space will shine with personality and flair.

