DIY Frames for Beginners: Where Should You Start?
Basics of Creating DIY Picture Frames
- Measure accurately using a tape measure and cut boards with a miter saw for precise 45-degree angles.
- Essential tools: tape measure, pencil, miter saw/hand saw, drill, sandpaper, clamps, and woodworking glue.
- Sand thoroughly for finishing; choose paint or stain, apply thin coats, and seal for protection.
- Budget-friendly materials: cardboard, plywood, wood pallets.
- Eco-friendly options: bamboo, pine, plant-based glues, and non-toxic finishes.
- Beginners can try easy projects like pom pom or twine-wrapped frames.
- Avoid common mistakes: double-check measurements and use adhesives wisely.
- Personalization can include mosaics, twine, or recycled items.
- Display your frames securely using appropriate hardware.
Jumping into DIY frame-making is easier than you think! In "DIY Frames for Beginners: Where Should You Start?," I'll guide you through the basics. You'll learn to bring your cherished family photos to life with simple steps and accessible tools. Discover affordable and eco-friendly materials that even beginners can use without a fuss. Let’s explore how you can design, personalize, and display your first DIY picture frame with confidence and flair.
What Are the Basics of Creating DIY Picture Frames?
Creating DIY picture frames can be an exciting adventure. Starting with the basics can make this journey enjoyable and successful. Whether you're framing cherished family photos or creating something new, you need to arm yourself with some essential knowledge and tools. Here, I’ll guide you through the fundamentals of frame construction.
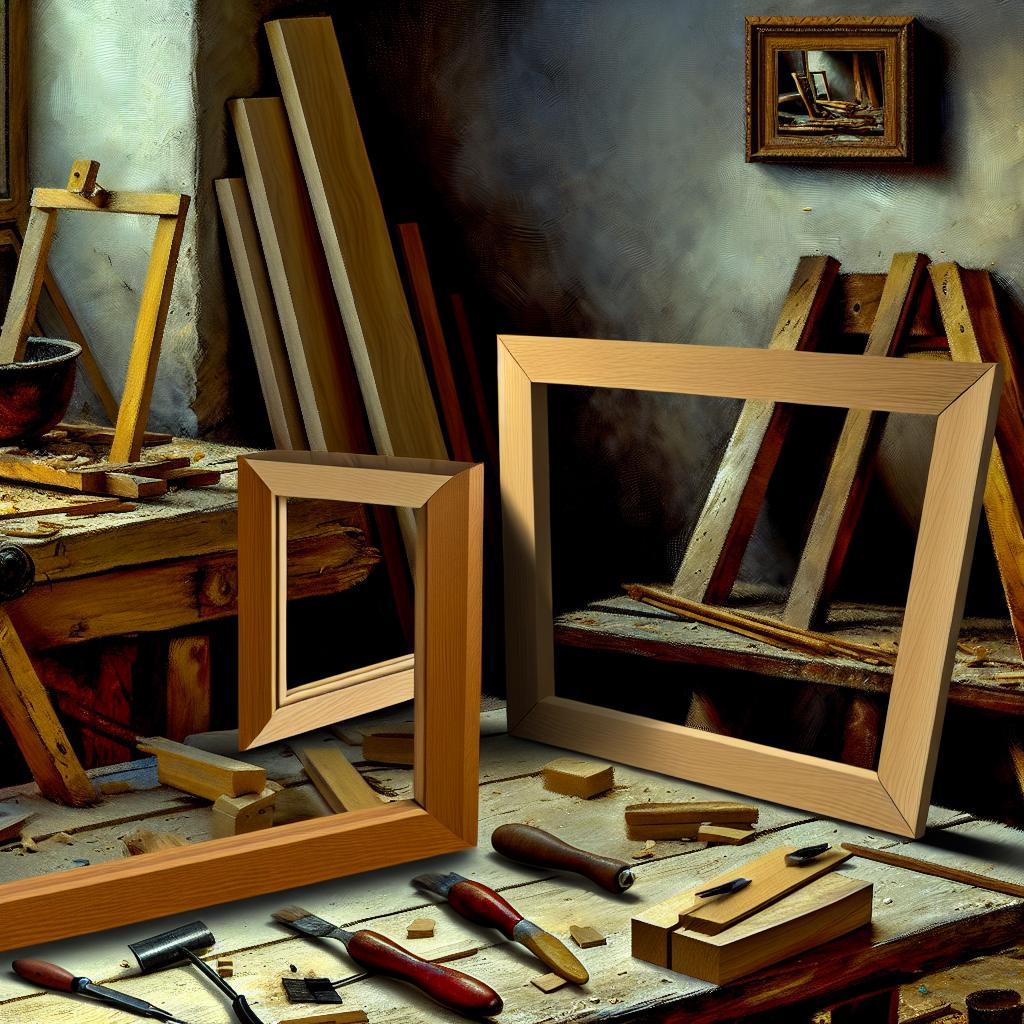
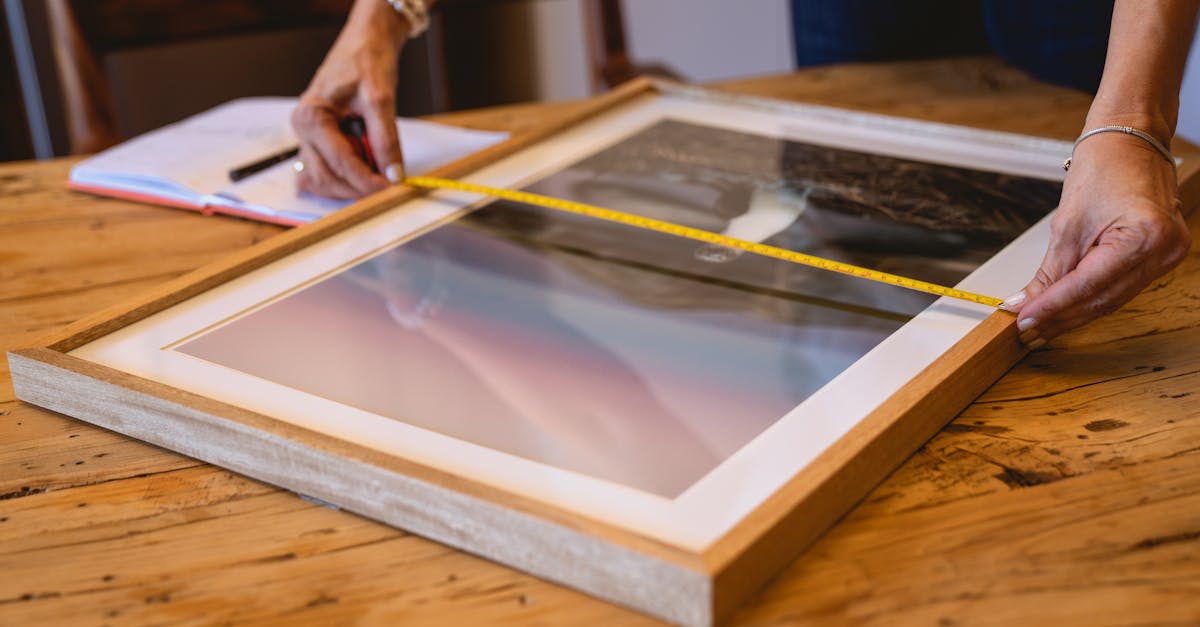
How do I measure and cut boards for frames? Use accurate measurements for a good fit. Start by deciding the size of the picture or art you want to frame. Measure the length and width of your photo, leaving extra space for matting if you’re using any. Using a tape measure, mark out these measurements on a board, adding extra length for the corners of the frame. Double-check your measurements, then mark the cutting lines with a pencil. For precise cuts, a miter saw is ideal. Cutting at a 45-degree angle lets the pieces fit snugly together at corners. If a miter saw isn't available, a hand saw with a miter box provides good control and accuracy.
What are essential tools for beginner woodworking frames? Start with the basics. A tape measure, pencil, and miter saw or a hand saw with a miter box are crucial for cutting the frame's pieces. A drill is handy for making holes for screws or other fasteners if you're using them. Sandpaper of varied grits helps smooth out your cuts, emerging with a polished finish. A quality woodworking glue can secure the joints for more solid frames. Finally, clamps keep pieces held tightly while the glue dries.
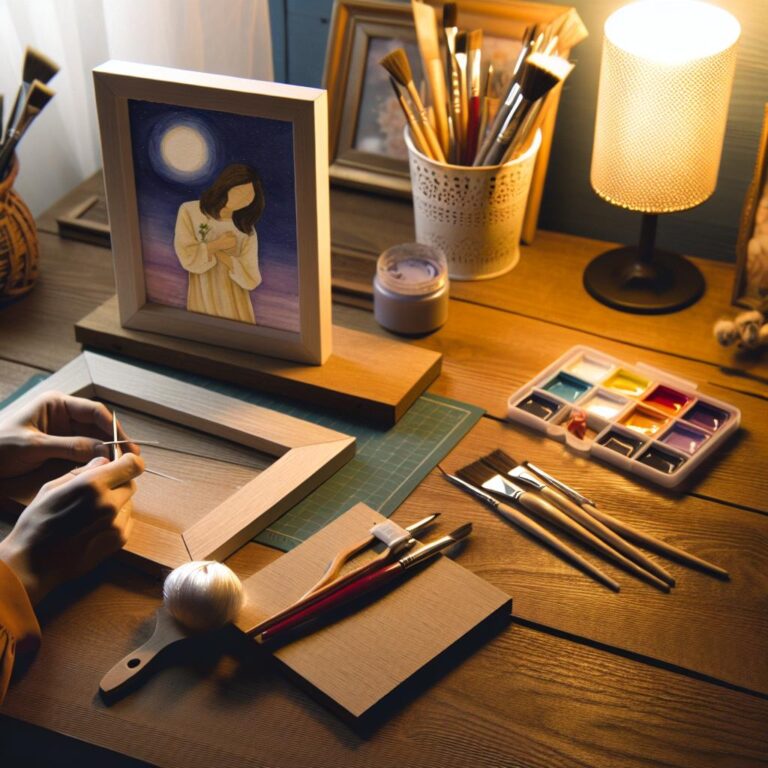
How should beginners handle the finishing of wood frames? Start sanding the edges and corners first. This removes splinters and sharp edges, leaving a smooth surface ready for finishing. Once satisfied with the sanding, wipe the frame with a damp cloth to remove dust. Choose paint or stain based on the look you desire. A bright paint could add vibrancy, while a wood stain imparts a classic, natural wood appearance. Applying thin coats and letting each layer dry well yields better results. Seal the work with a clear coat to protect it from moisture and chipping.
Framing family photos gives an artistic touch to cherished memories. By understanding the construction basics, you invest your personal creativity into each design. Framing isn't just about art; it’s about creating memories. So start small, experiment with simple ideas like pom pom frames or old cardboard recycling. The journey to DIY picture frames is as fulfilling as the final piece itself.
How to Choose the Right Materials for DIY Frames?
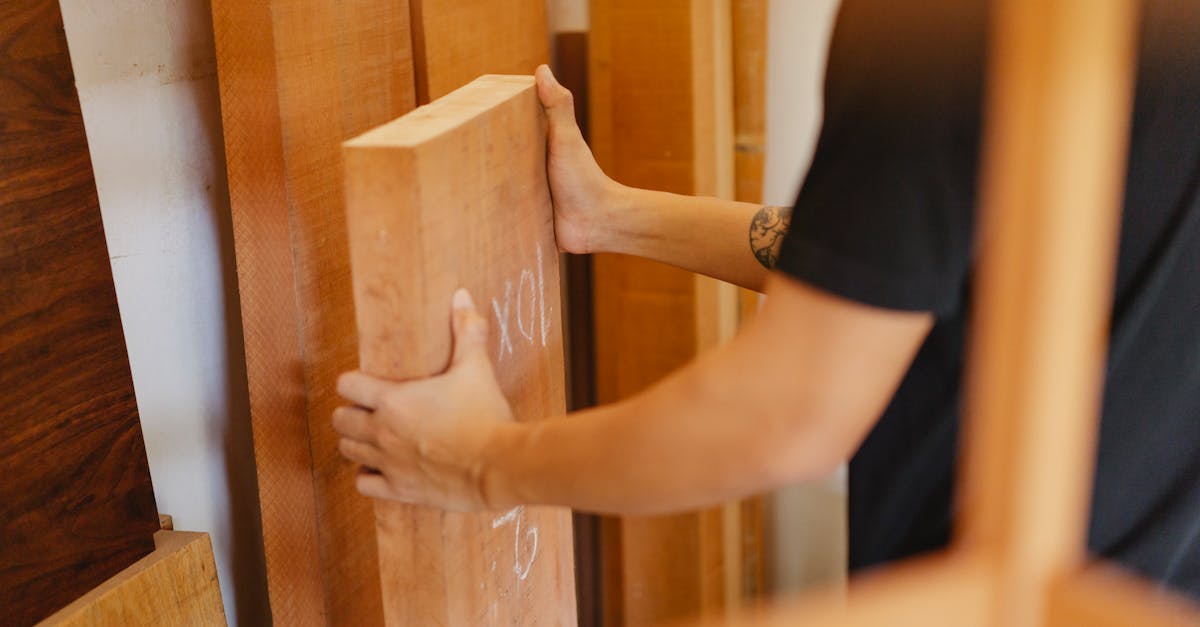
Choosing the right materials is key to starting your DIY frame adventure. You want something that's both budget-friendly and sustainable. Let me take you through some options.
Affordable Frame Materials for Beginners
Want to keep things low-cost? Try cardboard, which is readily available and versatile. It's perfect for practicing your skills before you move to harder materials. Another cost-effective option is plywood. Plywood is great because it's sturdy and comes in different thicknesses. You don’t need fancy tools—just a saw and some glue to get rolling.
Need something a bit more polished without breaking the bank? Consider using wood pallets. With wood pallets, you can repurpose old wood for your frames. It’s a fun project that reduces waste and gives a rustic look to your finished piece. You can visit local lumber yards to see if they have any pallets for free or inexpensive scrap wood. By upcycling old materials, you can save money and give your frames a unique, rustic charm.
Selecting Eco-Friendly Options for Frame Crafting
Do you care about the environment? Bamboo is a superb choice as it grows quickly, making it a renewable resource. Pine wood is another eco-conscious option. It's soft, easy to work with, and widely available. Use non-toxic wood finishes and paints to keep your project green. This way, your DIY frames align with your values while still looking stylish. You might also find paints that are made from natural materials in eco-friendly stores.
For adhesive, consider plant-based glues. They work well and have less impact on the planet. Using these eco-friendly options not only supports the environment but shows others the beautiful and sustainable alternatives that exist in crafting.
Sourcing the Best Materials for Homemade Photo Frames
Wondering where to get these materials? Start at your local craft store for beginner sets. Some stores offer combo packs with all you need to get started, which is ideal for those new to DIY. These combo packs can have everything from basic tools to a variety of wood or cloth squares for decoration.
Check out thrift stores or garage sales for old frames. You can recycle these by adding a fresh coat of paint or new embellishments. Old frames can often be revamped simply by sanding them down and applying your style.
Online marketplaces are a valuable resource, too. Websites often have step-by-step guides to help you choose your materials and start your projects. These guides provide lists of needed materials and where to buy them online. Plus, buying in bulk might save you some money.
Farmers' markets sometimes sell local materials at a reasonable price. Visiting a market can sometimes turn up unexpectedly ideal materials like recycled wood pieces perfect for frames.
If you want materials that support artisans, look for sustainable stores. These shops often have unique supplies that can add a custom touch to your frames. They can give your DIY projects a unique feel while ensuring your materials are responsibly sourced.
Choosing materials wisely can set the tone for your entire DIY journey. By identifying what suits your taste and needs, you enjoy the process and create work you’ll love to display.
Which Techniques Are Best for Framing Beginners?
Framing can be a creative and rewarding project for beginners. The best way to start is by keeping it simple and learning basic techniques. Start with easy projects like the Easy Pom Pom Picture Frame, which only require a frame, glue, and pompoms. It’s a quick, fun way to personalize your space or involve kids in crafting. The simplicity of this activity allows you to focus on the satisfaction of creating without being overwhelmed by complexity.
Beginner-friendly Framing Techniques
When you're just starting, choose techniques that build your confidence. A clothing-line-style frame made with a cracked glass frame and pegs is a great reuse project. The pegs make photo changes easy, perfect for someone new to crafting. Another uncomplicated technique involves using twine. A DIY Twine Wrapped Frame needs only twine or yarn for a rustic look. Wrapping the frame with twine gives an old frame new life, using materials you might already have at home.
Another excellent choice is a Very Easy Cardboard Photo Frame. Cardboard offers an almost free-to-use, flexible base for decoration. Adding embellishments, like paint or stickers, lets you practice fine-tuning aesthetics without added pressure to buy expensive materials. This project is eco-friendly too, which is important when crafting in today’s world.
Common Errors to Avoid
Avoiding common errors can save time and resources. One key mistake beginners make is not measuring correctly. Always double-check your measurements before cutting. Precision here will prevent gaps between the frame parts. Another frequent error is improper use of adhesives. Use glue sparingly and appropriately. Too much glue can cause slips, while too little will not hold the project together.
Be careful with choosing materials. Not every material is suitable for every design. For instance, using thin cardboard for a large frame won't provide enough support. Instead, use it for smaller projects or backs of larger frames.
Essential Frame-making Tools
As a beginner, you should have essential tools at hand. A good ruler, pencil, and cutting blade are musts. You’ll also need a small saw for cutting wooden frames. Corner clamps can hold your frame together while glue dries. Sandpaper is important for smoothing edges for a neat finish.
Consider a clothespin and block of wood setup for geometric designs. It's a simple way to create a stylish display without a saw. Modern designs can freshen up spaces and are easy to change as inspiration strikes. Electric tools can feel intimidating and require experience, so try making picture frames without power tools until you feel ready.
For mosaics, purchase a Mosaic Picture Frame Kit. These kits include the frame base, tiles, glue, and grout. Such kits are user-friendly and save you the hassle of sourcing individual materials. Plus, they let you play with color schemes and styles without excessive planning.
Summary of Techniques
Start simple, avoid common mistakes, and gather essential tools thoughtfully. Engage in projects like pom pom frames and cardboard bases. Remember, mistakes are learning opportunities, building your skills and confidence. With each frame you create, you'll feel more accomplished and ready to explore new, complex techniques. Always have fun and enjoy sharing your creations with friends and family!
How Can I Personalize My DIY Picture Frames?
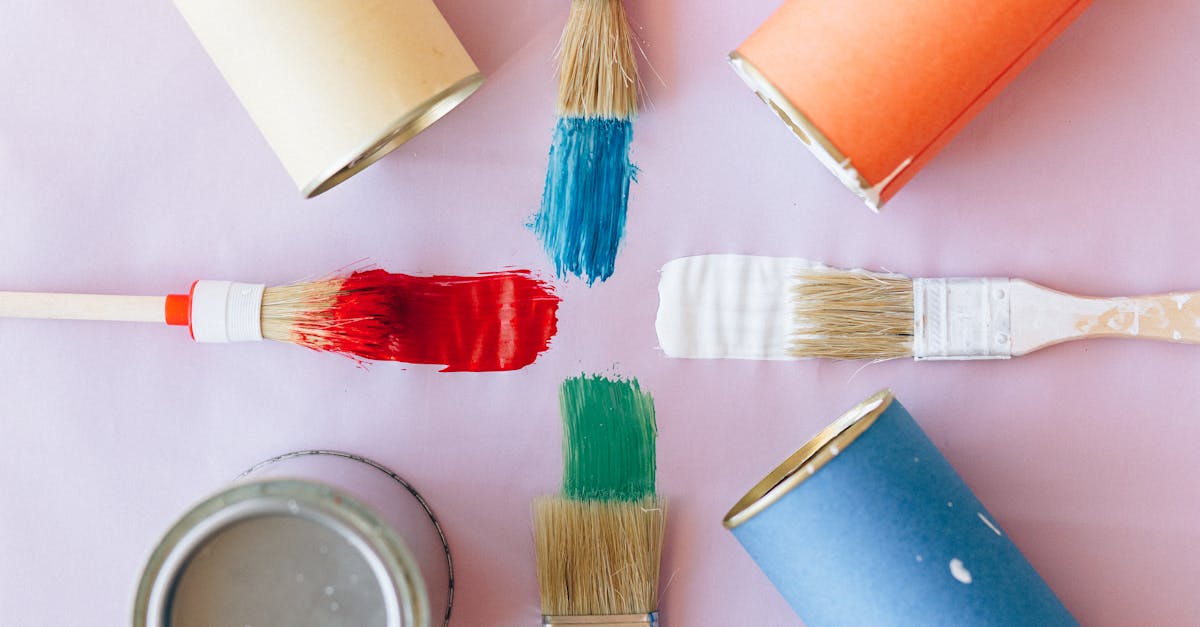
Personalizing DIY picture frames is a fun and creative way to display your favorite photos. Let's dive into some unique ways you can design personalized frames, decorate them, and apply unique finishes.
Unique Ways to Design Personalized Frames
What are some unique ways to design personalized frames? Begin with materials you enjoy working with, like wood or cardboard. Use off-cut blocks of wood to create geometric picture holders. This uses simple shapes arranged in new ways. Add a clothespin to hold your photo in place.
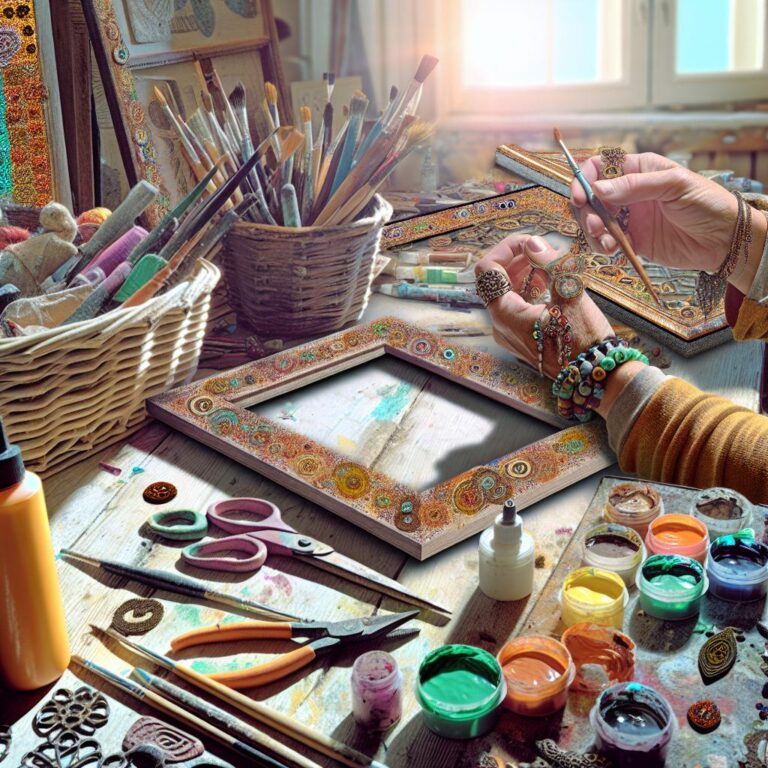
Imagine using a mix of styles and textures. The mosaic picture frame is one idea. You can buy a complete Mosaic Picture Frame Kit that lets you select your favorite tile colors. Use these tiles to create a stunning effect. They add color and personality to any room.
Another approach is recycling old items. Have fun turning broken or outdated frames into something special. You can use a cracked glass frame and add pegs for a clothesline-style holder. Photos are easy to swap out, and you can even use it as a message board.
Decorate Your Frames Effectively
How can I decorate my frames effectively? Choose decorations that match your style. Pom poms are a fun way to add color to a frame. Glue them around the edge for a playful effect. Plus, this is super easy for kids to try.
For a rustic look, wrap twine or yarn around your frame. It gives an old frame a whole new life. You can also add buttons, ribbons, or fabric scraps. Match the colors to your room or make a bold statement.
Crochet enthusiasts can craft frames as well. With thin metal bangles and free crochet patterns, you can create a cozy cover for your frame. These patterns often feature three different designs to try. Each adds warmth and handmade charm to your decor.
Unique Finishes for DIY Frames
What unique finishes can I apply to my DIY frames? Think about the finish as the final touch to your DIY frame. For a modern twist, try using sunken tea lights in a box-style frame. Make sure to use electric lights for safety. This creates a warm and inviting display.
Creating texture is another way to have fun with finishes. One favorite is corrugated cardboard. It adds a unique look and is great for advanced crafters. Experiment with paint or paper to find what you like best.
For a vintage touch, use Mod Podge to adhere photos to a canvas. Add a distressed wooden frame around it. This frames your photo while giving it an antique feel. It's an artful way to display significant memories.
Floral frames are also a possibility. Use a hula hoop as the base and weave flowers into it. This makes a creative and joyful display. It's perfect for garden parties or a bright room accent.
In summary, there are countless ways to personalize your DIY picture frames. Look around your home for materials to use, explore various decorations and finishes, and let creativity guide you. Personalizing frames can become a rewarding hobby, plus a way to showcase your treasured photos.
What Are Some Simple and Creative DIY Frame Projects?
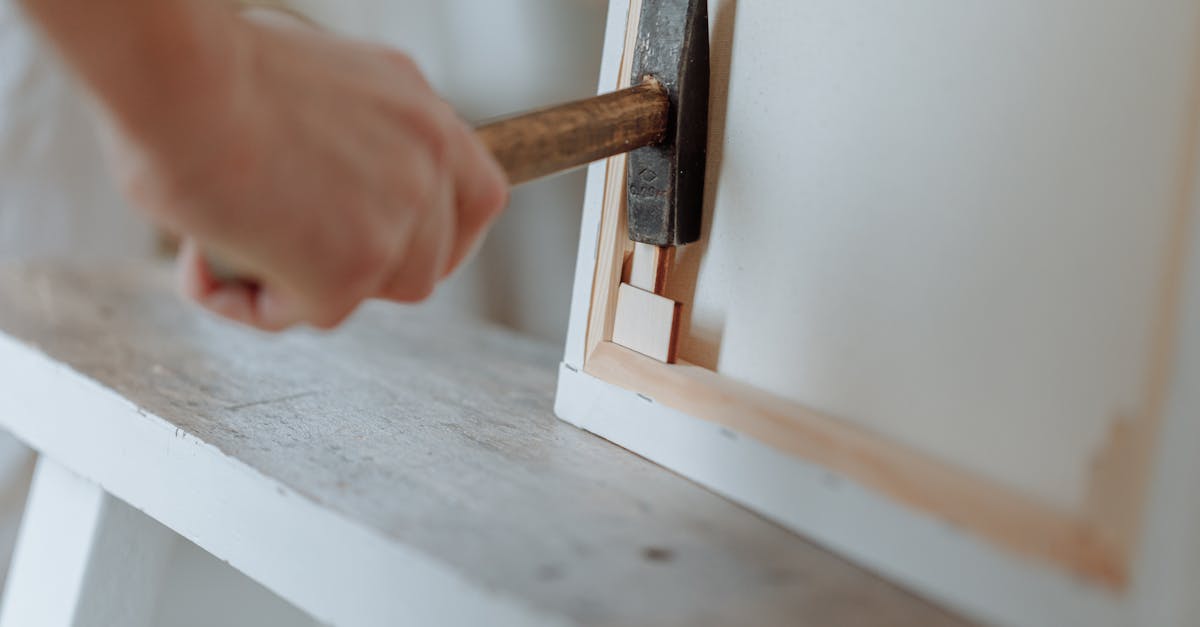
Crafting your own frames at home can be fun and rewarding. Let’s dive into easy projects you can start today. Whether you’re using everyday items or beginner woodworking methods, there are many choices for everyone.
Easy Projects for Beginners
Start with the Pom Pom Picture Frame. This project is straightforward and enjoyable. All you need is a simple frame, some glue, and colorful pompoms. Stick the pompoms around the frame’s edges for a playful look. This frame is perfect for kids' rooms or playful spaces.
Another easy project is the Twine Wrapped Picture Frame. Use twine or colored yarn to wrap around an old frame. This gives it a rustic, country style. It’s a great way to revive old frames and fits well in a cozy, warm interior setting.
Build a Clothesline-Style Upcycled Frame with a frame that has cracked glass. Remove the glass and use pegs to hang pictures inside the frame. It becomes a fun display where you can switch photos without fuss. Plus, it doubles as a message board, great for kitchens or busy areas.
For something more tactile, explore Cardboard Photo Frames. Use sturdy cardboard and learn the basics of crafting frames. Decorate with paint or stickers for a unique touch. It's a perfect recycling project, getting hands-on with what you already have at home.
Creative Frame Ideas
Mosaic Picture Frames let you harness your creativity with tiles. You can buy kits that include tiles to match your taste. Assemble these colorful pieces onto a plain frame, creating a beautiful border and showcasing your artistic flair.
Looking to add some flair to your walls? Consider the Floral Photo Frame using a hula hoop. Line a hoop with faux flowers and add a few pictures inside for a modern, floral theme. It’s perfect for bedrooms or garden-themed spaces.
For a playful twist, the Lego Dots Picture Frame can be fun if you like building blocks. These frames can be built and decorated with Lego tiles. Engage your younger crafters to redesign and play with different colors and designs.
If you’ve got fabric scraps, try out Crochet Picture Frames. You can use thin metal bangles as frame bases to crochet around. These designs add a cozy and personal touch to any space.
Enhancing with Beginner Woodworking Techniques
For those dipping their toes into woodworking, try the Geometric Picture Holder. Use off-cut wood blocks and a clothespin to create geometric shapes. This simple holder can sit on a desk, making it modern and practical.
Another option is the Tea Light Picture Frame. Craft a box-style frame to fit small, sunken tea lights. Though make sure they are electric for safety. It sets a calming mood, perfect for evening relaxation spots.
Projects with an Upcycled Twist
Upcycling can transform day-to-day items into art. Reuse an old wine bottle for Bottle Photo Frames. Simply clean the bottle and insert a rolled-up photo inside. Light up your photo with tiny LED lights, turning it into a unique centerpiece.
Embrace creativity and playfulness with these projects. They provide a perfect mix of simple crafting techniques and innovative ideas. Whether through basic crafting, beginning woodworking, or upcycling, your frames can become unique pieces of art.
What Are Helpful Tips for Displaying and Hanging DIY Frames?
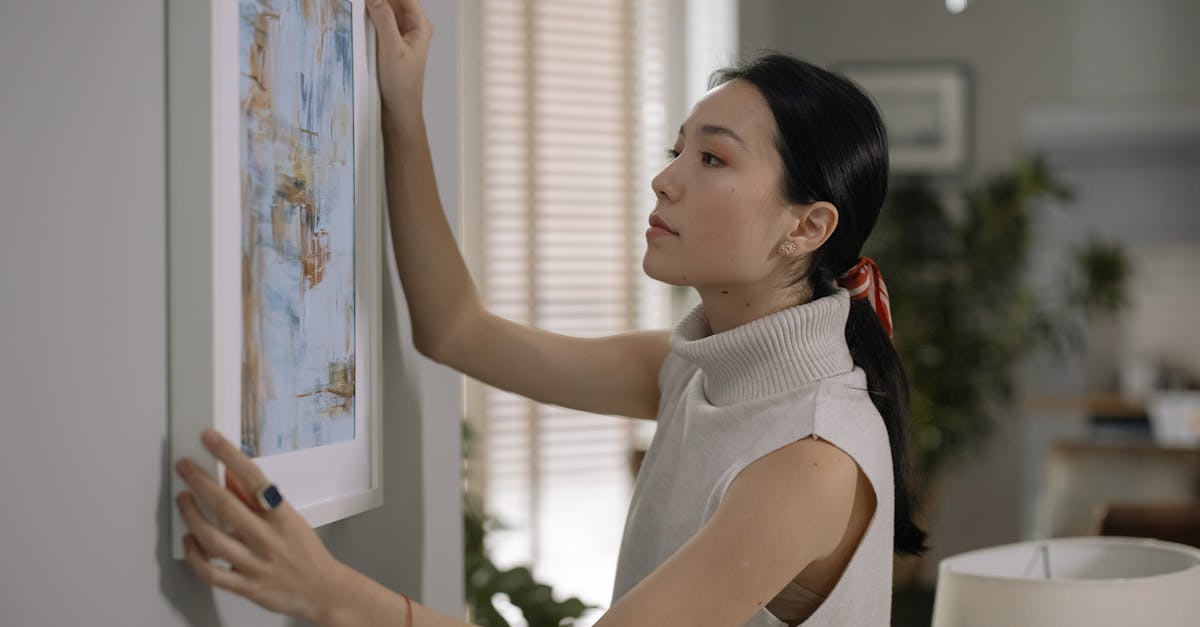
When you finish crafting your DIY frame, it's time to display it safely. First, pick the perfect spot on your wall. Ask yourself, "How do I safely hang and display my DIY frames?" Precision is key: Use a measuring tape to find the center of the wall space for a balanced look. Then, choose the right hardware for secure hanging. If your frame is lightweight, hook hangers might work well. For heavier frames, use wall anchors or a rail system to prevent falls. Investing in high-quality hangers is important for frame safety tips. They support your work securely.
Next, consider the surrounding space. Will the color of the wall complement your frame? Bright-colored frames pop on dark walls and vice versa, creating contrast. Avoid direct sunlight on photos or art within frames; it could fade them over time. If possible, place your frames at eye level. This draws attention naturally and allows easy viewing.
You might be wondering, "What safety tips should I consider in frame construction and hanging?" Safety is crucial, both during construction and hanging. When building frames, choose durable materials. Use glass carefully; broken glass can pose a hazard. Plexiglass is a safer alternative for families with kids. Ensure all corners are tightly seamed to prevent the frame from falling apart.
Hang frames securely to avoid accidents. Using a stud finder helps locate the strongest part of the wall. If you can't use the wall studs, make sure to use appropriate anchors for the wall type, whether drywall, plaster, or concrete. Secure both ends of the frame wire to wall hooks to distribute the weight evenly.
If you are framing art, ask, "What special considerations are there for framing art pieces?" Framing art demands care to showcase and protect its beauty. Use acid-free mats to prevent damage over time. These mats keep the artwork from directly touching the frame or glass. They also create a visual space that leads the eye to the art.
Your art may need a protective layer. Consider using UV-protective glass for minimal light damage. Frames with spacers will keep the glass from pressing against the art. This is important for watercolors or charcoal pieces where contact can smudge or disfigure them. A simple dusting and gentle cleaning of the frame keep it looking fresh over time.
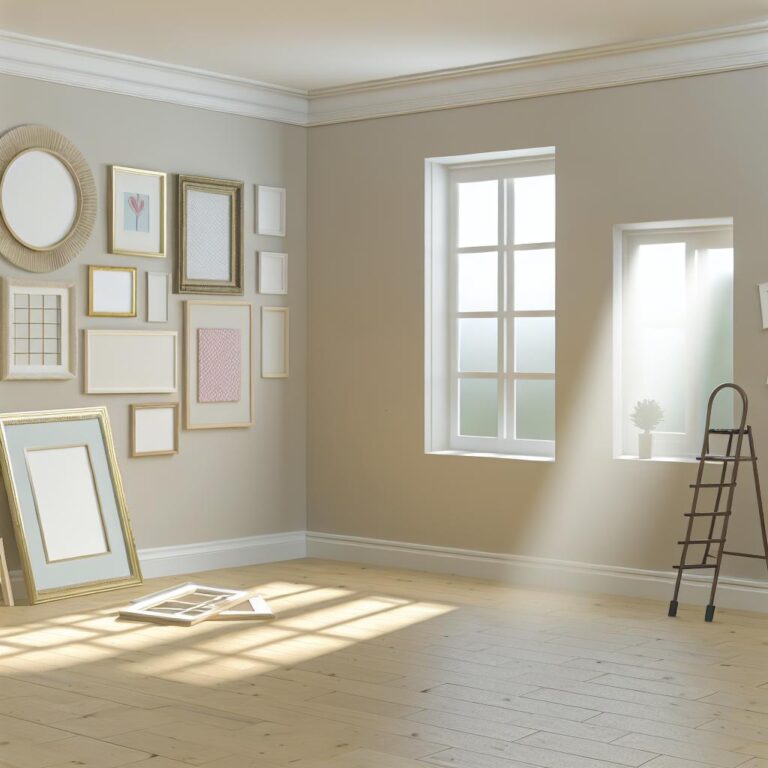
Finally, consider creative framing ideas like creating a picture wall. Arrange your frames in visually pleasing patterns. Making a heart, grid, or spiral design is engaging and makes a statement. This is where fun frame design and placement appeal, bringing joy each time it catches your eye.
Ensure that your display style matches the room's theme. Rustic frames fit in country settings, while sleek geometric ones add interest to modern spaces. If you want classic charm, ornate frames create elegance. Light frames keep small spaces airy, while large frames can hold their own in bigger rooms.
By understanding and addressing these aspects, your DIY frames will not only look great but will also remain secure and safe on your walls. Start with these methods and enjoy the creativity home decoration brings.
Conclusion
Creating your own picture frames is a fun and rewarding hobby. You now know how to measure and cut boards, choose beginner-friendly tools, and handle wood finishes. Selecting the right materials and avoiding common mistakes can make all the difference. Personalize your frames with unique designs, and you’ll have something truly special. Start with simple projects to gain confidence, and remember to hang your frames safely. With these tips, your DIY picture frames will reflect your creativity and personal style. Happy framing!

