Diy wooden frames: Are they cost-effective to make?
- DIY picture frames offer personalization, creativity, and potential cost savings.
- Benefits include choosing size, wood type, and style, enhancing the decor and adding personal value.
- They can match any decor style and transform rooms, from rustic to modern.
- DIY frames can be more cost-effective by selecting inexpensive materials and reducing labor expenses.
- Essential tools: saw, hammer, nails, drill; additional: miter saw, wood glue.
- Recommended woods: pine for affordability, oak for durability, reclaimed wood for rustic charm.
- Specialty tools like routers and sanders enhance finishes.
- Homemade frames involve measuring, cutting, and assembling with glue and fasteners for stability.
- Popular designs: rustic, minimalistic, ornate; incorporate textures/colors for customization.
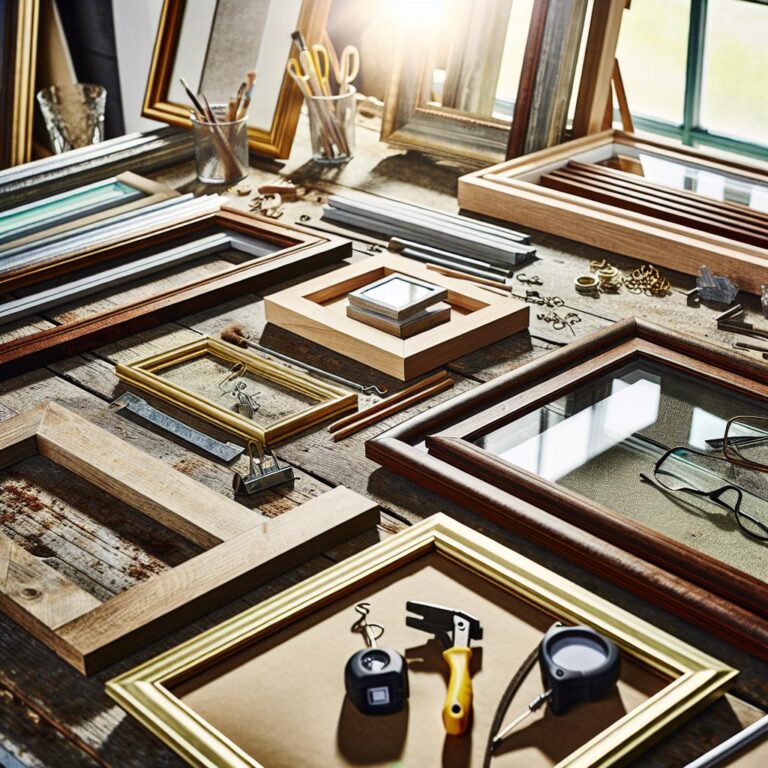
- Materials and tools sourced from places like Amazon, Etsy, local stores like Home Depot, and online resources for reclaimed wood.
Ever wondered if making your own wooden frames is worth it? Let's dive into the world of DIY wooden frames and uncover their value. As someone who loves crafting, I know the joy of personalizing home decor. Are they cheaper than store-bought ones? Beyond cost, homemade frames offer creativity and a sense of pride. Get ready to transform your walls with unique DIY creations!
Why Make Your Own Custom DIY Picture Frames?
Creating custom DIY wooden photo frames offers many satisfying benefits. I've found that making frames myself allows endless creativity. It's not only about saving money but also about the thrill of crafting something unique. Let's dive into the perks of homemade frames and explore their effect on home decor.
What are the Benefits of Homemade Wooden Frames?
One of the biggest joys in crafting wooden picture frames is personalization. You can choose the exact size, wood type, and design style that fit your space. I remember the first time I built a frame; it felt like a personal victory. There is a sense of accomplishment you can't find with store-bought options. Creating with your own hands provides a deep connection to the artwork or photo it holds.
Imagine making a frame that fits a special painting or photo in your house. It can be as rustic or polished as you want. You get to spend time choosing colors and textures that match your room. You can use different finishes to highlight natural wood grains or paint them to match decor themes. Having a say in every tiny detail adds more personal value to the picture or artwork inside.
How Can DIY Frames Enhance Home Decor?
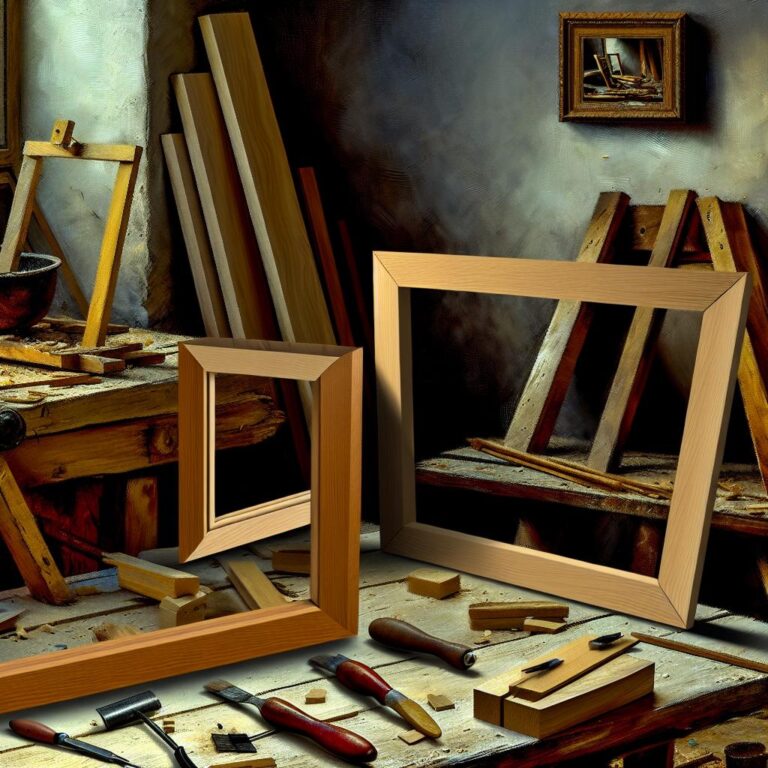
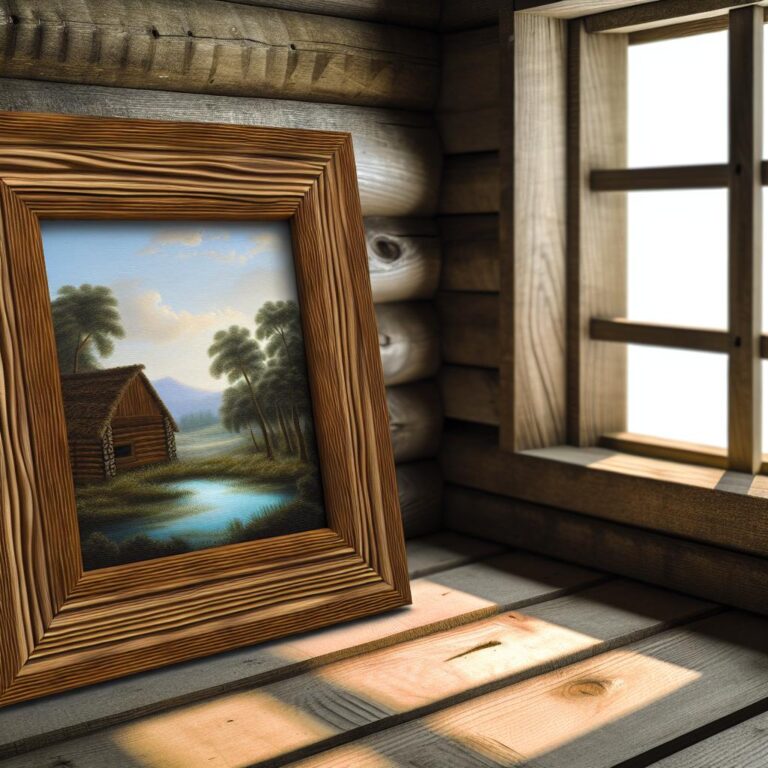
DIY frames are a clever way to add charm to your home. They can match any decor style, from modern to vintage. Let’s say you love a rustic look. You can use aged wood with natural knots and grooves for that cozy, farmhouse vibe. Or if sleek and simple is more your style, smooth boards with a glossy sheen work best.
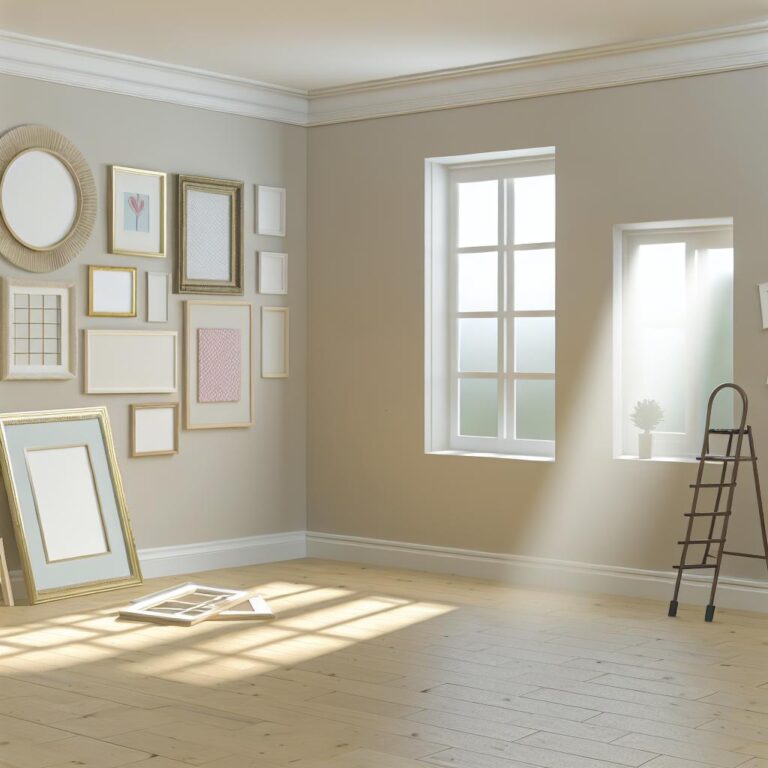
I’ve seen how custom frames transform a room. They provide endless design possibilities that pre-made frames don't. Consider creating a gallery wall with varied frame shapes and sizes. You make each room feel distinct by mixing and matching different textures and colors. It’s a simple yet powerful way to let your creativity flow and show a bit of your personality.
Are DIY Wooden Frames Cost-Effective?
Now, let’s talk about cost and value. Many folks wonder if homemade frames are cheaper than store-bought ones. The SQuAD method for this question: Yes, DIY frames can be more cost-effective. Why? You can choose less expensive wood, and you save on labor costs.
For a detailed look, think about the cost of materials like 1x boards and simple tools. These are cheaper than many pre-made, high-end frames. Store-bought frames come with a mark-up for production and retail. By crafting it yourself, you dodge those extra expenses. Plus, using only what you need means nothing goes to waste.
Using basic tools such as a miter saw, wooden glue, and nails helps cut further costs. I find that using leftover food-safe paint from other projects can also bring costs down. If you own or can borrow tools, such as a pocket hole jig or brad nailer, you handle it all with a tight budget. These simplify the assembly and give your frames a neat finish without costing a fortune.
You should compare the materials and tools needed to the price tags you see in stores. The time invested in crafting is well worth the savings and personal touch gained. Building your own frames lets you balance between financial limits and stylish desires. Even though safety is a concern when using power tools, patience and practice make this project manageable.
To sum up, the value lies not only in keeping costs down but also in the pride you take in your creation. The experiences and stories connected with these custom frames remain priceless. For curious crafters, easy-to-follow plans like those from Woodshop Diaries are available to guide you. These guides help ensure your project is a rewarding experience from start to finish.
What Tools and Materials Are Needed?
Building your own DIY wooden frame requires some basic tools and materials. Let's dive into the essentials you need and why they're important.
What Essential Tools Are Required?
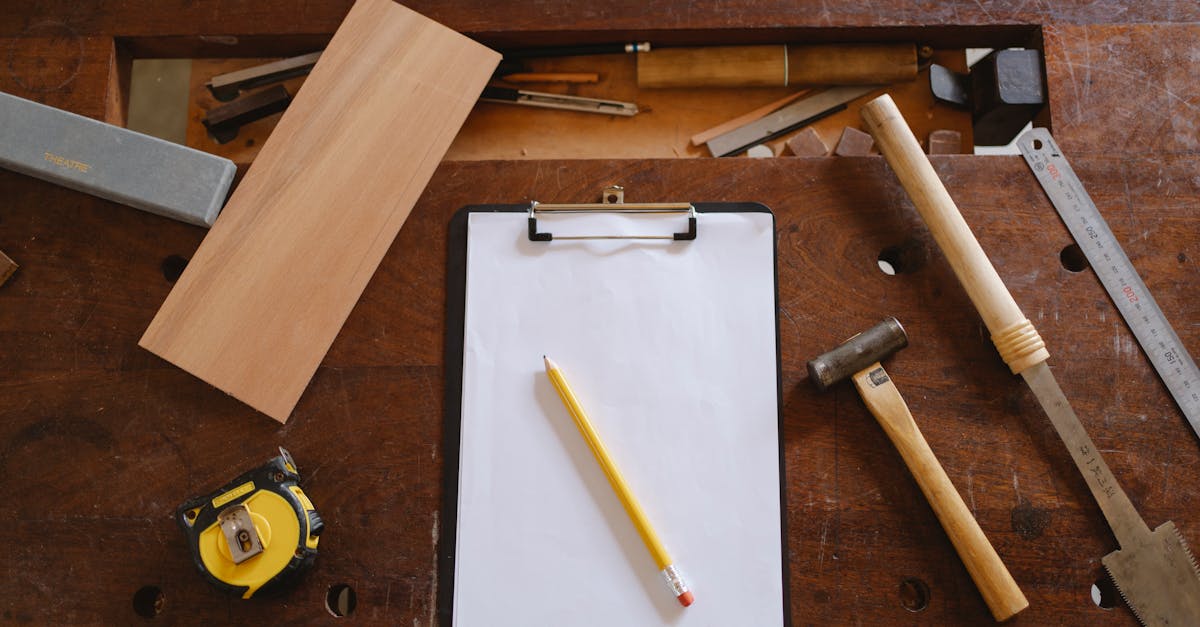
To start off, you'll need a few fundamental tools. A saw stands at the top of the list, helpful for cutting wood to the proper size. You'll also need a hammer for nailing everything together, and a set of nails to keep your frame sturdy. A drill is essential for creating clean, precise holes for screws, which helps in maintaining the frame's strength. These tools are pretty basic but crucial for any frame building project.
Now, if you're like me, you appreciate knowing exactly what to gather before starting a project. Besides the tools mentioned, having some wood glue on hand is always smart. This helps with extra stability in binding the wood pieces together, especially at the joints. While glue isn't a 'tool' per se, it's one of those items that makes the work solid without needing super skills or loads of time.
You don't need every tool under the sun, just stick to the key ones. Even if you're new to making frames, a diy picture frame materials guide can show you just what you need to start. Always start with basics and build your toolkit as you get more into it.
Which Materials are Recommended for Wooden Frames?
Choosing the right wood significantly impacts your frame’s final look. Pine is often suggested due to its affordability and ease of use. It's lightweight and perfect for beginners experimenting with designs. If you're aiming for something more robust, oak is a solid choice. Oak lends your frame a classy, timeless look and offers durability.
Reclaimed wood adds a rustic touch to your frames. If you are into eco-friendly projects, reclaimed wood is your go-to material. It brings character and history to your DIY work, something standard wood just can’t offer. Reclaimed wood needs a bit of love—sanding to smooth it out and sometimes cleaning off old paint or varnish.
Whichever wood you choose, make sure it's dry and smooth. Wood that is not dry might warp over time, messing up your perfect frame dimensions. A well-organized diy frame material list will help ensure you don’t miss anything crucial. Always weigh the options and think about what finish you want before you buy.
Are Specialty Tools Needed for Professional Finishes?
To achieve a sharp, professional finish, specialty tools can be game-changers. A router carves out intricate designs or smooths edges, giving your frame a polished touch. You'll notice in pro-level frames, the seams and edges are seamless, thanks to tools like routers.
A sander comes in handy to smooth all surfaces, removing any splinters or early-stage paint clumps. You can use paper sanding blocks if power sanders are out of reach. Though slower, they get the job done with a bit more elbow grease.
While not required to complete your frame, these tools elevate your handiwork. They bring finesse that often sets DIY apart from store-bought frames. Some folks go through trial and error before they nail these techniques. Powers of routers and sanders aren’t needed to start, but when you're ready for a polished finish, they are perfect companions.
Crafting frames is about your personal journey. It's not just about the finish line—every step provides new skills. Beginning with basics, expanding with specialty tools, and embracing your creativity at every turn. Whether crafted as gifts, decor, or personal satisfaction, each frame carries a piece of you. Don't hesitate to start; the material world is yours to conquer!
How to Build a Custom DIY Picture Frame?
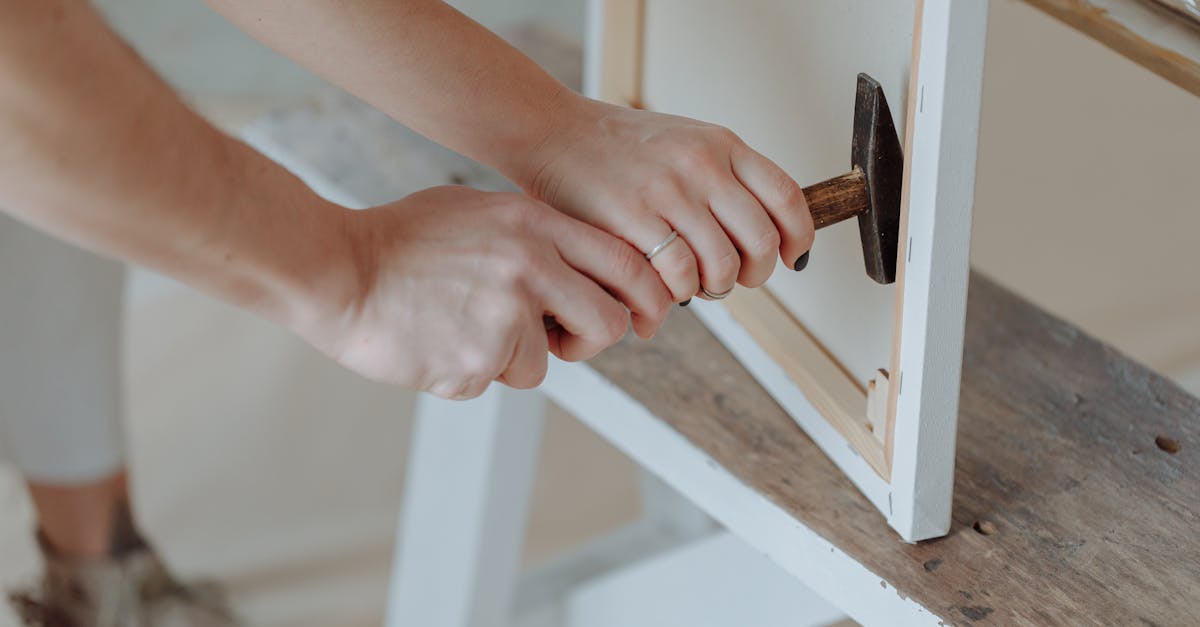
Creating your own wooden frame is a rewarding project. It allows you to display cherished photos with a personal touch. Below, I will guide you through the steps for building your own frame. This tutorial will help you construct a sturdy and stylish wooden frame at home.
What Are the Steps to Create a Wooden Frame?
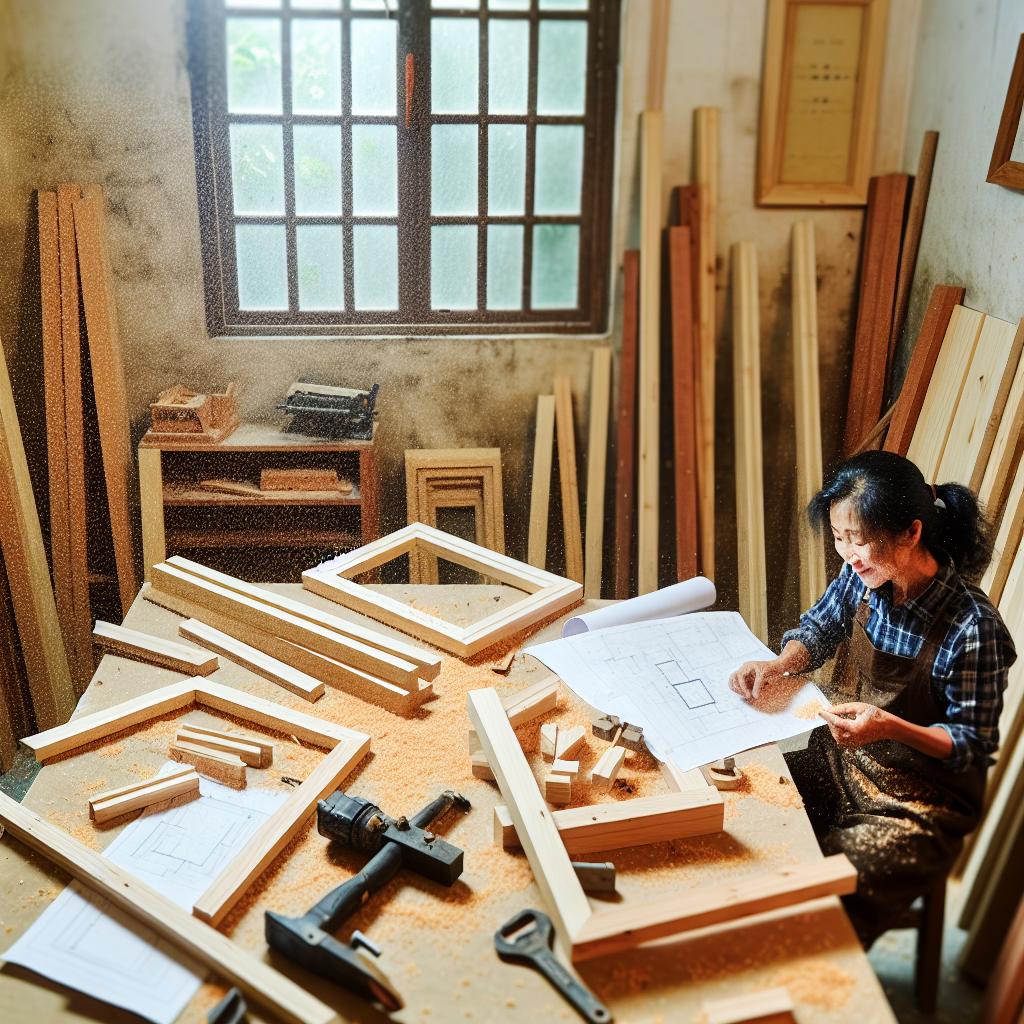
To start, gather all required tools and materials. You will need 1×3 wooden boards, wood glue, pocket hole screws or brad nails, and backing material like chipboard. Ensure you have a miter saw, pocket hole jig, and brad nailer. A router and sander are optional but helpful for refined finishes.
First, measure your photo or artwork. Use this size to calculate the wood needed. For an example frame of 8×10, you need about 56 inches of board length. Take into account the width of your frame sides.
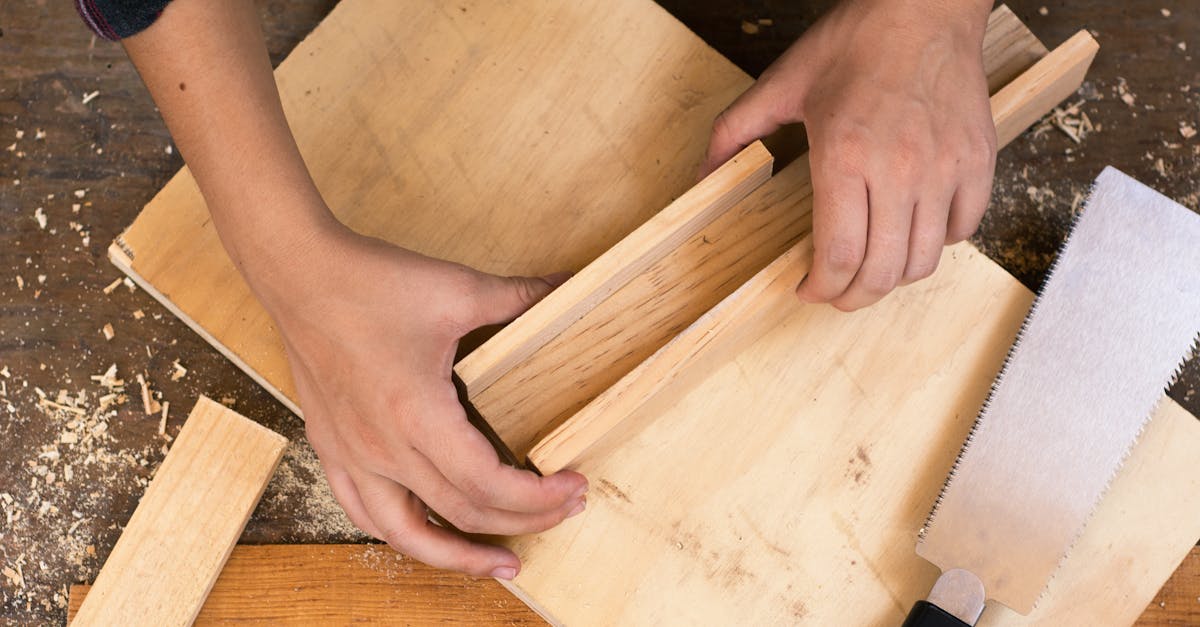
Once your wood is ready, begin cutting. Set the miter saw to a 45-degree angle. Carefully cut the boards for all sides of the frame. Align the cuts perfectly for sharp corners.
Next, lay out the pieces on a flat surface. The mitered edges should fit snugly together. Check the alignment of each corner before proceeding to assembly.
How to Ensure Frame Durability and Stability?
Achieving a durable frame requires careful alignment and securing of the wooden pieces. Dry-fit the frame pieces together first. This step ensures everything fits well before attaching.
Place the boards flat. Check that the 45-degree angles match up at each corner. When satisfied, use wood glue to bond the pieces. Apply glue to the edges and gently press them together.
For added support, secure the corners with pocket hole screws or brad nails. If using pocket hole screws, pre-drill holes first. This prevents splitting the wood. Opt for brad nails if your boards are thinner.
Additionally, you might want a rabbet cut for the frame's inside edge. This holds the glass and photo more securely. A router can make these cuts neatly. Ensure the rabbet cut is consistent along each frame piece.
What Are the Best Practices for Frame Assembly?
Now, it's time to assemble your frame. The best way is to use both glue and fasteners. This guarantees your frame remains stable over time.
Apply a thin line of glue to each joint. Remember, too much glue can squeeze out and make a mess. Align the pieces and hold them together with clamps. Leave the frame clamped until the glue dries for best results.
For additional strength, use pocket hole screws at the joints. Insert them through pre-drilled holes. Tighten them carefully so the wood does not crack. You can also use brad nails to secure corners quickly and cleanly.
A rustic finish adds charm to your frame. Use a dry brush technique with black paint to mimic charcoal stain. Lightly brush the surface for added texture.
Finally, insert the glass and your photo. Secure them with your chosen backing material, like chipboard or foam board. Use small fasteners or framing points to hold everything in place.
Consider adding hangers on the frame back. This allows easy wall display. Use a ruler to mark and measure for even placement of the hangers.
For those who need visual guidance, there are printable plans available online. These can provide lists, steps, and helpful diagrams for making perfect frames.
In this project, precision in cutting and careful assembly play key roles in crafting a sturdy frame. The steps above, paired with the right tools, should help you create a custom frame you’ll be proud to hang.
How to Choose the Right Designs for Your Frames?

When I started making my own frames, picking the design was the most fun part. The style you choose can match your room or make a bold statement. But, with so many styles out there, choosing can feel a bit much. Let's break it down to make it easier for you.
What Are Popular Frame Styles?
First, let's talk about popular styles. There are some that you see everywhere, but they never get old. Rustic frames, for example, are great for adding warmth and charm. Think of wood that looks aged or weathered—a little rough around the edges. It reminds me of an old barn or cottage. This style fits well in cozy, homey spaces.
On the other hand, minimalistic frames are sleek and modern. They use straight lines and smooth surfaces. If your home decor is more about clean and simple looks, this is a good pick. The focus here is on subtle beauty; the frame doesn’t take over the show; it highlights what it holds.
Ornate frames, with their rich designs, add elegance and flair. Picture intricate details and might fancy carvings. These are perfect if you want to give your space a classic or more regal feel. They often remind me of art galleries or grand old houses.
How to Incorporate Textures and Colors?
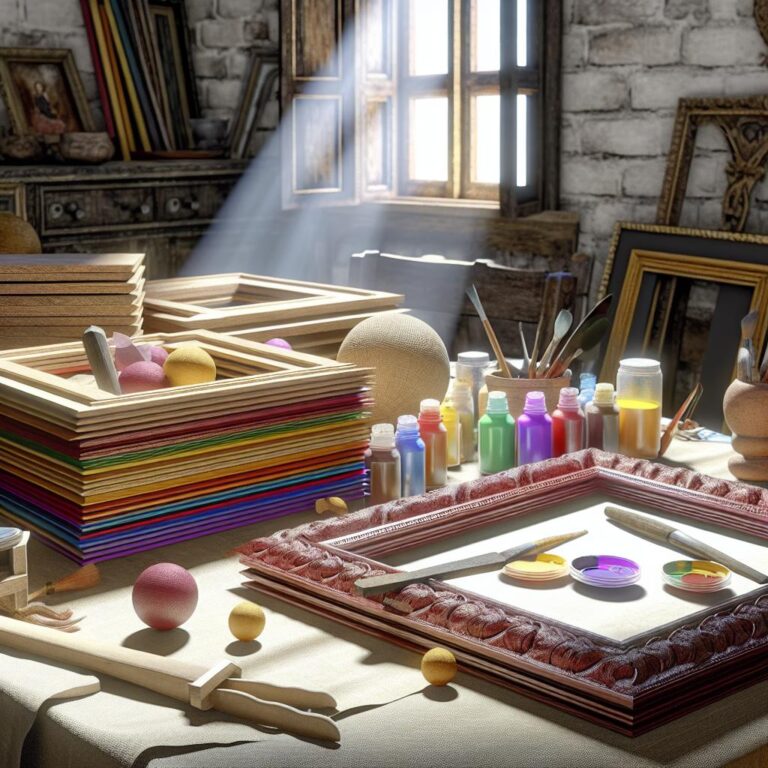
Once you've picked a style, think about textures and colors. These can change a frame's look a lot. For paint, quick strokes with a dry brush can work wonders on rustic frames. This technique lets some wood show, giving a rich, deep look. Imagine the wood with a charcoal-like finish, showing the grain through a black paint layer. It's like giving the wood a story.
Staining is another way to add depth. A simple wood stain can bring out natural tones and textures. Different stains can make the same wood look dark and fancy or light and natural. Wood carving offers chances to add details and style. Simple carved lines on the frame can add personality without overdoing it.
How Can Frames Be Customized for Special Occasions?
Customizing frames is all about personal touch. Special occasions call for unique designs. Think about decorating frames with themes. For holidays, you could use colors like reds and greens for Christmas. Adding small pine cones or holly leaves can be perfect. It's a great way to make holiday photos stand out.
Frames for seasonal changes can be fun, too. In spring, maybe add pastel colors or small flowers. Autumn frames can have fallen leaves or warm earthy tones.
For birthdays, why not add some fun? Use bright paints or stick craft pieces like small stars or balloons on the frame. It not only decorates but also shares joy and love.
If you've ever wondered, "How can I make my frames look special?" think of occasion-based ideas. They let you express what matters most at that time. Making these frames isn't just about style but about capturing memories, making what's inside even more treasured.
Choosing the right design for your frames blends creativity, knowledge, and personal style. From rustic frame decor tips to special customization, you have the tools to make frames that tell your unique story. Phillip Schuman from Woodshop Diaries says choosing the right frame design is about combining rustic ideas with new, exciting techniques.
Where to Source Materials and Tools?
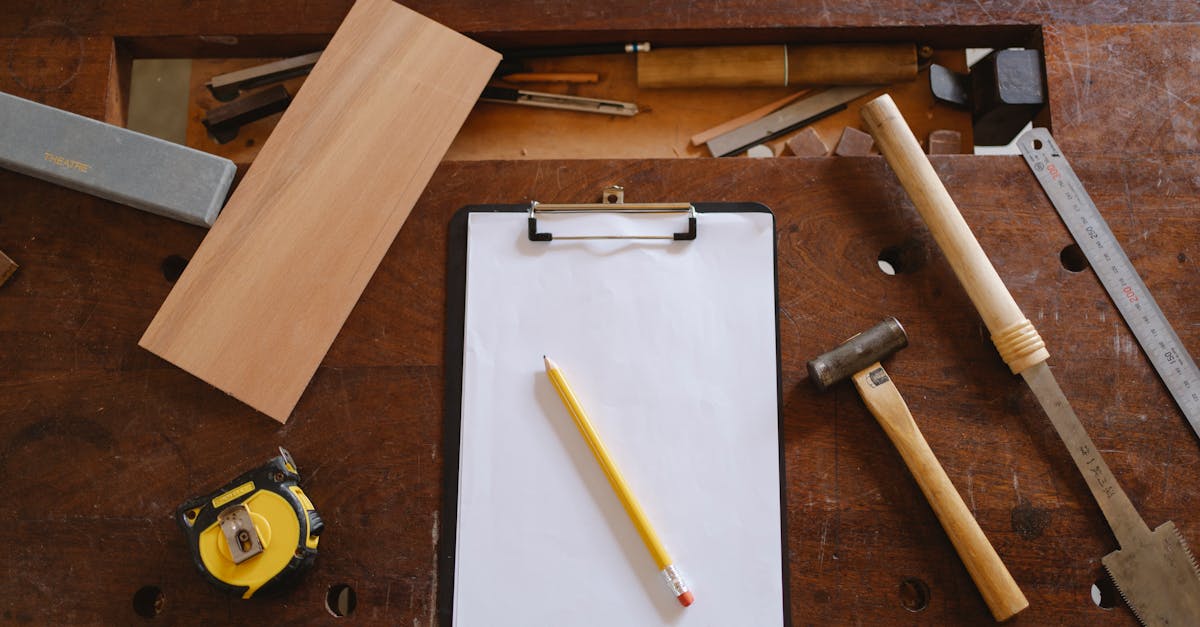
When you start a DIY wooden frame project, finding the right materials and tools is key. To make sure you're not just creating something of beauty, but also keeping costs in check, I'll guide you through sourcing options, both online and locally.
What Are Popular Suppliers for DIY Frame Materials?
Choosing the right supplier is your first important step. Online platforms are incredibly convenient and offer a wide range. Sites like Amazon have everything from wood planks to screws delivered right to your doorstep. They often feature customer reviews which can help you decide if a product meets your needs. Another popular option is Etsy, where you can sometimes find unique materials you might not access locally. Beside these online giants, specialized craft websites like WoodCraft might offer tailored kits for those diving headfirst into woodworking.
Local stores can't be overlooked. Visit your neighborhood Home Depot or Lowe’s. They provide not only materials but expert advice from staff familiar with projects like yours. Shopping locally also allows you to pick out wood pieces, ensuring the grain and quality match your vision for the frame design.
How to Find Affordable Wood Options?
Finding wood economically takes a little savvy. Some woods are more expensive due to their rarity or appeal, but common ones like pine are much lighter on the wallet and perfect for beginners. Look for "common boards" at your local stores. They offer a blend of affordability and quality, especially for projects like picture frames.
Another option is to buy reclaimed wood. This not only adds character but is eco-friendly too. Check out reclaimed wood suppliers in your area, or look online at places like Craigslist or Facebook Marketplace where locals might sell off-cuts at a lower price. Ensure you inspect each piece for quality before purchase, as defects might complicate your project.
Which Tools Are Most Recommended for Beginners?
You don’t need a full workshop to start making frames. For beginners, a basic toolkit will often do. Essentials include a saw, hammer, and nails, but a miter saw will make those precise cutting angles a breeze, especially if you're aiming for neat 45-degree cuts essential for sturdy frames.
Look for a beginners’ toolkit online. Kits from brands like DEWALT or Bosch often include everything you need: a tape measure, a basic saw, a set of screwdrivers, and a hammer, all packaged to be beginner-friendly. Pocket hole jigs are useful for creating strong joints without visible screws; they are especially handy and fall within a beginner’s budget.
Additionally, if you want a more professional finish but aren't ready for power tools, sanding blocks or basic rotary tools come in handy for smoothing out rough edges and preparing wood surfaces for paint or stain.
In the end, it's all about what meets your needs while staying within budget constraints. Whether you're sourcing materials for aesthetic custom frames or starting with simple designs, the right suppliers and tools can make all the difference.
Conclusion
Making your own DIY picture frames connects creativity with practicality. We've explored why homemade wooden frames offer personalization and how they enhance your decor. These frames can be budget-friendly compared to store-bought options. We've detailed the tools and materials you'll need and shared clear steps for building durable frames. Our discussion on unique frame designs will inspire you. Now, gather your supplies and create frames that reflect your style and skill. Your home deserves these personalized touches that tell your story. Enjoy the journey of crafting frames that last a lifetime.

