Vintage Furniture Restoration: Is It Worth the Effort?
- Assess Damage: Check for scratches, stains, structural issues, and upholstery wear.
- Preserve Wood Finishes: Clean with mild soap, avoid harsh chemicals, and dry thoroughly.
- Stabilize Structure: Reglue loose joints, secure screws, and replace broken parts before cosmetic work.
- DIY Tips: Use wood putty for scratches, sand lightly for stains, and repair veneer carefully.
- Wood Approach: Match stains to wood grain, sand accordingly, and identify the finish type.
- Metal Furniture Challenges: Remove rust gently, repaint, and ensure tight joinery.
- Stripping & Refinishing: Use chemical strippers carefully and sand appropriately.
- Beginner Tools: Sander, scraper, and quality brushes are essential.
- Common Mistakes: Test areas first, avoid over-sanding, and prep surfaces well.
- Preservation: Use natural cleaners and choose appropriate wax/polish.
- Restoration Costs: Calculated by damage extent, work scope, and material rarity.
- Professional Assistance: Needed for antiques over 100 years old or complex restorations.
- Authenticity & Value: Evaluate before restoration to maintain or enhance value.
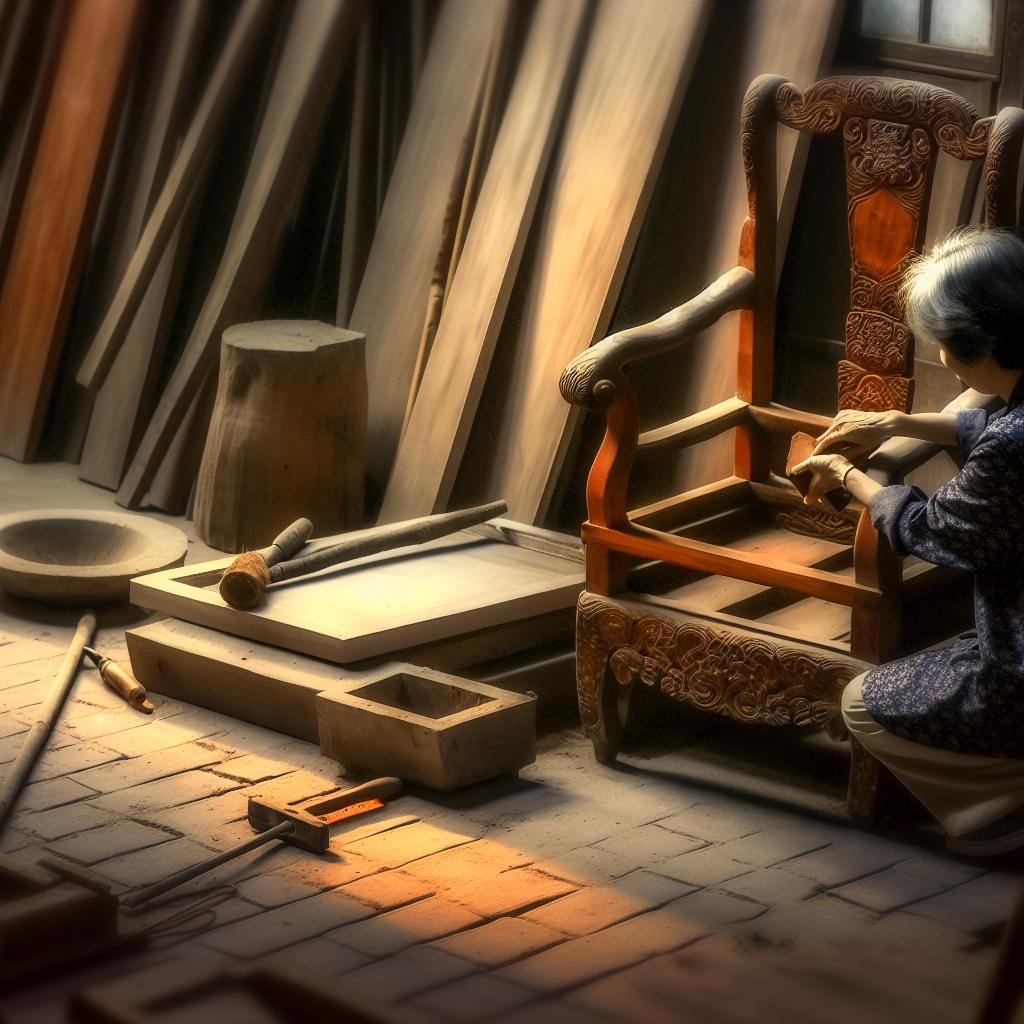
Ever held a rusty chair and wondered if it was worth fixing? Vintage furniture restoration is a journey that begins with a simple question. Can I breathe new life into this age-worn piece? Every scratch tells a story, every dent adds character. But is the reward worth the effort? Join me as we explore the steps, techniques, and secrets to unlock the hidden charm beneath the dust. Restoration isn't just work; it's magic waiting to happen.
What Are Essential Steps In Vintage Furniture Restoration?
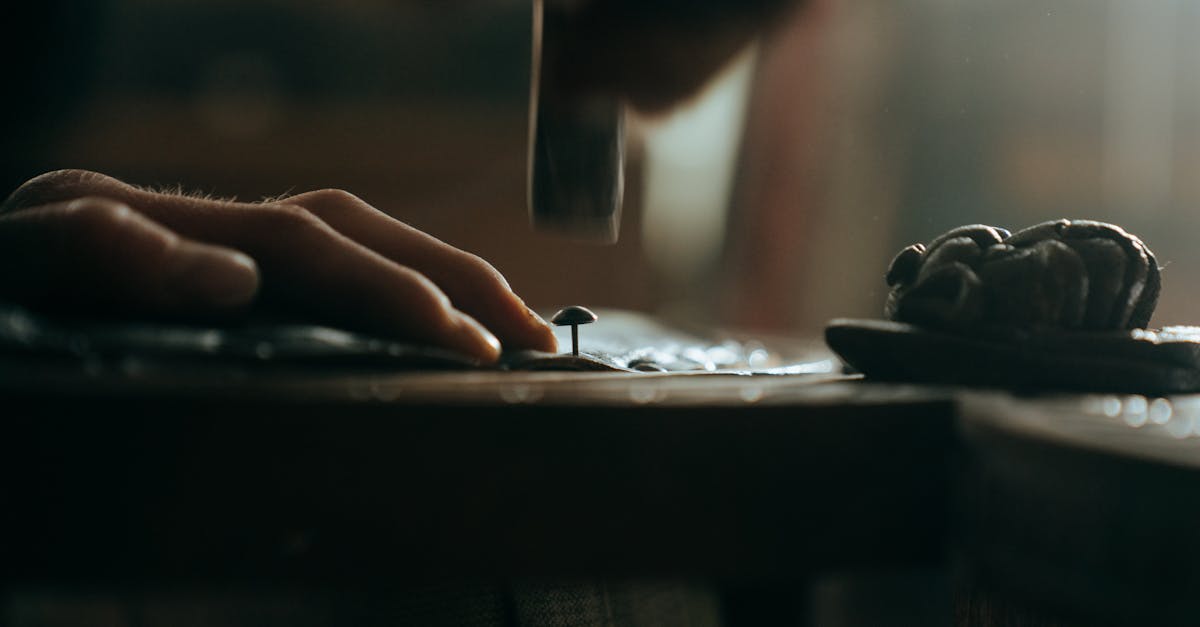
Restoring vintage furniture can be an exciting adventure. Bringing a piece back to life offers a rewarding sense of accomplishment. But making sure you get off on the right foot is vital. Let me walk you through the necessary steps to ensure your project is both fun and successful.
How do you assess the damage in vintage furniture?
To begin, examining your furniture is crucial. It helps to identify what work must be done. But how do you assess the damage in vintage furniture? Precision in this task is key. Look for scratches, stains, or chips in the wood finish. These are common issues you may need to address. Structural problems such as loose joints or missing parts also deserve your attention. You must inspect the upholstery for wear and tear if your piece has fabric elements.
Thorough examining can help determine if your project is feasible for a DIY effort or if it may require professional intervention. Being aware of these elements helps decide the best method to restore or renovate your chosen piece. When I first assess any vintage furniture, I use a flashlight to spot hidden issues. This deeper look often reveals more than a quick glance can.
What cleaning methods preserve antique wood finishes?
Cleaning is a pivotal part of vintage furniture care and maintenance. To avoid damaging the original wood finish, gentle cleaning is necessary. What cleaning methods preserve antique wood finishes? Start with mild, non-abrasive soap solutions mixed with water. Gently rub the surface with a soft cloth. Always test a small, hidden area. This ensures your cleaning method will not harm the furniture. For stubborn grime, a soft-bristle brush can work wonders. After cleaning, it is essential to dry the wood thoroughly to prevent water damage.
The use of harmful chemicals or abrasive pads can scratch or fade the finish, which is what you want to avoid at all costs. I remember using vinegar and water on my grandmother's old sideboard, only to find the finish too fragile. This was when I learned the importance of testing small sections first.
Why is it crucial to stabilize structural parts before restoration?
Now, why is it crucial to stabilize structural parts before restoration begins? Stabilizing ensures that your furniture can bear weight and use without falling apart. Loose joints can be reglued. Use wood clamps to hold parts in place until the glue dries. For broken hinges, find replacements matching the style of the piece. You must also check that any screws or nails are secure to prevent future damage.
Doing repairs before proceeding with aesthetic restoration like cleaning or repainting avoids wasting time and effort. Picture trying to sand or paint a wobbly chair – it's no easy feat! Once, I ignored the structural issues of an old shelf and ended up with paint everywhere when it collapsed. This taught me the value of fixing the basics first.
Practical DIY Tips
A few hands-on tips for DIY enthusiasts can be helpful. Use wood putty to fill small scratches. Polish or gentle sanding can remove light water stains. If your furniture has veneer, repair it carefully with wood glue.
When your old chair or table is structurally solid again, it’s ready for cosmetic work. You can sand it down, paint it anew, or polish the wood to look fresh and inviting. Remember, taking the time to ensure everything is sound before applying finishes will pay off in the end.
Whether you are restoring for personal joy or to elevate home decor, following these steps turns vintage furniture into beautiful, functional art. The sense of history and creativity combined makes it a worthwhile endeavor.
Which Techniques Are Effective For Antique Furniture?
Restoring antique furniture can breathe new life into heirloom pieces. Each type of furniture material calls for its specific technique. This journey into restoring furniture offers a mix of nostalgia, creativity, and skills to master.
How do you approach different wood types and finishes?
Different woods have varied grains and colors. Understanding the wood type is your first step. Oak, for instance, is sturdy and often used for heavier furniture. Mahogany has a reddish hue and is prized for its rich appearance. Pine is lighter and often used in rustic pieces.
To match the grain and finish, use stains that highlight rather than mask. Always sand with care, going with the grain. Start with coarse sandpaper and finish with a fine one, ensuring you do not scratch the surface. Different finishes require different care. Varnish is durable but can crack, while oils need regular upkeep but enhance richness.
Figure out the type of existing finish. You can use solvents like denatured alcohol on a hidden spot. If the finish dissolves, it's likely shellac. If not, it might be varnish.
Restoring wood often means dealing with scratches or stains. A light scratch can disappear with a walnut rubbed over it. For deeper damages, consider using wood fillers or putties. Then, match the color by experimenting on scraps before applying to the piece.
What challenges arise with restoring metal furniture?
Steel and iron are common in vintage metal furniture. Rust is a significant challenge with these metals. Salt, water, and time together create rust. This means cleaning and sealing metal items are essential.
The best way to tackle rust is by using gentle methods first. A mix of vinegar and aluminum foil can slough away light rust. If that fails, use steel wool or wire brushes. For stubborn spots, an acid rust removal might be needed.
After cleaning, protect the metal. Use a rust-inhibiting primer before painting. Powder coating is a modern but effective finish if you seek durability. This involves electrostatically applied powdered paint baked to a hard finish.
Joinery in metal furniture is crucial. Make sure all screws and joints are tight, and replace parts if needed. Restoring the strength ensures the piece is not just beautiful but also functional.
How can stripping and refinishing be done effectively?
Stripping old furniture can reveal its original beauty. Chemical strippers are effective, but require care. Choose a well-ventilated space, wear gloves, and follow the product guide. Apply with a brush, wait, and then scrape with gentle pressure.
This Old House suggests sanding the stripped piece afterward. This prepares it for fresh stain or sealing. Begin with medium-grit sandpaper, then move to a finer grit. Always be careful with veneers, as they are thinner and can easily be damaged.
After stripping, washing with mineral spirits can clear any residue. Now, it's time for refinishing. Apply a thin layer of stain with a cloth. Let it sit and then wipe off the excess. Several light coats will yield the best finish, allowing each to dry before the next.
When sealing, choose based on the furniture's use. Polyurethane creates a tough, protective coat. Shellac gives a warm glow but isn't water-resistant. Finish with wax for a soft lustrous finish, buffing it to shine.
Restoring antique furniture involves simple tools and patience. Assessing the project's scope and understanding materials will guide you. Old furniture bears stories, and with these techniques, you preserve and enhance them.
How Can Beginners Approach Furniture Refinishing?
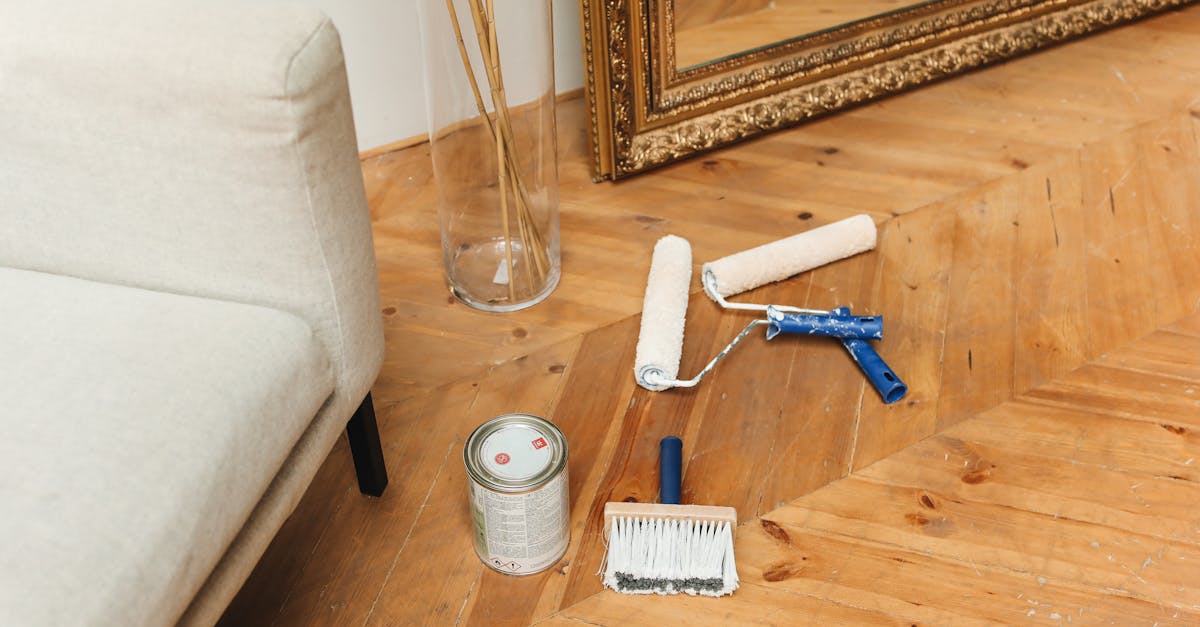
Starting the journey of furniture refinishing can be exciting. You might have found a hidden gem at a thrift store or in your grandma's attic that needs some TLC. But before diving into any project, it's important to know where to start and what tools to use.
What Tools Are Essential for Beginner Restoration Projects?
Knowing the right tools is crucial for any successful restoration. Beginners should first gather basic items. A sander is key for smoothing surfaces and removing old finishes. Ensure you have sandpaper in various grits for different stages of sanding. A scraper can help remove old paint or varnish. Additionally, a painter’s mask and gloves keep you safe from dust and chemicals.
Solvents and finish removers are necessary for stripping old finishes. These help reveal the wood beneath so you can assess its condition. A set of brushes will be useful for applying primers, paints, stains, or sealant. Finally, a good-quality wood glue can fix loose joints. When collecting tools, consider quality over quantity—quality tools will serve you well on many projects.
How Do You Avoid Common Refinishing Mistakes?
It's easy to make errors in refinishing, but avoiding them can save both time and resources. The first mistake often is not testing your stripping and cleaning methods on a small area before committing to a whole piece. This can help prevent damage and unexpected results.
Over-sanding is another common pitfall. Sanding too much can thin veneers or damage intricate details. Always sand in the direction of the grain to preserve the wood's natural look. Rushing through the sanding process can leave uneven surfaces, affecting the final look.
Ignoring instructions on cans of finish or paint can also lead to poor results. If instructions say to wait a certain time, patience pays off. Lastly, many beginners skip steps in surface preparation, which we'll dive into now.
Why Is Surface Preparation Crucial Before Applying Varnish?
Surface preparation might seem tedious, but it’s essential. Clean surfaces allow finishes to adhere properly, preventing peeling or bubbling. Start with a thorough cleaning to remove dust, grime, or old wax. This step helps the new finish to coat evenly.
After cleaning, sanding the surface is important. Sanding opens up the wood's pores, allowing it to accept the stain or sealant better. Begin with medium-grit sandpaper to remove old finishes and then switch to fine-grit for a smooth finish.
Once sanded, clean the surface again with a tack cloth. This removes any leftover dust. Dust can ruin the smoothness of your final finish. If you're applying a varnish, ensure the area is well-ventilated. A ventilation system or opened windows can help, as well as keeping out dust and debris during the drying stage.
Taking the time to prep your surfaces pays off in durability and appearance. When you see a finished piece, it’s the details like these that make it shine. With the right refinishing techniques for beginners, any old furniture piece can become a cherished part of your home.
For a deeper understanding of styles that might inspire your refinishing project, explore more about mid-century modern design. These classic styles can offer ideas on how to bring new life to your projects. With these tips and guidance, you're ready to transform an old, forgotten piece into something remarkable and uniquely yours. Now, about those mistakes to avoid and styles to embrace—let’s get started!
How Can You Preserve And Maintain Restored Pieces?

Restoring a piece of furniture breathes new life into it. Yet, maintaining that beauty can be a challenge. Every time I look at a restored piece in my home, I think of all the care it needs to stay lovely. Let's explore how you can preserve your treasured furniture with more ease and joy.
What natural solutions help in maintaining wood furniture?
Natural cleaning solutions are a friendly choice for keeping wood healthy. They're great for everyday furniture care. A mix of vinegar and olive oil works wonders. Vinegar cleans without harsh effects, while olive oil nourishes the wood. I often use this mixture on table legs and cabinets to leave a nice shine.
For tougher spots, like sticky residue, a small bit of baking soda can be helpful. Use it with a soft cloth to scrub gently. It's important to test on a small area first to avoid any impact. Lemon juice and water are also handy for lighter cleaning. They refresh the wood and leave a pleasant scent, which I find uplifting.
Protecting the wood is just as crucial as cleaning it. Beeswax is a natural option to seal and guard the surface. It can make wood look full of life by creating a rich glow.
How do you choose between wax and polish for antiques?
Both wax and polish have roles in extending the life of antiques. Wax adds a protective layer, resisting water spots and scratches. It is best for furniture that already has a finish. I prefer wax because it enhances the grain while providing long-term protection.
Polish, on the other hand, gives instant shine and removes dust. But remember, too much polish can dull the wood over time. I like to use polish sparingly, every few months, to prevent build-up. Choose wax if you need to condition wood. Opt for polish when the goal is to elevate a piece's shine for a special occasion.
Selecting the right one depends on your furniture's needs. If a piece is delicate or historic, consult an expert or check out these mcm furniture restoration tips.
What are environmentally friendly practices in furniture restoration?
Being mindful of ecological practices is significant in our times. Sustainability can guide how you restore and maintain items. I suggest starting with using recycled materials and tools, like natural brushes or reused sandpaper, which reduce waste.
Eco-friendly paints and finishes reduce harm to both furniture and environment. Many brands offer non-toxic options that are safe for your health and the planet. These options don't emit harmful fumes and often dry faster.
When fixing up a piece, aim to preserve as much of the original material as possible. This might mean repairing a small scratch rather than stripping an entire piece down. Repurposing parts of old furniture for newer builds or repairs is a creative way to save resources.
Finally, conserving energy during restoration can be as simple as utilizing your space wisely. Proper planning includes using sunlight for drying parts and keeping tools ready to avoid repeated tasks.
By adopting these thoughtful practices, you give your furniture a glow that reflects your respect for both tradition and the environment. The next time you preserve or maintain a piece, remember these methods, and you'll find joy in a job well done.
What Are The Costs And Considerations For Professional Restoration?
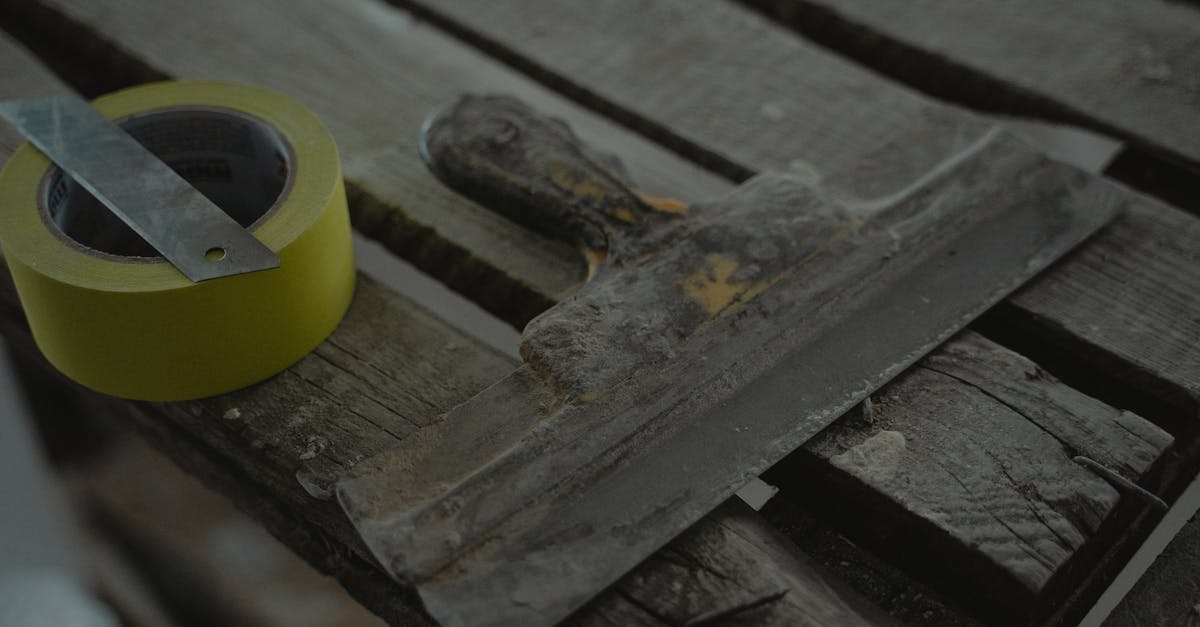
Restoring vintage furniture seems like an art. It requires knowledge of both value and cost. One of the first things you need to know is how restoration costs get calculated. Costs can vary greatly. Every project is unique. However, a few key factors influence the prices.
How are restoration costs calculated for antique pieces?
Restoration professionals assess a piece by its condition and the scope of work. The condition of the furniture is essential. Does it have severe damage, or is the wear minimal? Extensive harm means higher costs. The scope of work considers how much needs attention. The more labor-intensive, the higher the cost. Materials required add another layer to the prices. Some woods or fabrics are rare or costly. Also, current market demands for certain styles can impact the price.
An antique restoration cost guide can hint at how prices are set. Yet, these guides are often broad and general. If an item needs special craftsmanship skills, expect the price to reflect that. Precision in understanding these factors helps in calculating the cost.
Sometimes, old techniques are required to maintain authenticity. These specialized skills can spike the cost further. Furniture often requires stripping, refinishing, and reupholstering. These processes involve time and materials. More intricate details or extensive refurbish work will always inflate costs.
When should you opt for professional restoration services?
A question many ponder is when to seek a professional. For genuine antiques, expert handling is paramount. Antiques, over 100 years old, hold historical value. Any damage or alteration could harm their significance.
If your piece has substantial damage or complex design, consider a pro. Professionals have the tools, materials, and know-how. They can handle fragile or intricate work that a DIY enthusiast might find daunting.
On the flip side, simple fixes might not need expert help. Some tasks, like minor scratches or a loose leg, are manageable at home. With the right tools and materials, you can learn how to restore these yourself.
Why is it important to evaluate the authenticity and value before restoration?
Evaluating authenticity provides a clear direction for restoration. If a piece is a true antique, it can be worth more. Preserving its originality is crucial. Engage professionals who respect historical accuracy and value.
Authenticity checks help if you plan to sell the piece later. A piece restored without regard to its original methods could lose value. This approach ensures any investment made in restoration will maintain or enhance value.
Knowing a piece's true worth influences decision-making. If the piece isn't genuine or lacks substantial value, a professional job might not make sense. For such pieces, DIY methods might be the way to go. They allow flexibility and creativity without the high costs.
Using an antique restoration cost guide can help frame your budget with these considerations in mind. Balancing authenticity with the desired final look involves conscious choices. Understanding what makes a piece valuable ensures better decisions along the line.
In sum, embarking on restoration requires diligent research. It has both aesthetic and financial impacts. Vintage furniture holds stories with each restoration, aiming to preserve its tale. Whether you restore for personal delight or a future investment, being informed is key. This ensures treasured pieces remain so for generations to come.
Conclusion
Restoring vintage furniture requires care, skill, and understanding. First, assess the damage and clean with gentle methods to safeguard wood finishes. Stabilize any structural parts before starting restoration. Use the right techniques for different materials, addressing wood and metal challenges effectively. Beginners should equip themselves properly, avoiding common refinishing mistakes. For ongoing care, choose natural cleaning solutions and decide between wax or polish. Consider the cost and authenticity when opting for professional restoration. By following these steps, you’ll preserve history and add beauty to your home.

